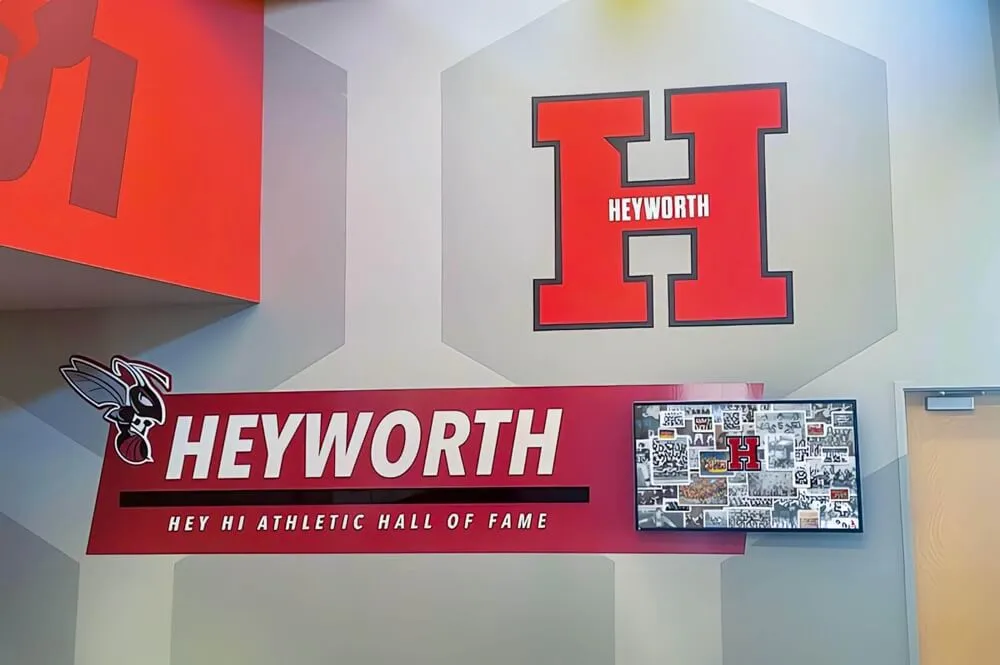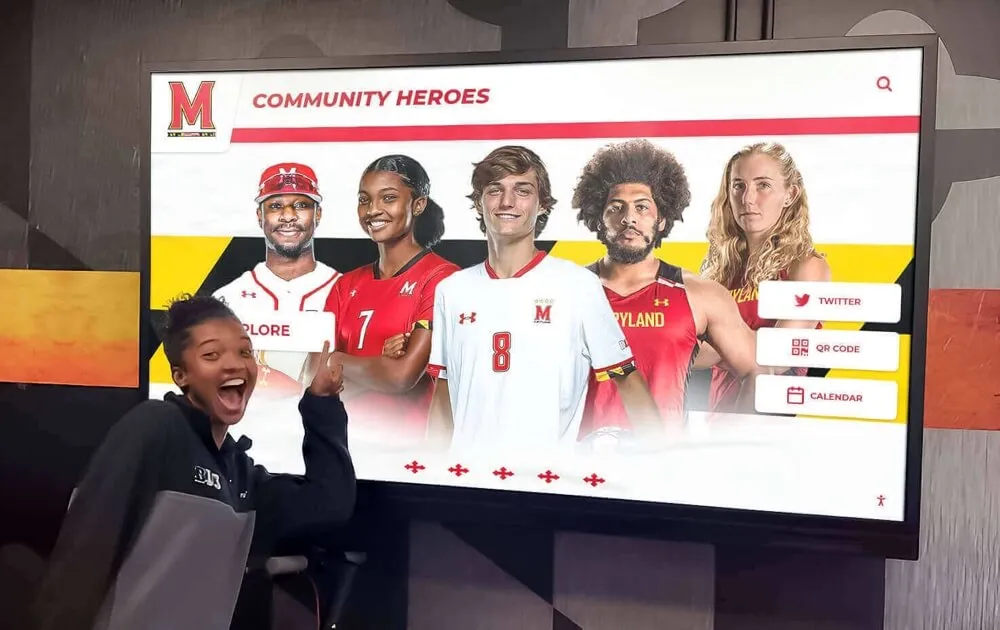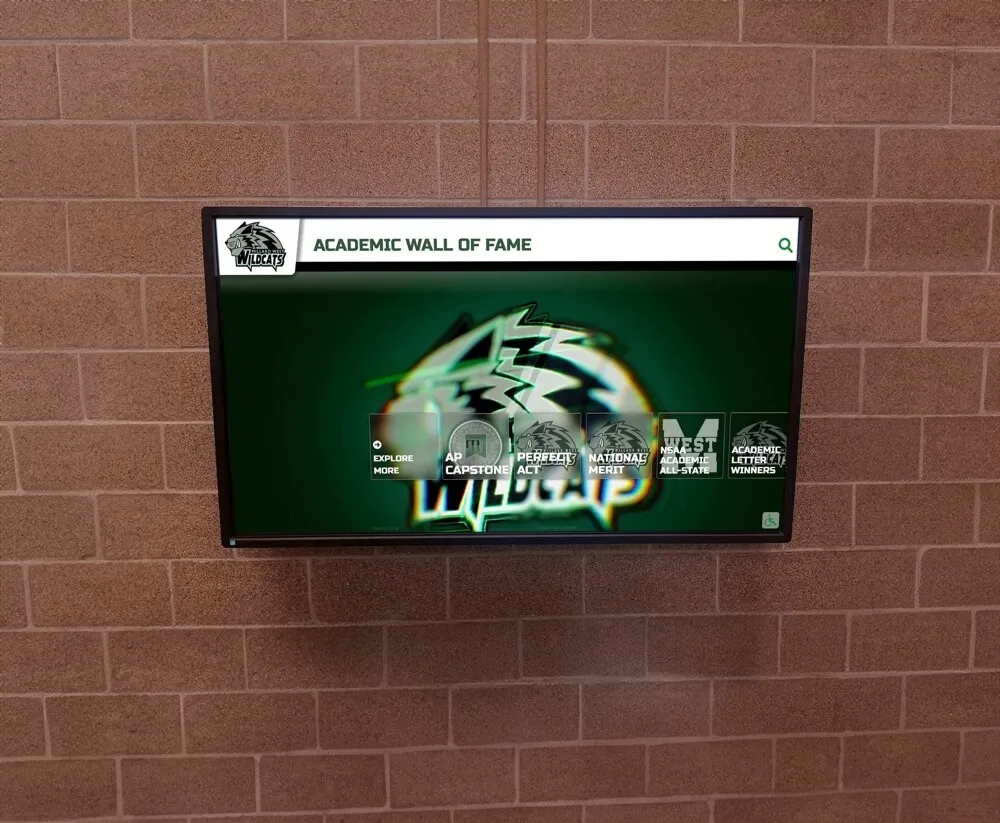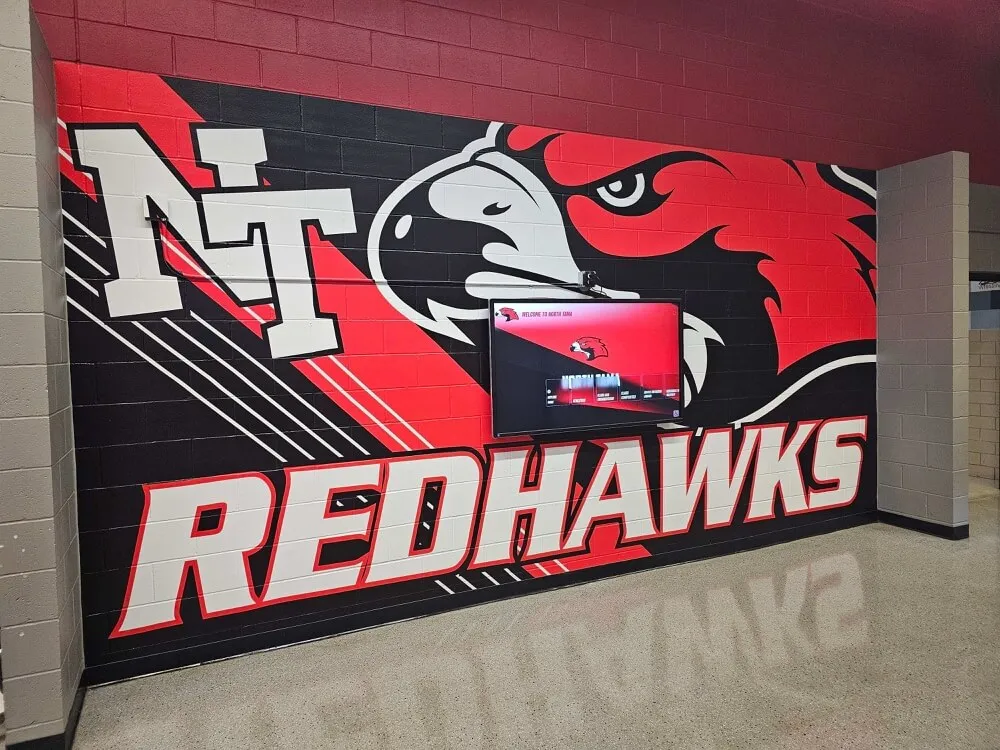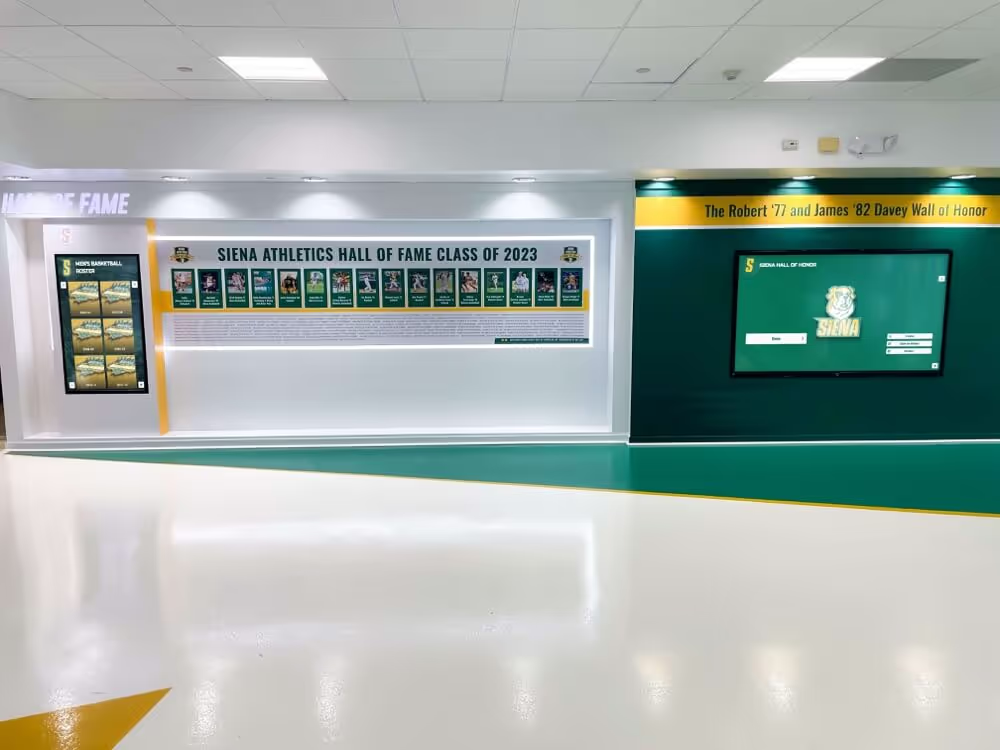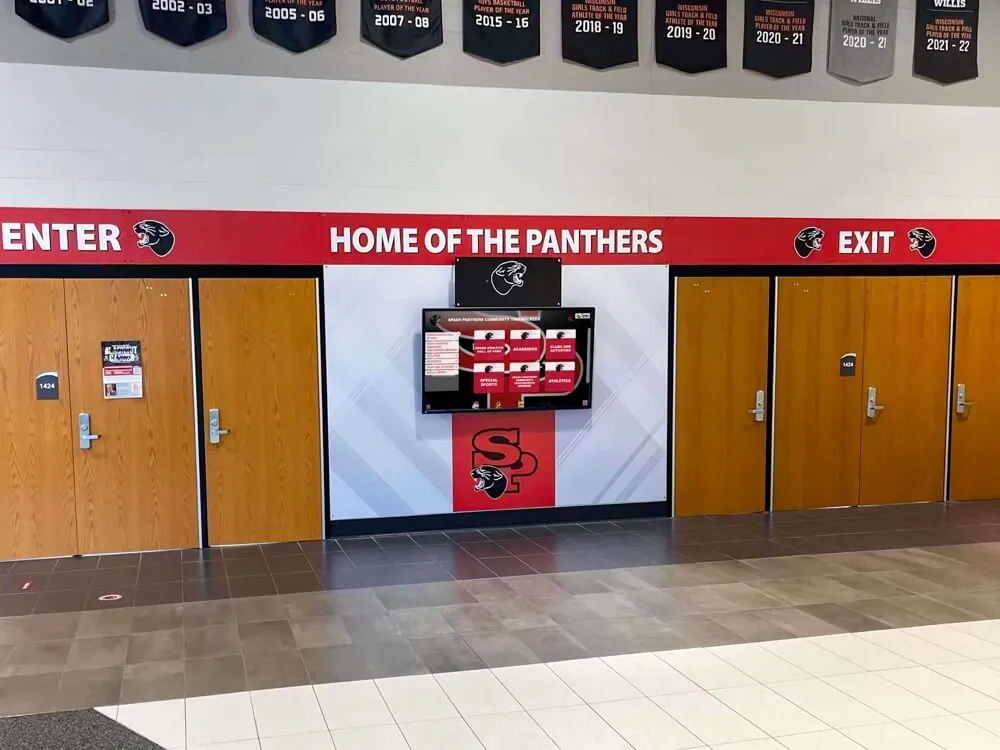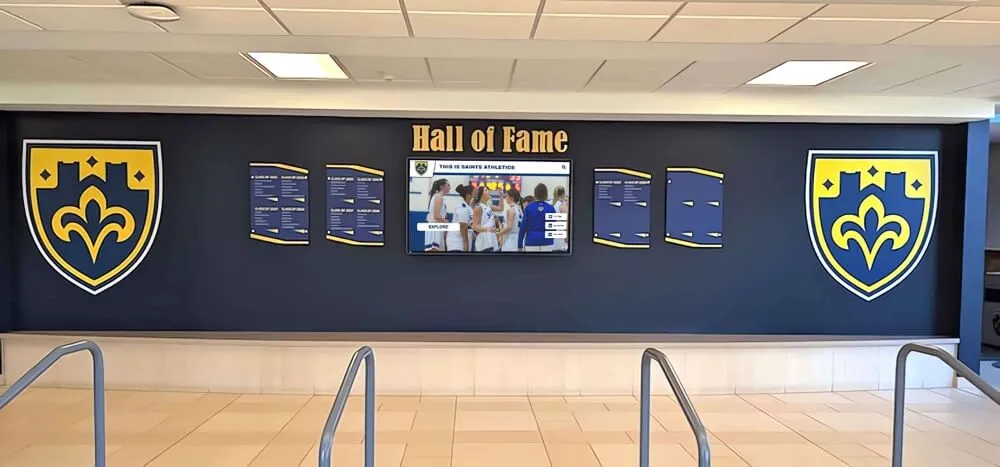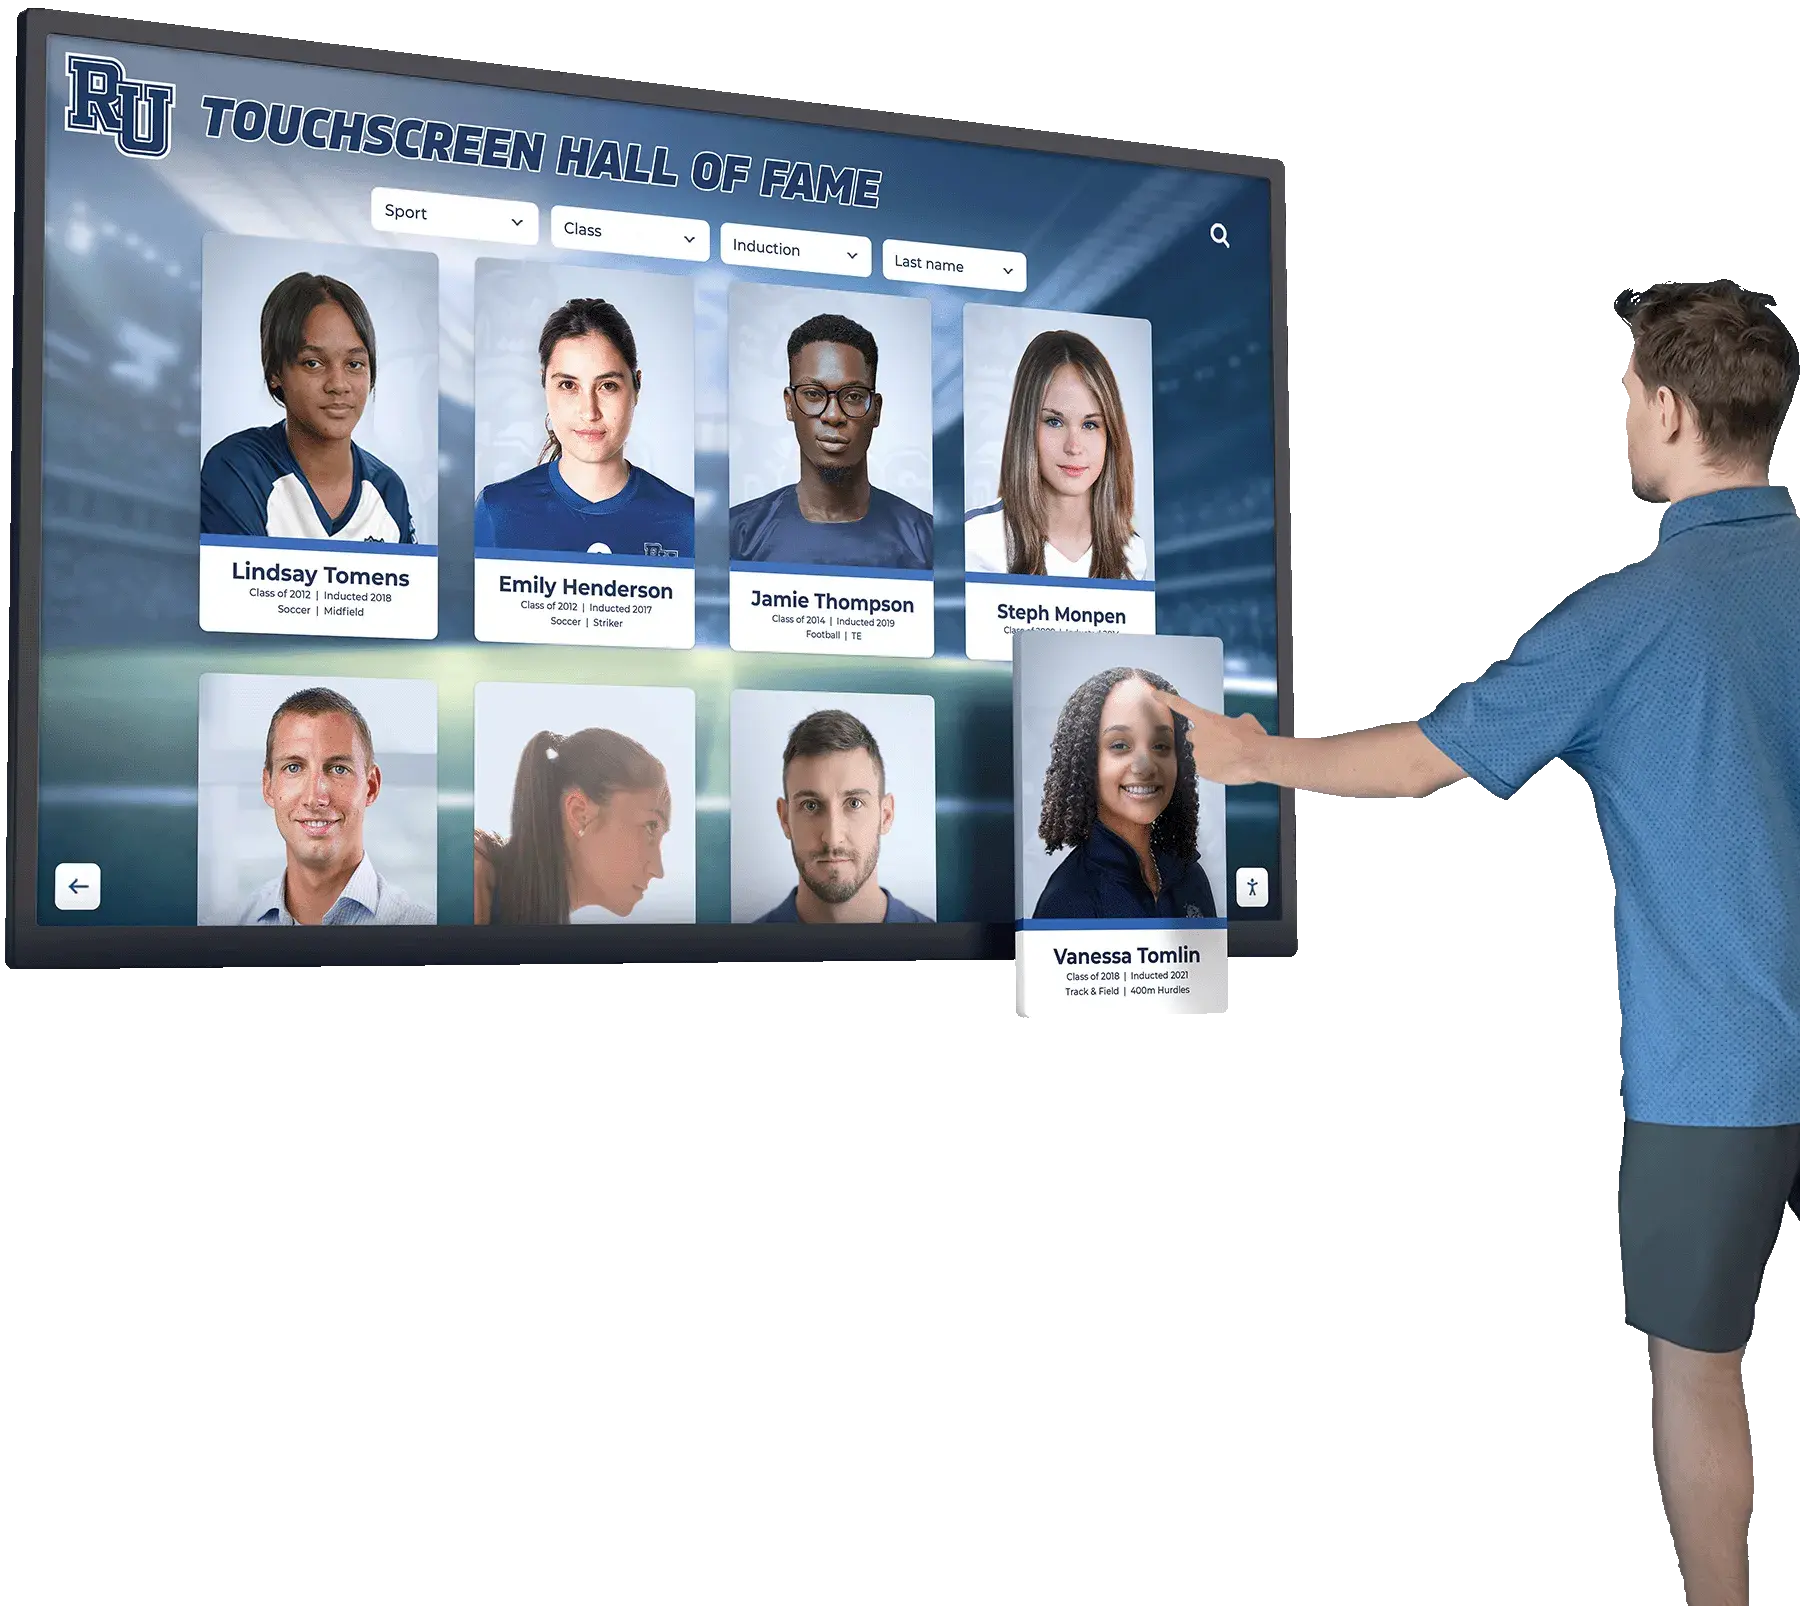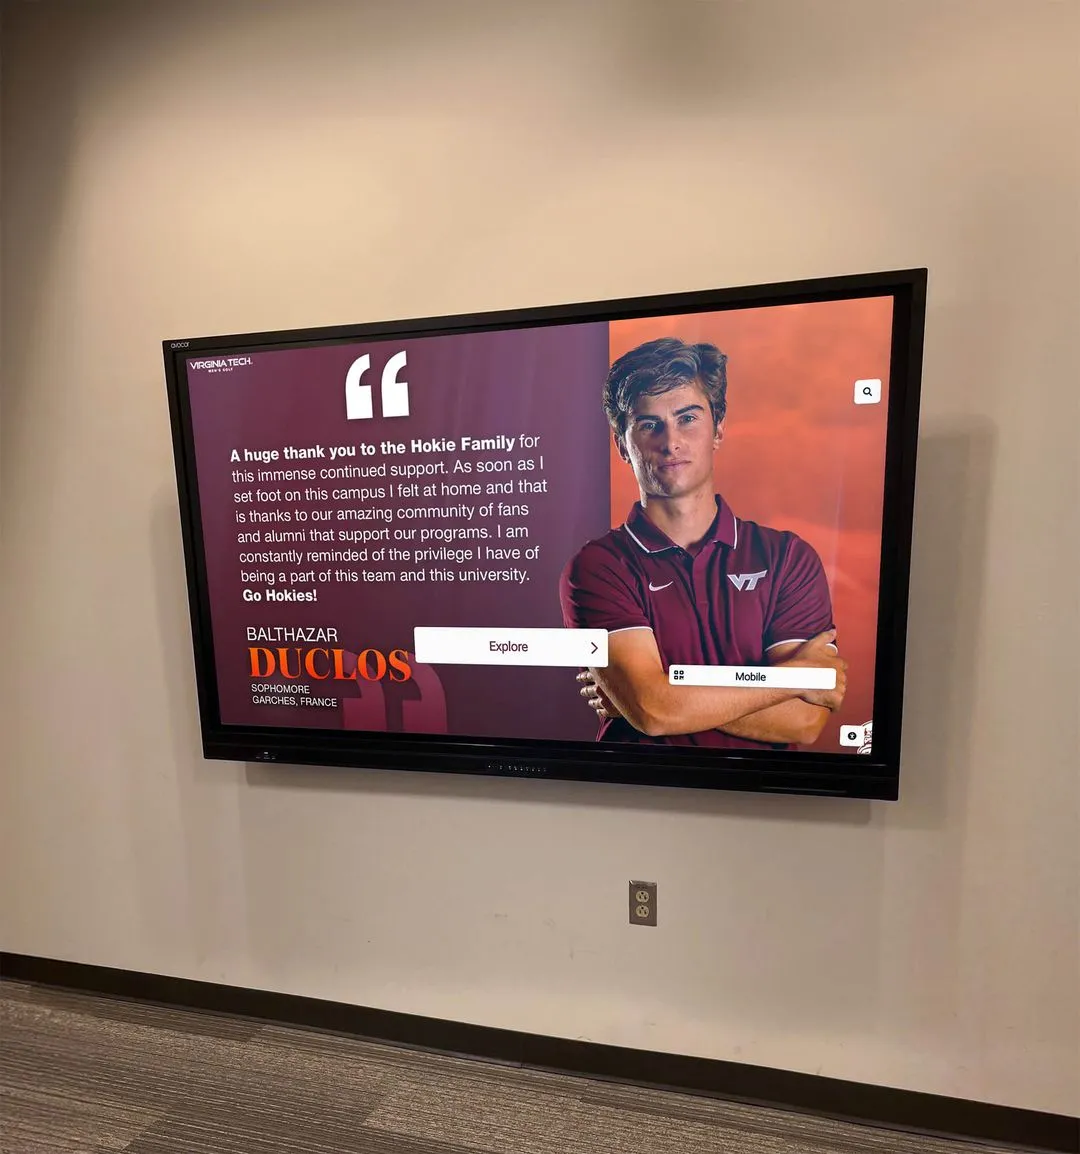
Intent: decide — A touchscreen recognition display running too hot will shut down mid-event, display artifacts, or shorten its service life—often with no warning until the screen goes dark during an awards ceremony or hall-of-fame induction night. This touchscreen recognition display thermal monitoring checklist helps school administrators, athletic directors, archives and recognition staff, facilities teams, and school IT prevent heat-related outages by inspecting enclosure temperature, ventilation, sunlight exposure, dust accumulation, and early shutdown symptoms before they interrupt the events that matter most.
Heat is the most underestimated threat to long-running school recognition displays. A kiosk that survives years of finger presses and content updates can fail faster from a blocked vent or a south-facing window than from any software issue. The good news is that thermal risk is largely predictable and preventable once you know what to look for.
This guide organizes every thermal check into a repeatable inspection format that your team can run each semester—and flags the warning signs that require immediate attention before a scheduled event.
School recognition displays are built to impress. Digital hall of fame displays versus traditional trophy cases often win on content capacity and long-term flexibility—but that advantage disappears the moment a heat-related shutdown empties the lobby screen during a family night or championship celebration. A thermal monitoring routine closes that vulnerability without requiring expensive equipment or specialized knowledge.
The checks below are organized into six areas: installation environment, temperature thresholds, ventilation and airflow, sunlight and radiant heat, dust accumulation, and shutdown symptom recognition. A seventh section covers how to schedule these checks across the academic calendar.

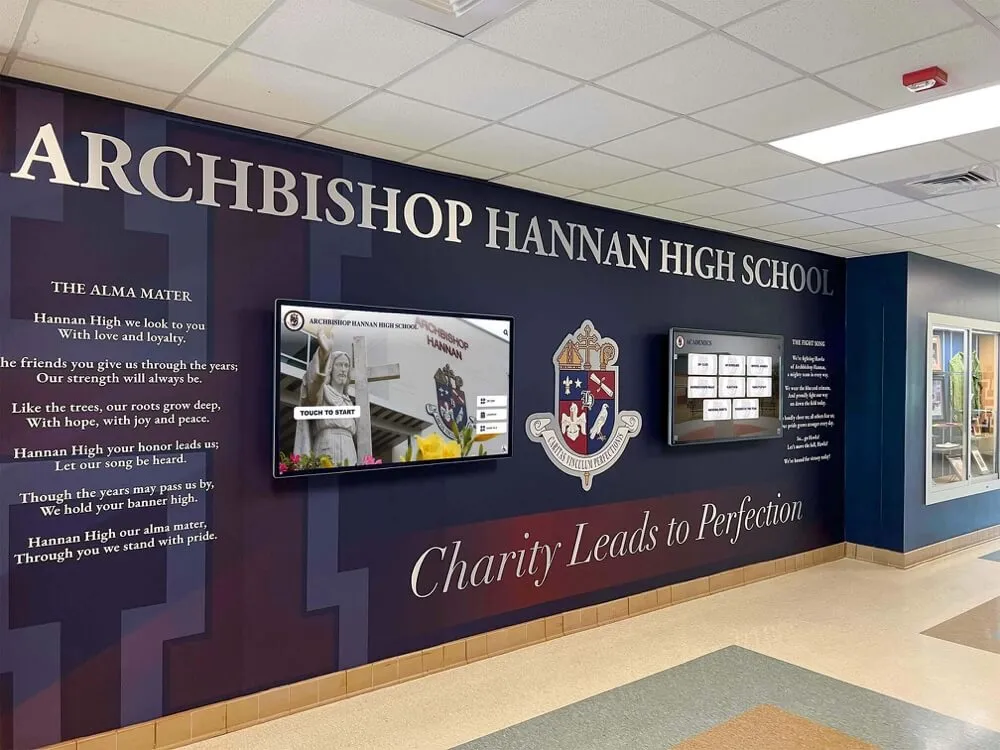
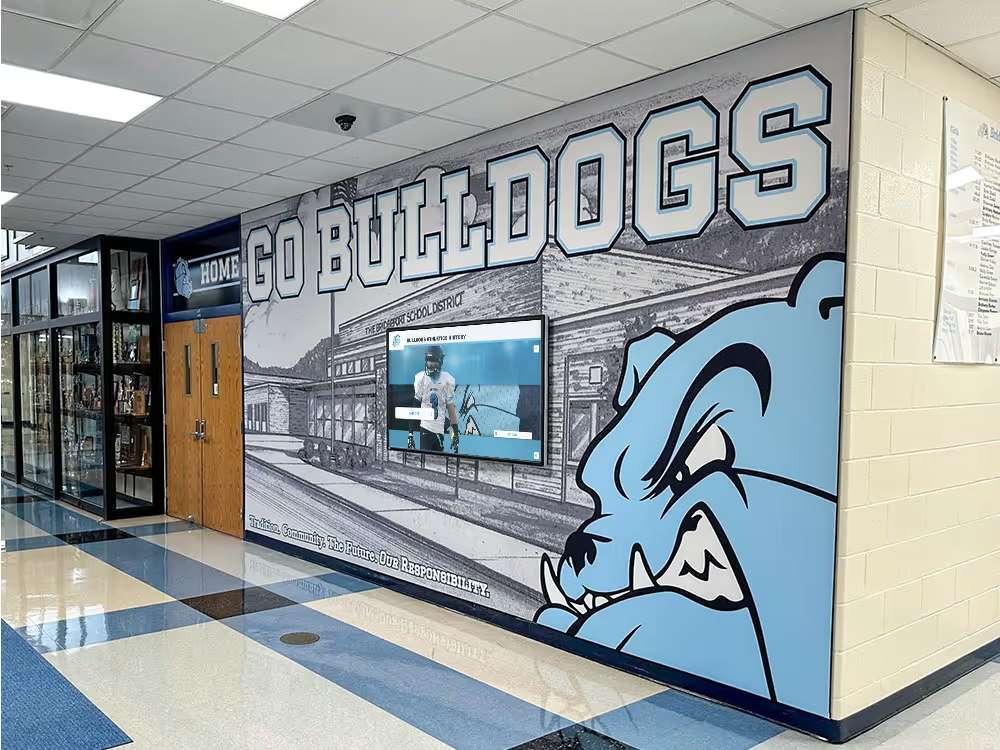
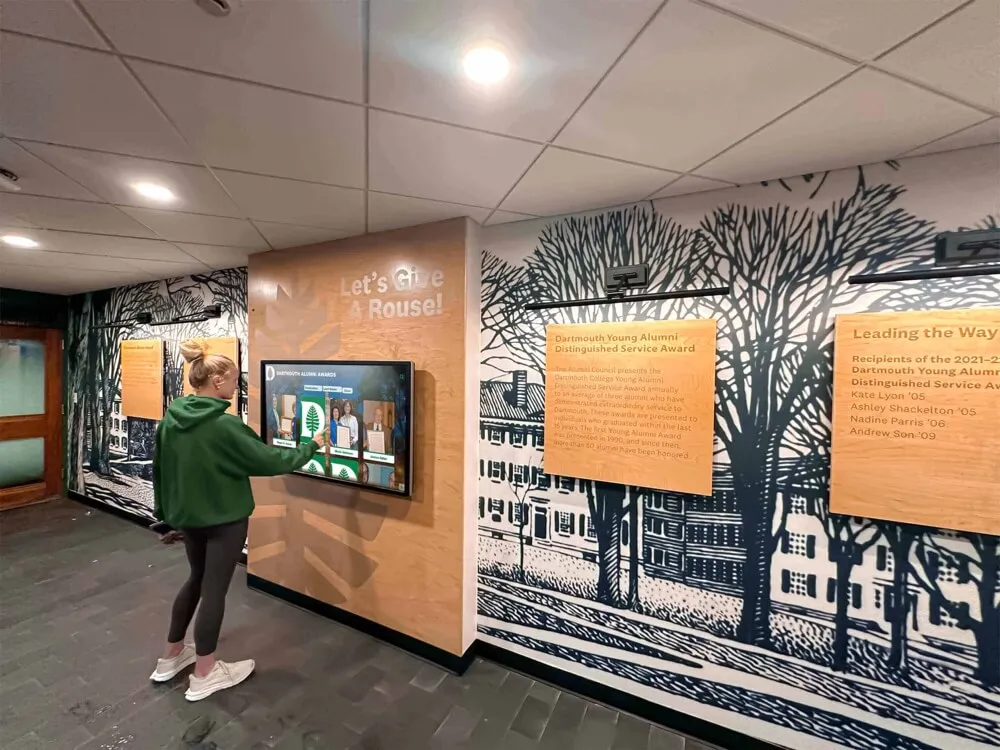
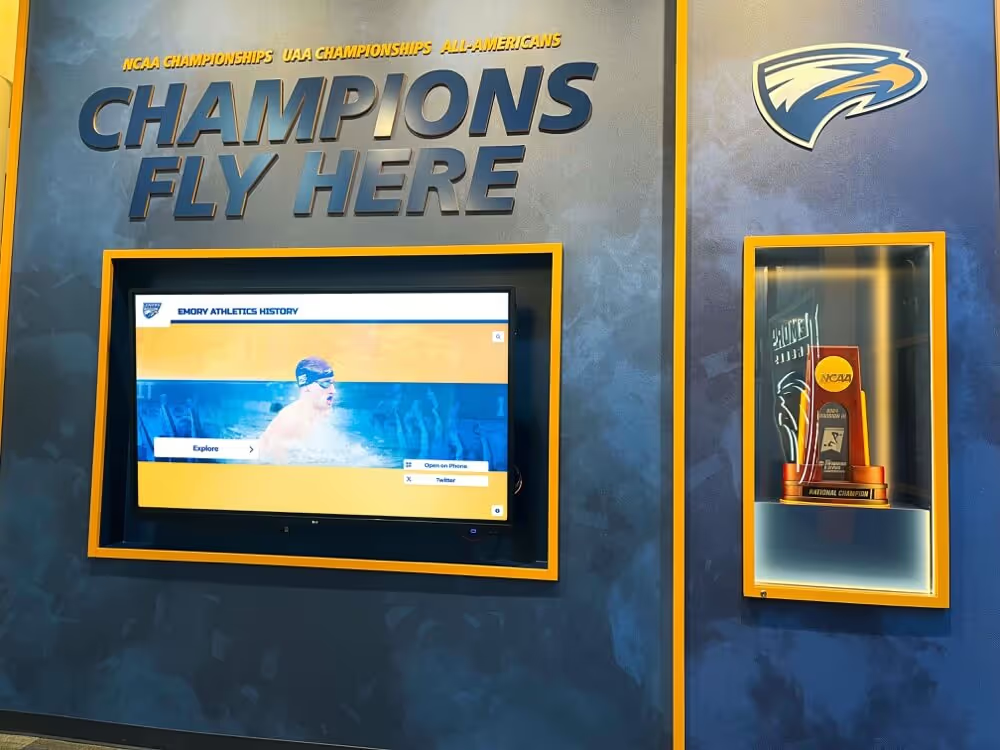
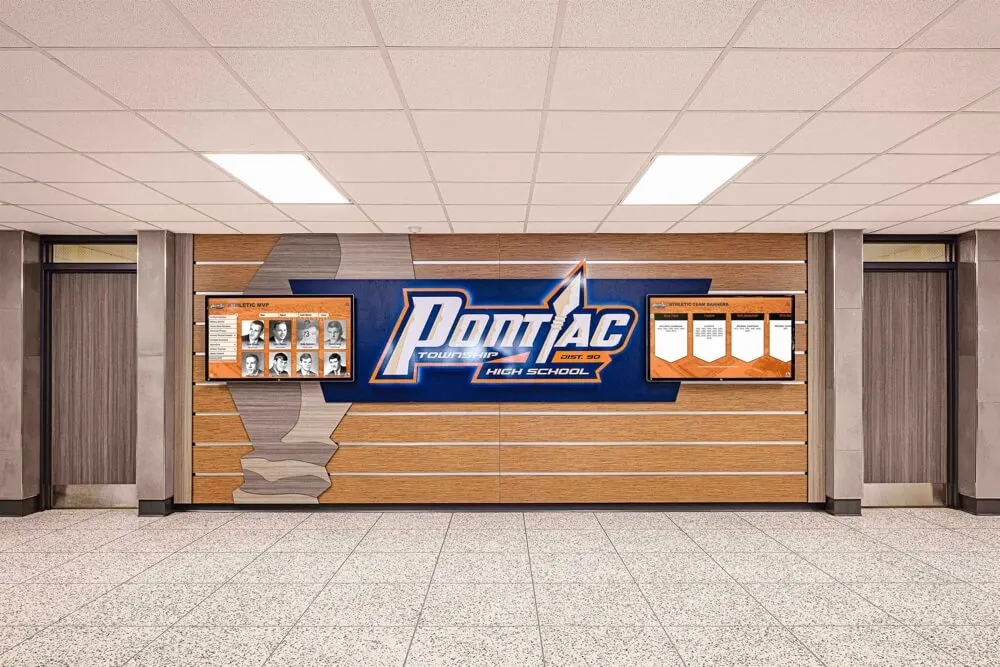
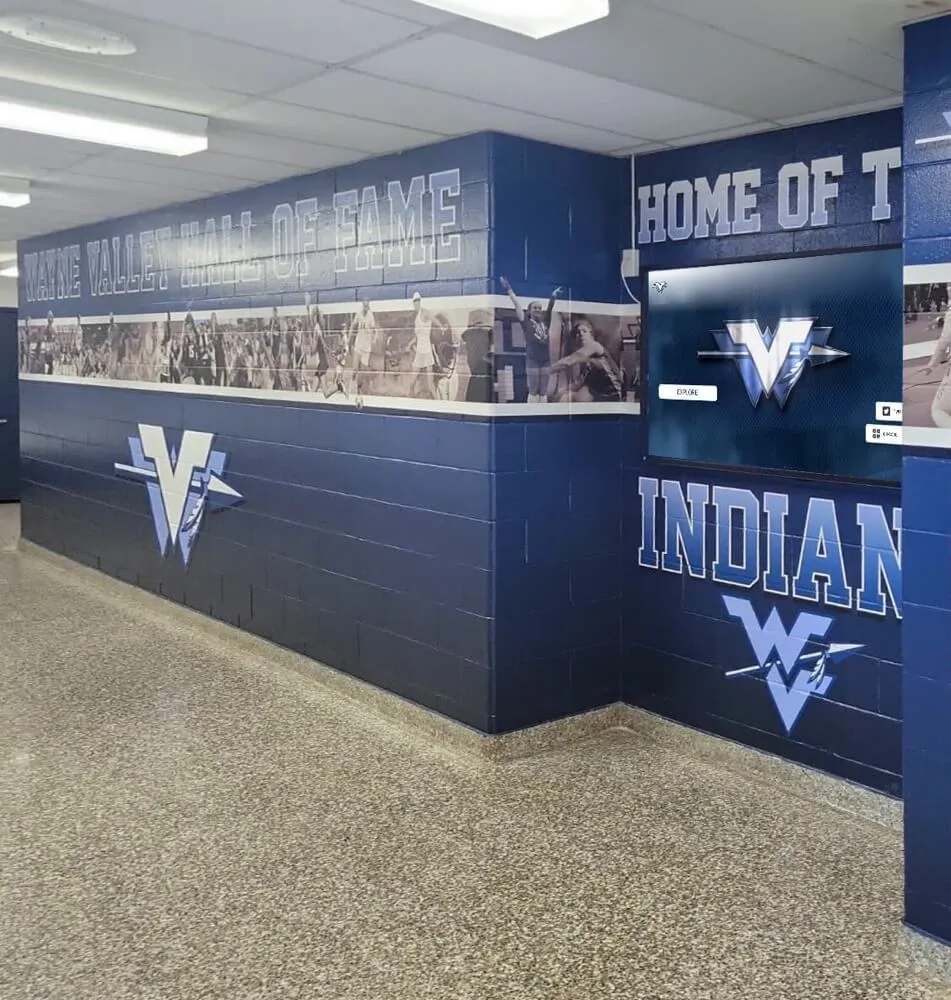
Recognition displays installed in school athletic hallways face variable ambient temperatures across seasons—a thermal monitoring routine helps facilities teams stay ahead of heat-related failures before they disrupt scheduled events.
Why Heat Is a Distinct Risk for School Recognition Displays
School recognition kiosks are not like standard commercial monitors. They typically run for twelve or more hours daily, house a computing module inside a sealed or semi-sealed enclosure, and sit in building locations—lobbies, gymnasium hallways, trophy corridors—that were not designed with electronics thermal management in mind.
Three factors combine to raise heat risk beyond what most facilities teams anticipate:
Continuous operation. A display that powers on at 6:45 a.m. and powers off after the evening game generates heat for sixteen hours. Heat accumulates in enclosures faster than it dissipates, especially in enclosures with limited airflow.
Internal computing hardware. Modern recognition kiosks contain a PC or media player whose processor, storage, and power supply all generate heat independently of the display panel. Free tools such as Open Hardware Monitor (for Windows-based kiosk computers) can surface component-level temperature readings—CPU, GPU, motherboard sensors—that are invisible without software monitoring. If your kiosk PC supports remote management, this data can be reviewed without visiting the physical location.
Building micro-environments. An atrium lobby facing west can absorb afternoon solar gain that raises ambient temperature by 10–15°F compared to the hallway ten feet away. HVAC systems that cycle down on weekends and holidays remove the climate buffer the display relies on during the school week. Neither condition is obvious without measurement.
Section 1: Installation Environment Checklist
The first inspection layer verifies that the display is placed in a location where ambient conditions stay within the range your panel and enclosure manufacturer specify.
1.1 Ambient Temperature Range
- Locate your panel’s operating temperature specification in the manufacturer’s documentation. Commercial recognition kiosks typically publish a rated operating range; verify yours before assuming any threshold applies.
- Measure ambient temperature at the installation site at three times: morning before the building warms up, peak afternoon when solar and HVAC loads are highest, and evening during scheduled events. A simple probe thermometer placed near the display intake vent for fifteen minutes at each time gives a representative reading.
- Compare measured ambient temperature against the panel’s rated operating range. If ambient temperature approaches the upper limit of the panel’s rated range, the display’s internal temperature—which is always higher than ambient—may already be exceeding the safe operating zone.
- Document the ambient temperature readings with date and time so facilities staff can compare readings across seasons. A location that passes in February may fail the same check in August.
1.2 Enclosure Type Assessment
- Identify whether the display uses an open-back, ventilated, or sealed enclosure. Open-back displays dissipate heat freely; fully sealed enclosures require internal fans and thermal management that must be maintained separately.
- Confirm that the enclosure design matches the installation environment. Sealed enclosures are often specified for dusty or moisture-prone areas but require reliable internal cooling. Ventilated enclosures tolerate higher ambient temperatures but require clear airflow paths.
- Verify that any enclosure cooling fans are operational. Hold a piece of paper near the exhaust vent during normal operation; active fan exhaust will deflect the paper. If no airflow is detectable, the fan may be failed or blocked.
Section 2: Temperature Threshold Reference
Precise operating temperature thresholds vary by manufacturer and panel model—always consult your specific vendor documentation rather than applying generic figures. The table below describes the categories of thresholds you should locate in your documentation and track, not universal values.
| Threshold Category | Where to Find It | What to Monitor |
|---|---|---|
| Panel operating temperature (max) | Display manufacturer spec sheet | Ambient temperature at installation site |
| Internal enclosure temperature (max) | Enclosure manufacturer documentation | Temperature near intake/exhaust vents |
| Compute module operating temperature | Kiosk PC or media player spec sheet | Component temps via hardware monitor software |
| Storage (off/standby) temperature | Panel spec sheet | Temperature during weekends or holidays when HVAC reduces |
| Humidity operating range | Panel spec sheet | Relative humidity at installation site, especially in gymnasiums |
Practical guidance on thresholds: If your vendor documentation names a maximum operating temperature, treat 80% of the margin between current ambient and that maximum as your action threshold—the point at which you investigate and improve cooling rather than waiting for the limit to be breached. A display rated to operate up to a certain temperature should not routinely run at ambient temperatures close to that ceiling, because the internal temperature is always higher than ambient.
If your kiosk uses a Windows-based PC internally, software such as Open Hardware Monitor reads CPU, GPU, and motherboard sensor temperatures from within the operating system and can log those readings over time. Reviewing those logs periodically—monthly is sufficient—reveals whether component temperatures trend upward across seasons, a reliable early indicator of developing thermal stress.
Section 3: Ventilation and Airflow Checklist
Poor ventilation is the most common cause of heat-related recognition display failures in school installations. Enclosures that shipped with adequate airflow can develop blockages over months of operation.
3.1 Intake and Exhaust Vent Inspection
- Locate all intake and exhaust vents on the enclosure or panel. Intakes are typically at the bottom or sides; exhausts at the top or rear.
- Inspect each vent opening for visible obstruction. Common culprits: display programs or posters taped to the enclosure side, banners mounted too close and blocking rear vents, and furniture or display cases pushed against the back of a kiosk.
- Verify minimum clearance around the enclosure. Most manufacturers specify a minimum clearance distance at vents; consult your documentation. If the display is mounted in a recessed alcove or trophy case, confirm that the alcove itself has adequate airflow and does not trap heat.
- Clear any obstruction immediately. Even partial vent blockage significantly reduces heat dissipation. A vent that is 50% blocked does not deliver 50% of rated airflow—turbulent flow restrictions are non-linear.
3.2 HVAC Proximity and Building Airflow
- Verify the display is not positioned directly under or adjacent to a heating duct. Forced warm air from a ceiling duct aimed at a display in winter adds thermal stress that the enclosure was not designed to handle.
- Confirm the display is not in a dead-air zone. Alcoves, enclosed trophy cases, and corridor ends with no ceiling return air can trap heat. If the area around the display feels noticeably warmer than the corridor ten feet away, the installation location may need supplemental ventilation.
- Check HVAC operating schedule against display operating schedule. Many school HVAC systems reduce or disable climate control during weekends, holidays, and summer. If the display runs during those periods, ambient temperature may exceed the safe range when staff are not present to observe warning signs.
- For summer events and award ceremonies, verify HVAC is active before the event begins. Athletic banquets, spring induction ceremonies, and summer showcase events often fall in periods when building climate control is set to economy mode. Confirm with facilities staff that HVAC will be fully active during the event window.
3.3 Fan Maintenance
- Clean enclosure fan blades and filter screens every semester. Dust accumulates on fan blades and intake filters, reducing airflow volume without fully blocking it—a condition that is easy to miss during a visual check.
- Listen for changes in fan tone during normal operation. A fan running harder than usual to compensate for reduced airflow or elevated temperatures often produces a higher pitch than normal. Flag any change in fan noise for inspection.
- Verify fan direction. In rare cases following maintenance or enclosure work, fans can be reinstalled in the wrong orientation, pushing air in the wrong direction. Confirm that fans push air toward the exhaust side of the enclosure.
Section 4: Sunlight and Radiant Heat Checklist
Direct and indirect solar exposure is the fastest way to push a recognition display into a thermal danger zone. Schools with large exterior window areas in lobbies, atria, or gymnasium hallways are at particular risk.
4.1 Direct Sunlight Exposure
- Observe the display location at multiple times of day across seasons. A display that receives no direct sun in winter may receive direct afternoon exposure in summer as the sun’s angle changes. Check the site in late spring and early fall, not just the initial installation date.
- Relocate or shade any display receiving direct sunlight. Window film, exterior shading, or physical relocation are all viable options depending on the installation. Direct sun on the panel face raises surface temperature beyond what the panel’s cooling system is designed to manage.
- Assess radiant heat from nearby surfaces. A south-facing brick or concrete wall absorbs solar energy and re-radiates it as heat throughout the afternoon. A display positioned near that wall—even without direct sun exposure—may experience significantly elevated ambient temperatures during peak solar hours.
4.2 Glass and Greenhouse Effects
- Check whether the display is housed in a glass-fronted case or alcove. Glass enclosures create a greenhouse effect that amplifies heat gain dramatically during daylight hours. If so, assess whether the case is adequately ventilated or whether a solid-panel display cover is a better option.
- Review glazing type on nearby windows. Standard single-pane glass transmits more solar energy than insulated or low-emissivity glass. If your school’s lobby windows are older single-pane glazing, assume higher radiant heat contribution to the display environment.
4.3 Seasonal Adjustment
- Schedule a thermal spot-check each spring before peak solar exposure season. Run the display for four hours during the afternoon of a clear day in April or May and measure ambient temperature near the vent. This gives a preview of summer conditions without waiting for a heat event to discover a problem.
- Consider adjusting display hours during peak summer if ambient conditions exceed safe thresholds. A display that runs safely during the school year may require a shortened daily schedule during summer events when HVAC runs in economy mode and solar gain is highest.
Section 5: Dust Accumulation Checklist
Dust is a thermal insulator. Accumulated dust on heat sinks, fan blades, and internal surfaces reduces heat dissipation efficiency steadily and silently.
5.1 Internal Dust Inspection
- Schedule an internal dust inspection every six months, or more frequently in high-traffic areas. High-traffic corridors, gymnasiums, and construction-adjacent locations accumulate dust faster than quiet administrative hallways.
- Power down the display and allow it to cool fully before opening any access panel. Internal components remain hot for fifteen to thirty minutes after shutdown; opening the enclosure immediately risks burns and component stress.
- Inspect heat sinks, fan blades, and vent screens for dust buildup. A layer of dust visible to the naked eye is sufficient to reduce thermal performance meaningfully. Use compressed air to remove dust from heat sink fins and fan blades; a soft brush for vent screens.
- Inspect the display PC’s internal components if accessible. If the kiosk uses a standard PC module, the CPU heat sink and power supply fan are the highest-priority cleaning targets. A heavily dust-coated CPU heat sink can raise processor temperatures by a significant margin even when the enclosure itself appears clean.
5.2 Filter Maintenance
- Replace or clean intake filter media according to the manufacturer’s schedule. If no schedule is specified, inspect filters monthly and clean or replace when visible dust loading reduces airflow.
- Document filter cleaning dates. Dust accumulation rate is consistent for a given location; a log of cleaning intervals helps predict when the next cleaning is needed rather than relying on observation.
- Verify filter media matches the enclosure specification. Replacement filter material that is too dense can reduce airflow below what the cooling system requires even when clean. Use manufacturer-specified replacement media.
Section 6: Shutdown Symptom Recognition Checklist
Thermal shutdown symptoms in recognition displays often appear as display glitches before a full outage. Recognizing early warning signs allows staff to intervene before a critical event is disrupted.
6.1 Display Behavior Warning Signs
- Monitor for spontaneous reboots during normal operation. A recognition display that restarts on its own once or twice in a week without a software update or power event is exhibiting a classic thermal protection behavior—the hardware protection circuit is cutting power to prevent damage.
- Watch for content freeze or black-screen events during peak afternoon hours. Freeze events that correlate with the warmest part of the day (typically 2:00–4:00 p.m. in summer) strongly suggest thermal throttling or shutdown.
- Note any visible pixel artifacts, color banding, or brightness fluctuations. These can indicate GPU or display controller components operating at elevated temperatures. They often precede a complete shutdown event by days or weeks.
- Check whether the touch input becomes unresponsive before the display restarts. Touch controller firmware often shuts down before the main display—unresponsive touch input on an otherwise functioning screen is an early thermal warning worth logging.
6.2 Software and Monitoring Signals
- Review system event logs on the kiosk PC for thermal warning entries. Windows Event Viewer records critical hardware events including thermal protection activations. Log entries related to processor throttling or emergency shutdown are definitive evidence of a thermal management problem.
- If using Open Hardware Monitor or equivalent, check temperature trend graphs across the week rather than looking at a single point-in-time reading. A CPU temperature that rises steadily across a week’s monitoring logs—even if still within the rated range—indicates a developing thermal problem such as fan degradation or increasing dust load.
- Configure automatic alerts if your kiosk management platform supports them. Some web-based recognition platforms with remote CMS capability also integrate device health monitoring; confirm with your vendor whether temperature or uptime alerts are available.
6.3 Post-Incident Documentation
- After any thermal shutdown event, document the ambient conditions at the time. Note the outdoor temperature, whether HVAC was active, the time of day, and whether there had been any recent changes to vent clearance or enclosure access.
- Do not simply restart and continue after a thermal shutdown. The shutdown occurred because the hardware protection circuit reached its activation threshold. Identify the contributing factor before returning the display to full operation.
- Escalate recurring thermal shutdowns to the display vendor. Two or more thermal shutdown events within a single month, after known contributing factors have been corrected, may indicate a hardware cooling failure that warrants a service call.
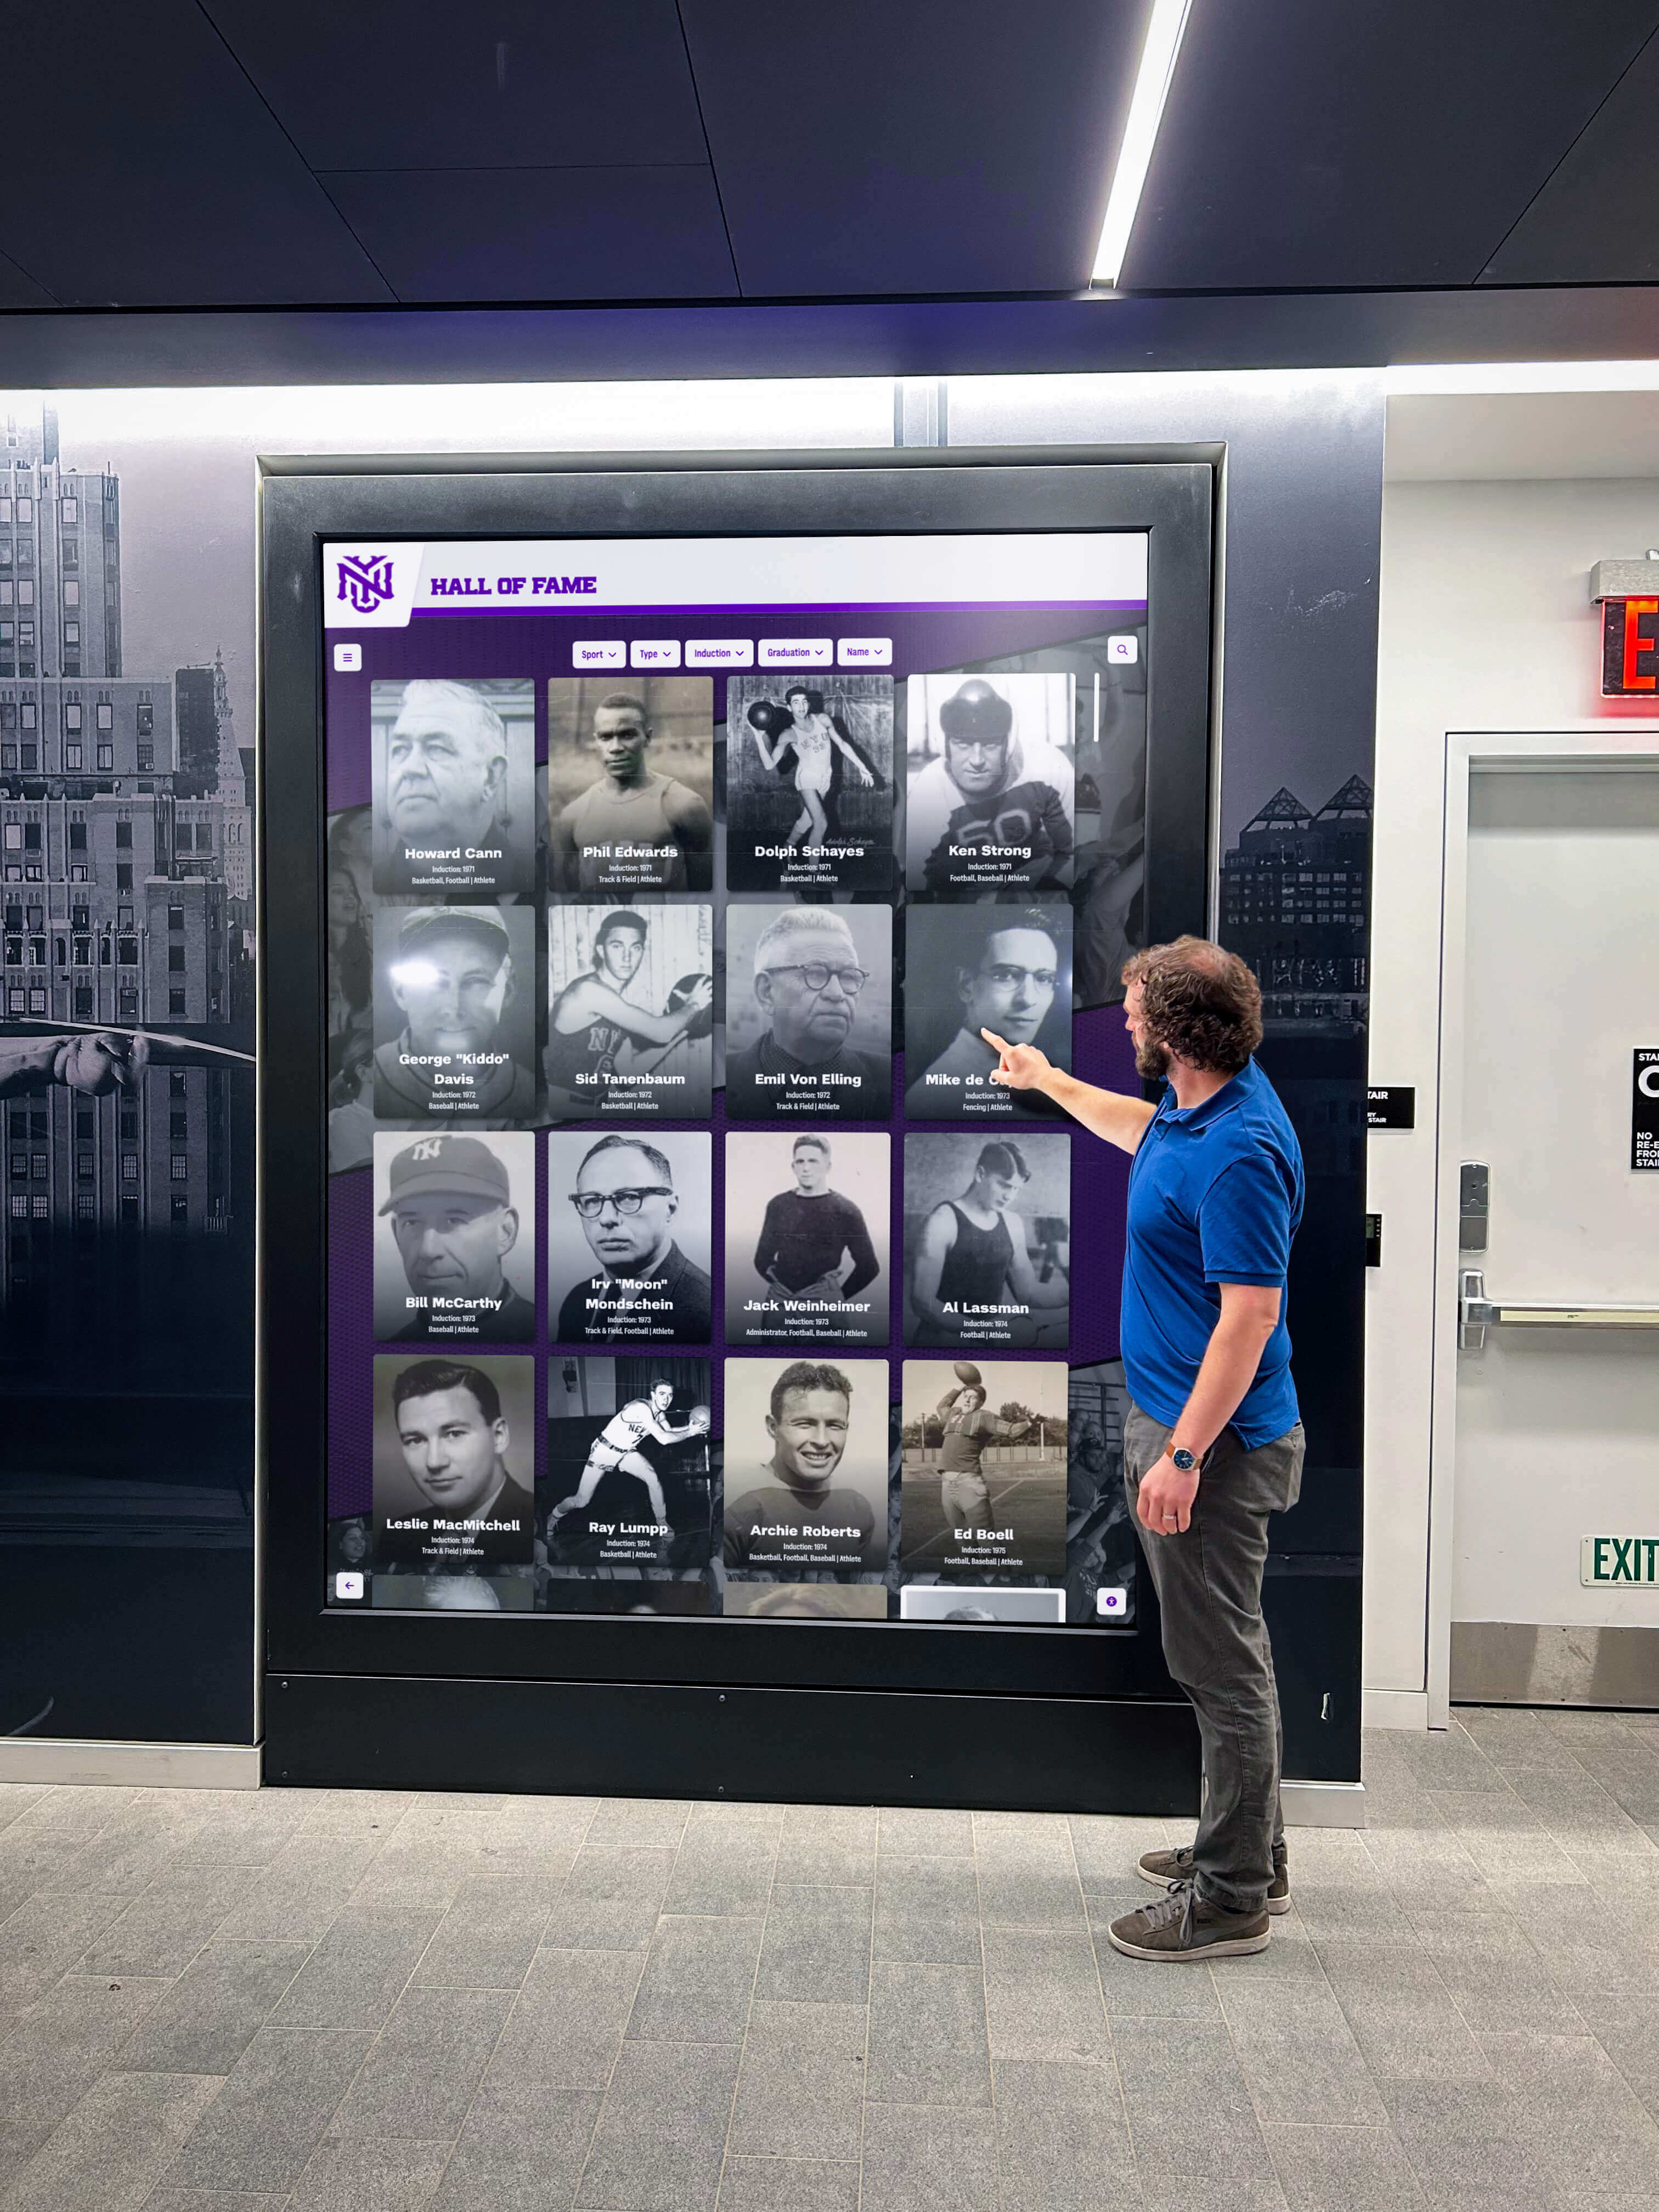
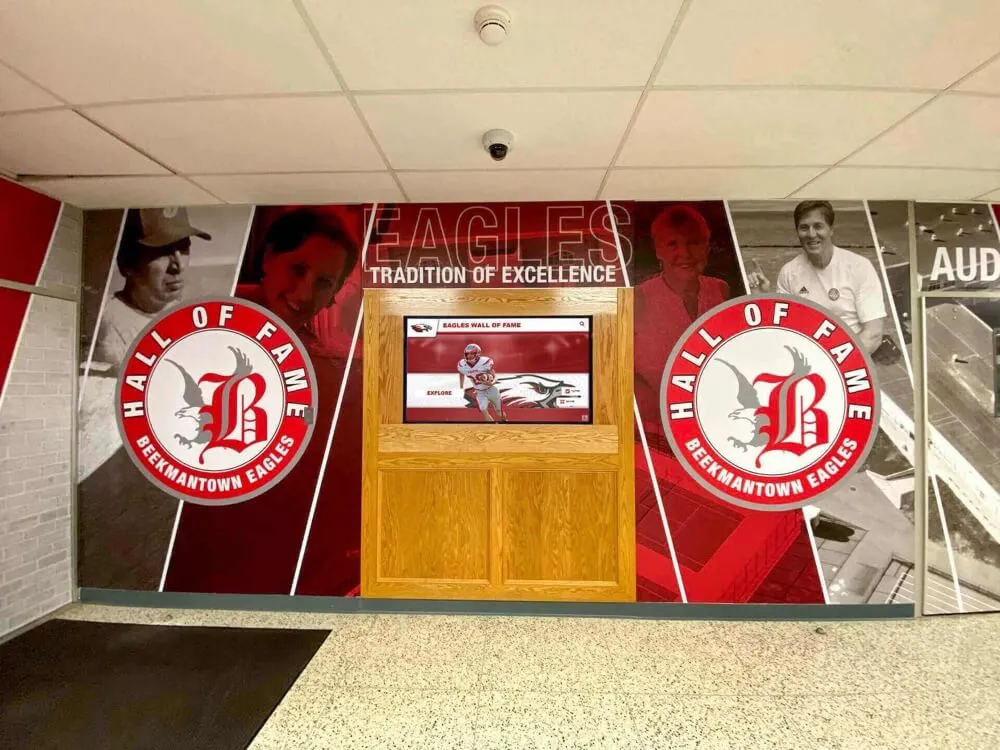
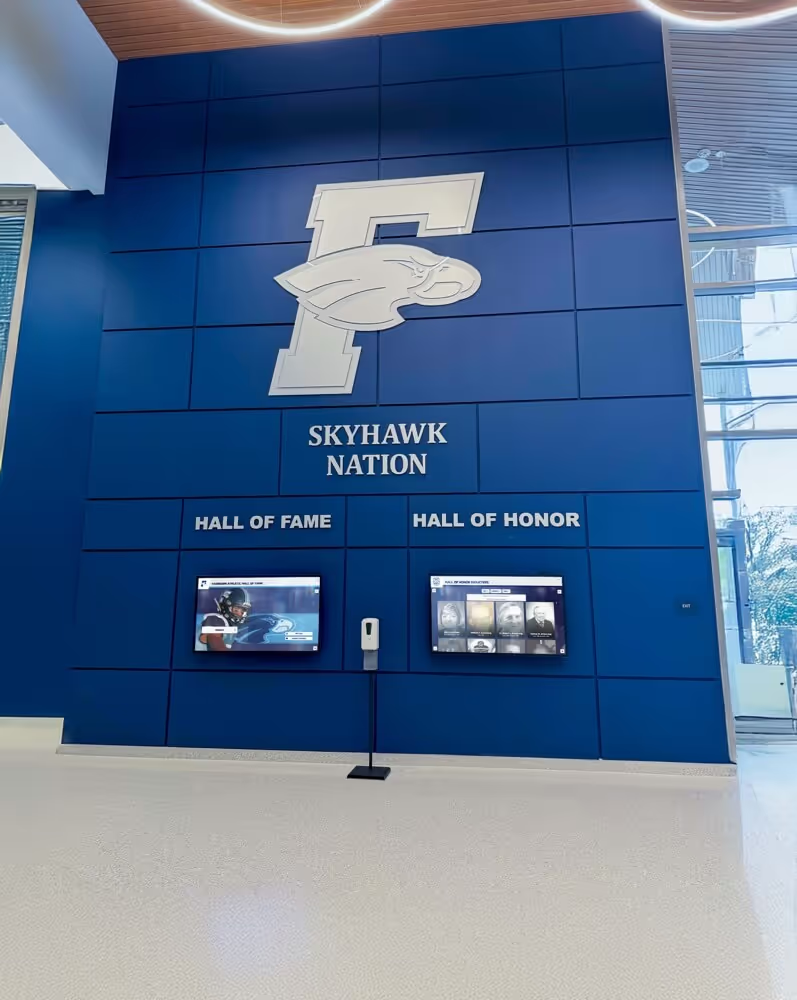
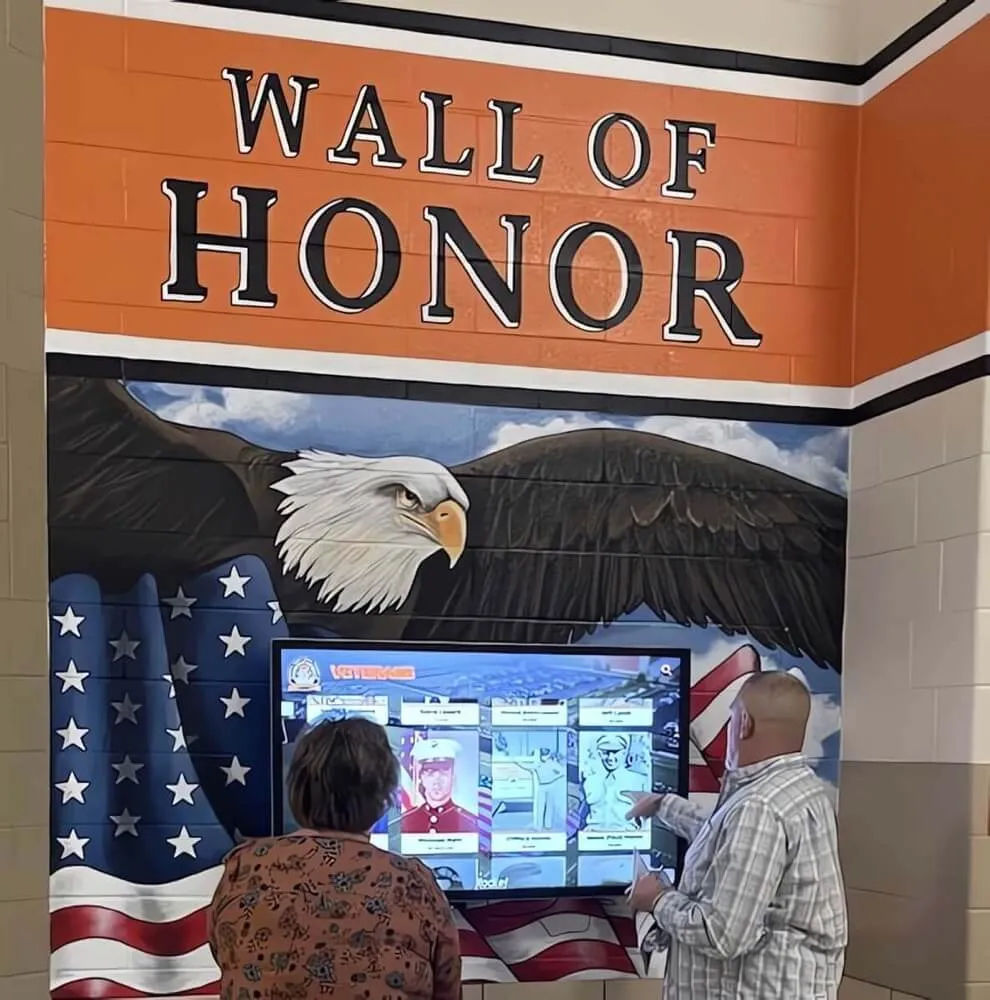
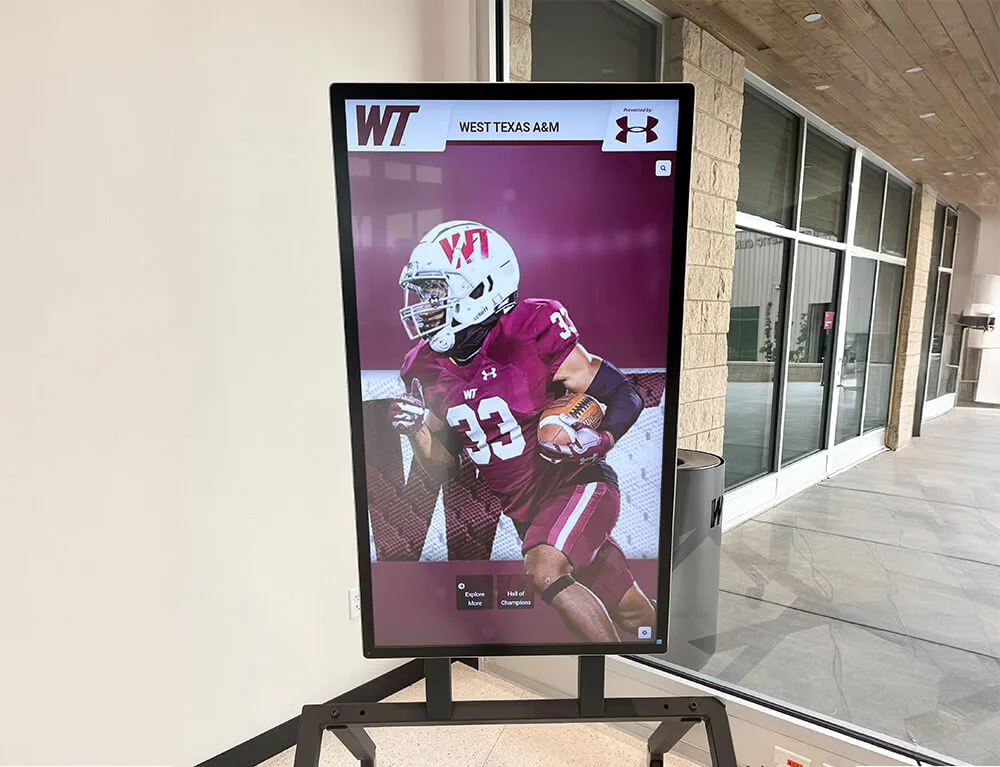
Lobby recognition displays that greet visitors during award ceremonies and family events are the highest-visibility hardware in the building—a thermal monitoring routine ensures they perform reliably at every scheduled event.
Section 7: Seasonal Monitoring Schedule
Thermal risk is not constant across the academic year. Building ambient temperatures, HVAC schedules, and solar exposure all shift by season. A monitoring schedule aligned to those changes is more efficient than a fixed weekly routine that applies uniform effort to low-risk and high-risk periods equally.
| Season | Primary Thermal Risk | Recommended Check |
|---|---|---|
| Late Summer (Aug–Sep) | Peak ambient temperature; HVAC returning from economy mode | Full thermal checklist + ambient temperature measurement |
| Fall (Oct–Nov) | Transitional HVAC; heating systems activating near displays | Vent clearance inspection; heating duct proximity check |
| Winter (Dec–Jan) | Heating duct radiant heat; lower ventilation in sealed areas | HVAC proximity check; enclosure fan verification |
| Early Spring (Feb–Mar) | Dust accumulation from winter; HVAC mode transitions | Internal dust inspection; filter cleaning |
| Late Spring (Apr–May) | Increasing solar exposure; spring event schedule ramps up | Sunlight exposure spot-check; pre-event ambient temperature test |
| Summer (Jun–Jul) | Maximum solar gain; HVAC often in economy mode | Full thermal checklist; consider display hours adjustment |
Event-specific check: Run a targeted thermal spot-check 48 hours before any scheduled awards ceremony, hall-of-fame induction, athletic banquet, or other high-visibility event. Confirm ambient temperature, vent clearance, and HVAC activation status. A 48-hour lead time leaves room to correct problems without emergency intervention on the day of the event.
Platform Features That Reduce Thermal Risk
Some thermal risk factors are outside a facilities team’s direct control—building construction, HVAC infrastructure, and installation location constraints are all fixed. But recognition platform features can reduce the operational contribution to thermal load.
Reduced display compute load during idle periods. Web-based recognition platforms that serve content efficiently without requiring high GPU utilization for idle-screen rotation put less thermal stress on the kiosk PC during the long hours between visitor interactions. Ask your vendor how the platform performs on a standard commercial kiosk processor under typical idle conditions.
Remote content and schedule management. A platform that allows administrators to adjust display schedules, brightness, and content rotation from a remote CMS means thermal adjustments—reducing display hours during summer, scheduling content to change automatically to reduce static-element load—happen without requiring someone to physically visit the display and interact with on-screen menus.
Scheduled publishing and auto-rotation. Platforms that surface new recognition content automatically—rotating the newest inductees, records, and awards without manual intervention—keep idle-screen pixel load varied, which also reduces the heat contribution from sustained high-brightness display of static images.
Schools evaluating or upgrading recognition platforms should ask vendors specifically about kiosk hardware compatibility, recommended compute specifications, and whether the platform provides any device health monitoring or uptime visibility from the administrative dashboard.
Connecting Thermal Monitoring to Your Broader Recognition Investment
A recognition display that fails on event night does more than disrupt the evening—it creates a visible impression that the school’s commitment to honoring its athletes and alumni is unreliable. The community members who spend time in front of a well-designed alumni recognition wall or interactive hall-of-fame installation have an expectation that the display will work every time they visit.
Recognition assets—including touchscreen kiosk hardware—are long-lived capital investments. Booster club fixed-asset register templates used by some schools to track athletic program capital assets can include display hardware maintenance schedules, making thermal monitoring a documented part of the asset’s service record rather than an ad hoc activity.
For athletic programs that honor coaches, trainers, and support staff alongside athletes, the stakes for reliable display operation extend across the full recognition portfolio. Schools that have developed athletic trainer hall-of-fame recognition programs understand that each inductee category carries its own ceremonial weight—and a heat-related outage during any one of those ceremonies reflects on the program’s credibility.
Schools that have invested in creating a collegiate-level recognition experience for high school athletes need their hardware to match the quality of their programming. A thermal monitoring routine is the operational layer that protects that investment across the life of the installation.
Organizations with large donor recognition programs—whether interactive donor recognition walls or campus-wide recognition networks—face the same thermal risk at greater scale. The more displays in operation, the more important a consistent monitoring protocol becomes.
Churches and faith communities that operate interactive donor boards in high-traffic lobby environments share the same installation environment characteristics as school recognition displays—long operating hours, variable ambient temperature, and high-visibility event schedules where outages are particularly disruptive. The thermal monitoring practices in this checklist apply equally to those installations.
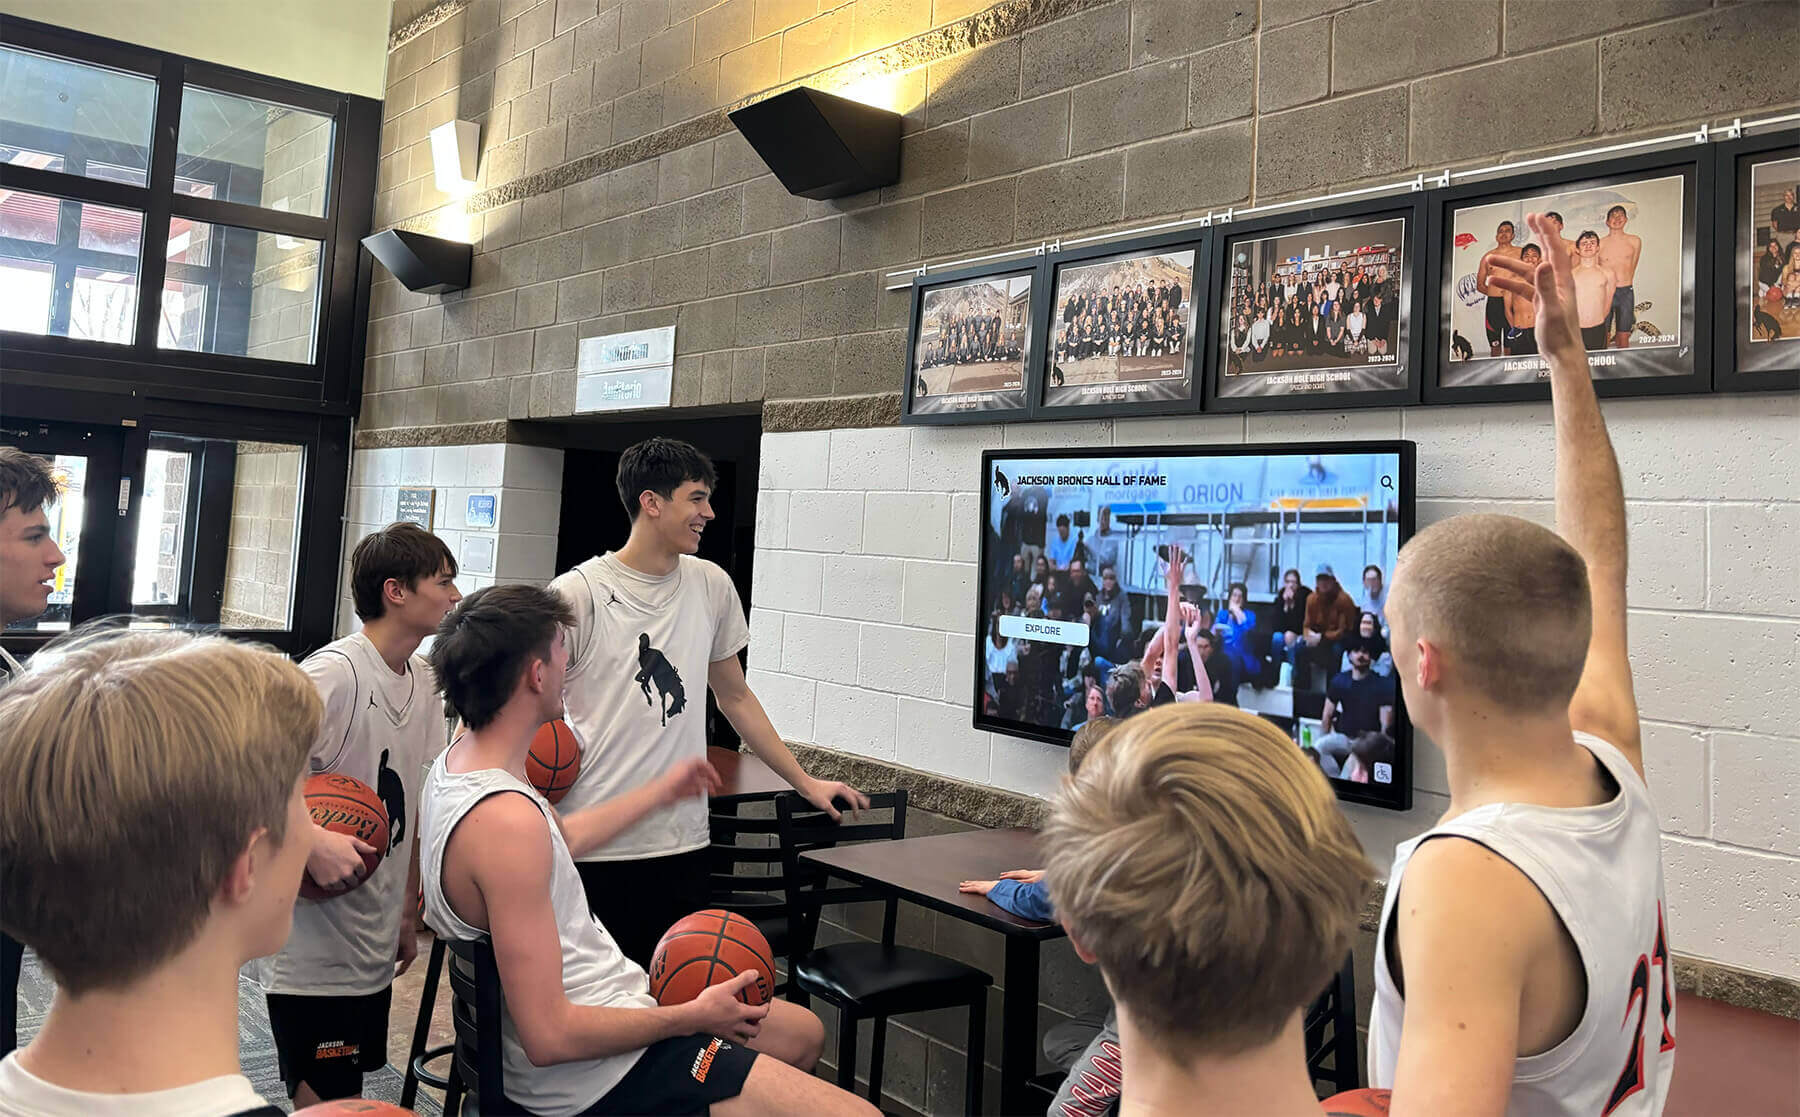
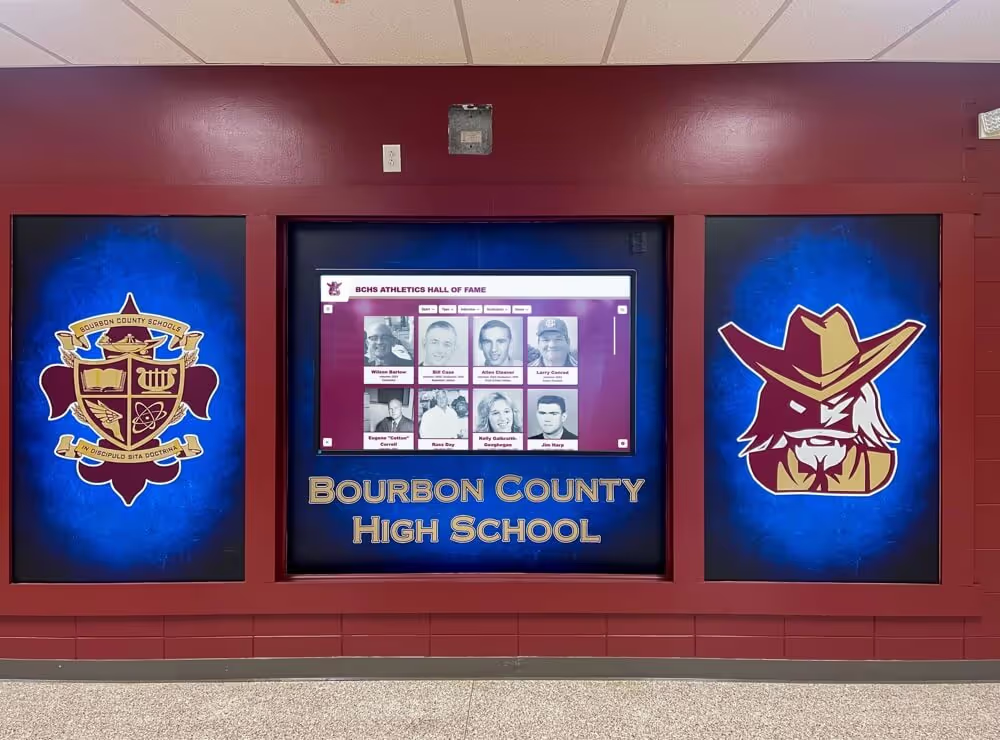
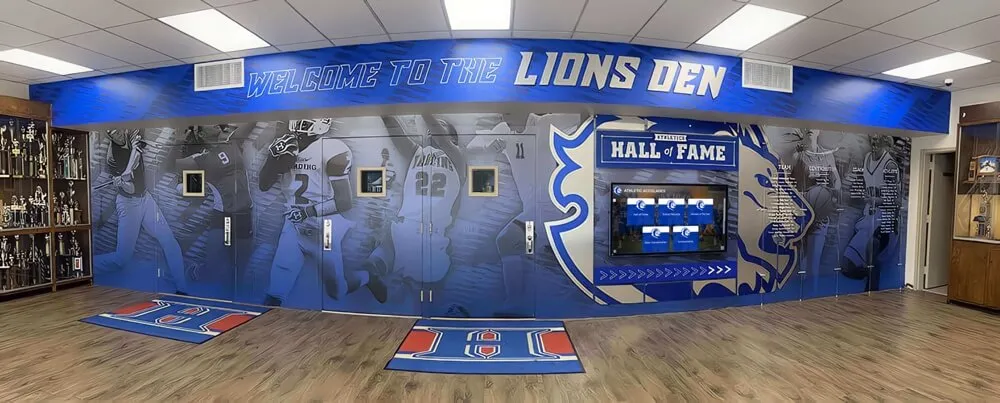
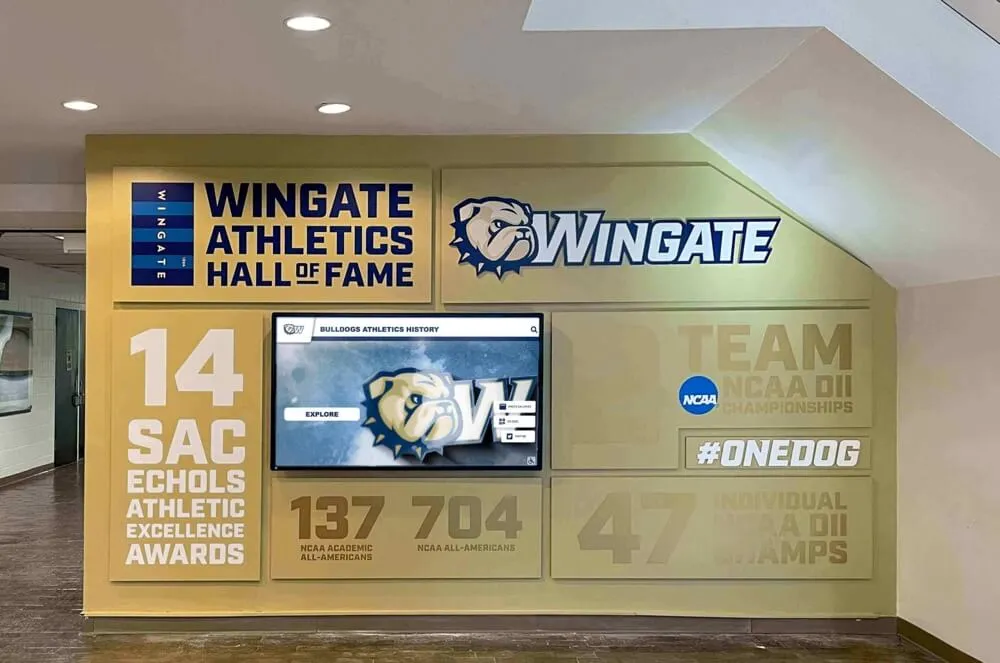
The moments when athletes and families gather around a recognition display are exactly when heat-related failures are most disruptive—and most preventable with a consistent thermal monitoring routine.
Frequently Asked Questions
Q: How do I know if my display’s internal temperature is too high without specialized equipment?
Start with behavioral indicators: spontaneous reboots, touch input freezes, and pixel artifacts are the most reliable lagging indicators. For a leading indicator, download Open Hardware Monitor (for Windows-based kiosk PCs) or check your kiosk management platform for device health data. Ambient temperature measurement with a simple probe thermometer near the intake vent, compared against your panel’s published operating range, gives you a practical real-world check without specialized equipment.
Q: Our display is in a glass-walled lobby atrium. What extra steps should we take?
Glass atria can produce ambient temperatures significantly higher than the building’s general HVAC setpoint during sunny afternoons. Prioritize the sunlight exposure checks in Section 4. Measure ambient temperature at the display location on a clear sunny afternoon in spring before you encounter the problem in summer. If temperatures exceed 80% of your panel’s rated maximum, contact your display vendor to discuss supplemental cooling options or alternative placement.
Q: Can we run the display at lower brightness to reduce heat output?
Yes. Display brightness is a meaningful thermal variable. A panel running at 70% brightness generates noticeably less heat than the same panel at 100% brightness, particularly in the backlight assembly. Reducing brightness to the minimum legible level for the installation environment both extends panel life and reduces thermal load on the enclosure’s cooling system. This adjustment is safe and does not affect content quality at the distances typical of lobby and hallway installations.
Q: How often should we clean dust from the inside of the kiosk enclosure?
Every six months is a reasonable baseline for most school environments. High-traffic corridors, gymnasium spaces, and areas near exterior doors or construction accumulate dust faster—inspect those locations every three months. If you find significant dust accumulation at a three-month inspection, increase cleaning frequency to match the accumulation rate at that location.
Q: What should we do if the display shuts down during an awards ceremony?
Restart the display and continue the event. After the event, log the date, time, ambient conditions, and any contributing factors you can identify. Do not wait for a second shutdown event to investigate—one thermal shutdown is sufficient grounds for running the full thermal checklist at that location and scheduling an internal inspection within the following week. If the vendor offers a service inspection, request one if you cannot identify a clear contributing factor.
Q: Is thermal monitoring different for multi-screen recognition installations?
Multi-display installations—where a school runs two, three, or more recognition screens in different locations—require the same checklist applied at each location independently. Thermal conditions vary by location within the same building; a display in the gymnasium hallway may face very different conditions than one in the main lobby. Treat each installation as a separate thermal environment and monitor each independently.
Q: Our school runs athletic booster club fundraising events that use the recognition display as a centerpiece. Any specific event-day guidance?
Confirm HVAC is fully active at the display location at least two hours before the event begins. Measure ambient temperature at the display vent one hour before doors open—this gives you time to call facilities if the temperature is elevated. Clear the area around the display of any banners, tables, or decorations that could block vent clearance. If the event runs past the display’s normal scheduled shutdown time, verify that the extended schedule is programmed in advance rather than overriding manually on the day of the event.
Quick-Reference Thermal Monitoring Summary
Use this table as your semester-start checklist review:
| Checklist Area | Task | Frequency |
|---|---|---|
| Environment | Measure ambient temperature at vent (three times of day) | Seasonally + before events |
| Environment | Compare ambient to panel operating spec | Seasonally |
| Ventilation | Inspect intake and exhaust vent clearance | Monthly |
| Ventilation | Verify enclosure fan operation | Monthly |
| Ventilation | Confirm HVAC schedule matches display schedule | Seasonally |
| Sunlight | Observe display for direct sunlight exposure | Each spring |
| Sunlight | Check radiant heat from nearby walls or glass | Each spring |
| Dust | Clean fan blades and vent screens | Every 3–6 months |
| Dust | Inspect and clean internal heat sinks | Every 6 months |
| Dust | Replace or clean intake filter media | Per manufacturer schedule |
| Symptoms | Review system event logs for thermal warnings | Monthly |
| Symptoms | Check hardware monitor temperature trends | Monthly |
| Symptoms | Document any spontaneous reboots or freeze events | As they occur |
| Event prep | Full thermal spot-check 48 hours before major events | Before every major event |
| Annual | Full internal inspection and dust removal | Annually (summer preferred) |
A touchscreen recognition display thermal monitoring checklist is most useful when it becomes a scheduled habit rather than an emergency response. The schools whose recognition displays perform reliably at every awards ceremony, inductee night, and family event are the ones that treat their display hardware as managed infrastructure—checked on a schedule, documented, and serviced before failure, not after.
If your school is evaluating recognition platforms and wants to understand how platform design, remote content management, and web-based architecture affect both display performance and long-term reliability, a personalized walkthrough can help you ask the right questions.
Schedule a demo with Rocket Alumni Solutions to see how schools use a remotely managed, web-based recognition platform to keep their touchscreen displays running reliably—and their community recognition programs performing at their best—year after year.