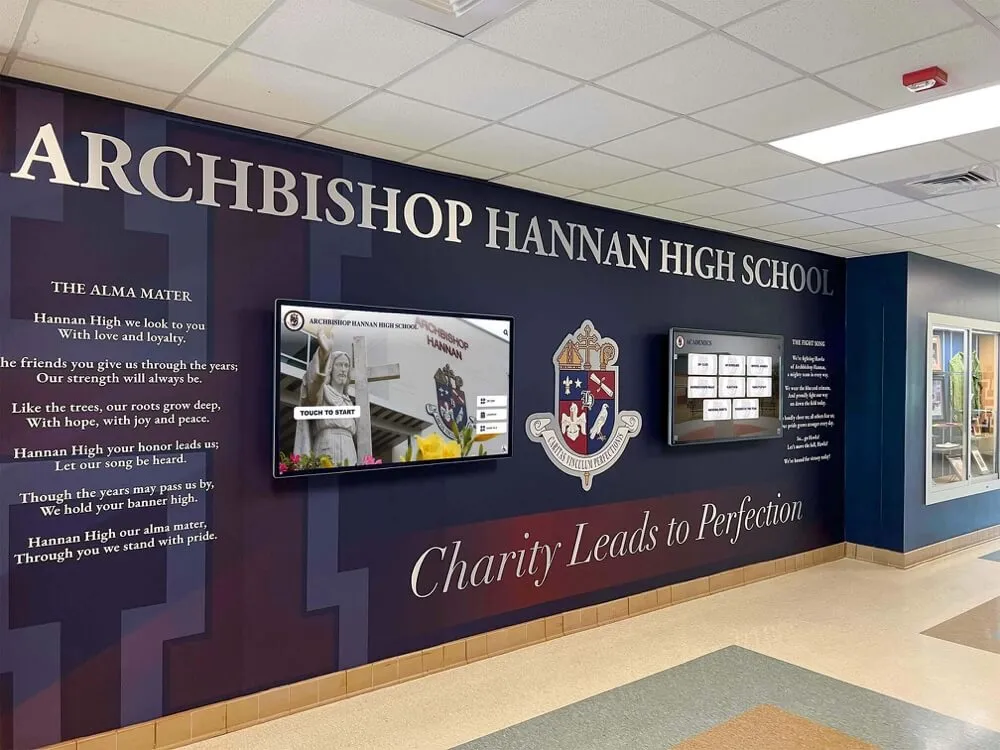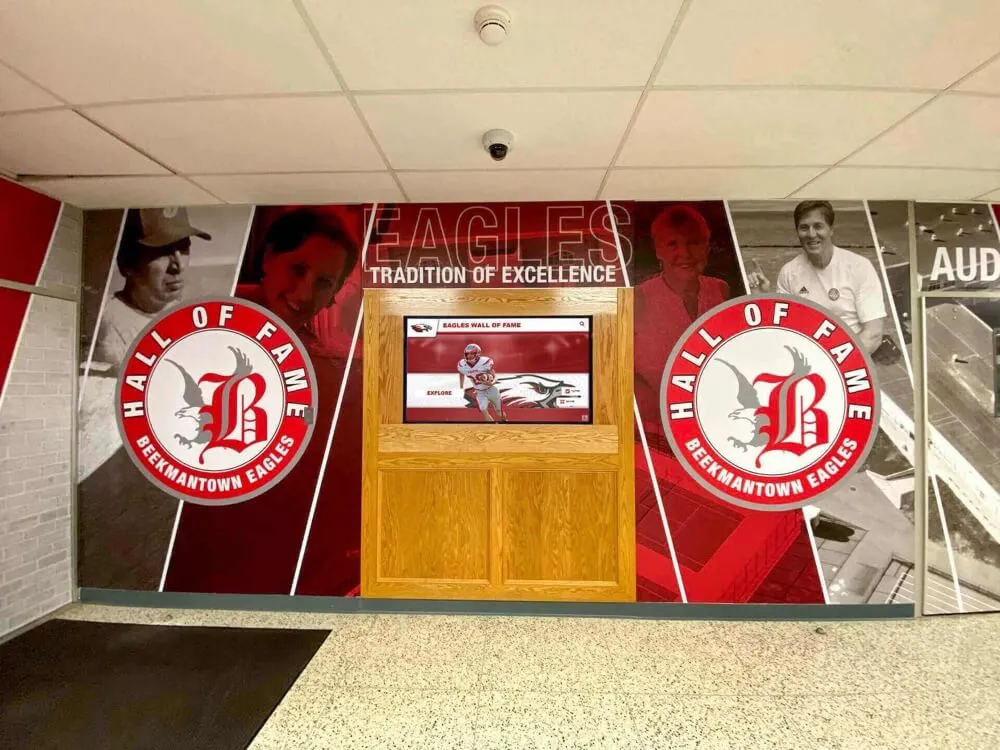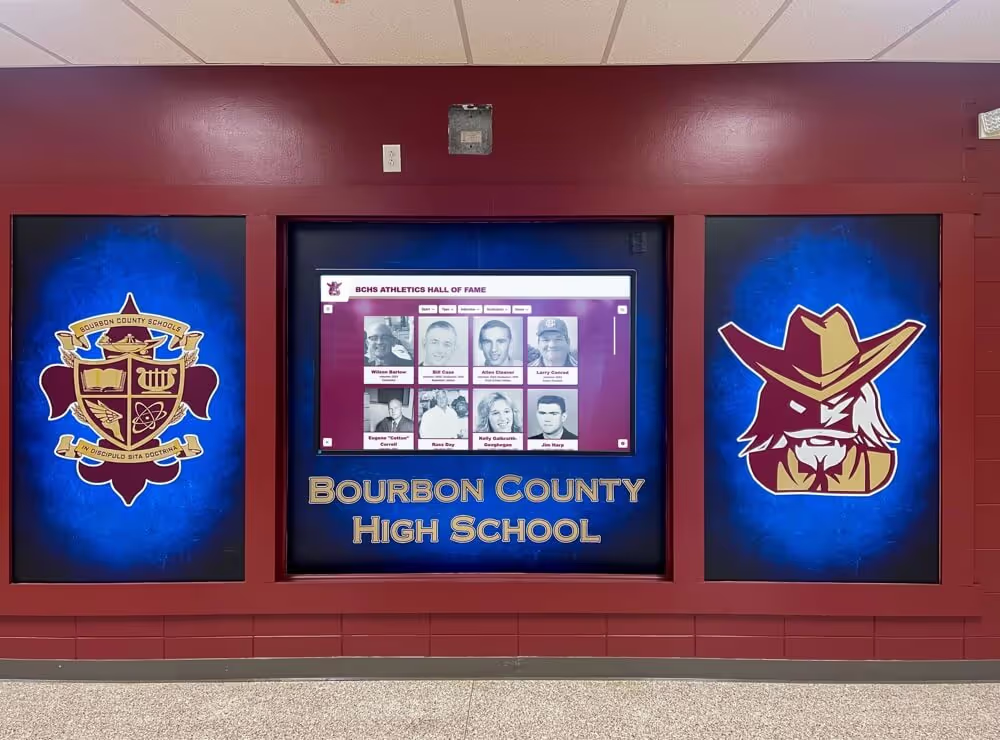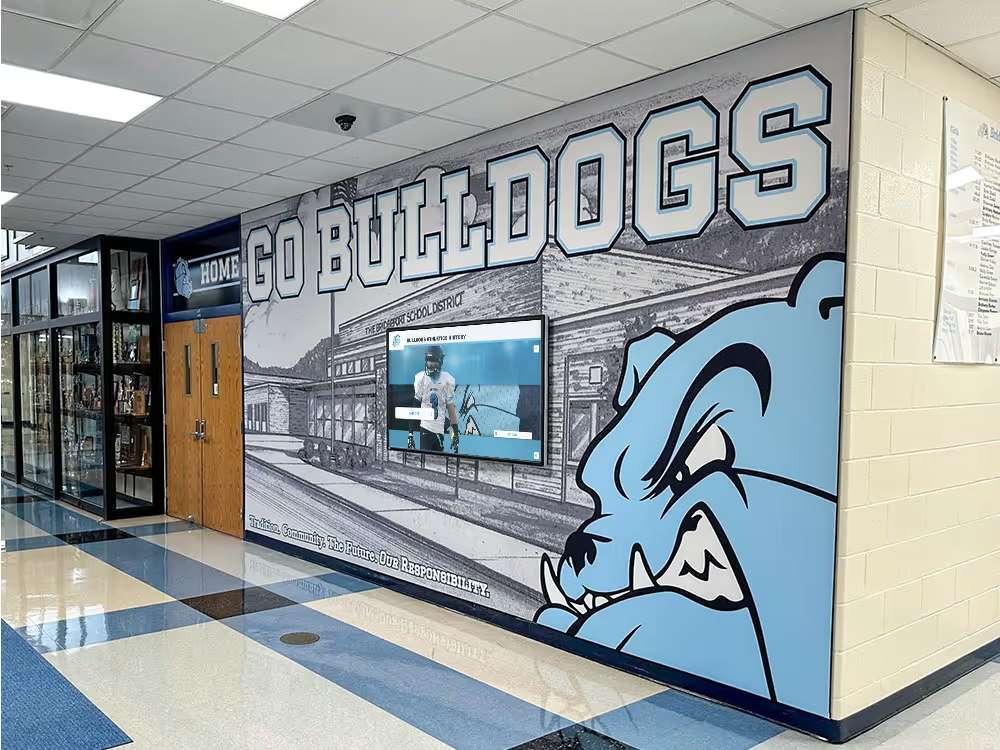
Intent: decide — A dead or stuck pixel on a school recognition display is easy to overlook on a busy morning but impossible to ignore when it appears in the center of an inductee’s portrait during an awards ceremony. This touchscreen recognition display dead-pixel inspection checklist gives school administrators, athletic directors, IT staff, facilities teams, and recognition program owners a repeatable way to find panel defects, document their location and severity, and decide confidently whether a display needs immediate service or can continue operating until the next scheduled maintenance window.
Pixel defects on commercial recognition displays are not rare. LCD and IPS panels used in lobby kiosks and hall-of-fame installations are manufactured in large quantities with accepted defect tolerances. Most manufacturers publish a dead-pixel policy specifying how many defects in what screen zone constitute a warranted replacement. Understanding that policy—and having documented evidence from a systematic inspection—is the difference between a service request that succeeds and one that stalls because the defect count was never recorded.
This guide organizes every step of a dead-pixel inspection into a numbered checklist format that non-technical staff can follow from start to finish in under thirty minutes. It also includes classification tables, a location-mapping approach, and a Q&A section covering the questions facilities and IT teams ask most often.
School recognition displays carry a visibility burden that ordinary commercial monitors do not. A touchscreen hall-of-fame kiosk installed in a lobby is viewed by athletes every practice day, by families during every event night, and by prospective students on every tour. A prominent pixel defect on that screen communicates something about how the institution values its recognition program—and by extension, the athletes and alumni it honors. For programs that have invested in donor recognition displays alongside athletic kiosks, consistent hardware quality across all display surfaces matters for the overall impression a visitor takes away.
Dead-pixel inspections belong on the same maintenance calendar as brightness audits, burn-in checks, and thermal monitoring. Run one at the start of each semester and immediately after any impact event, unexpected shutdown, or firmware update that could surface a previously hidden panel issue.

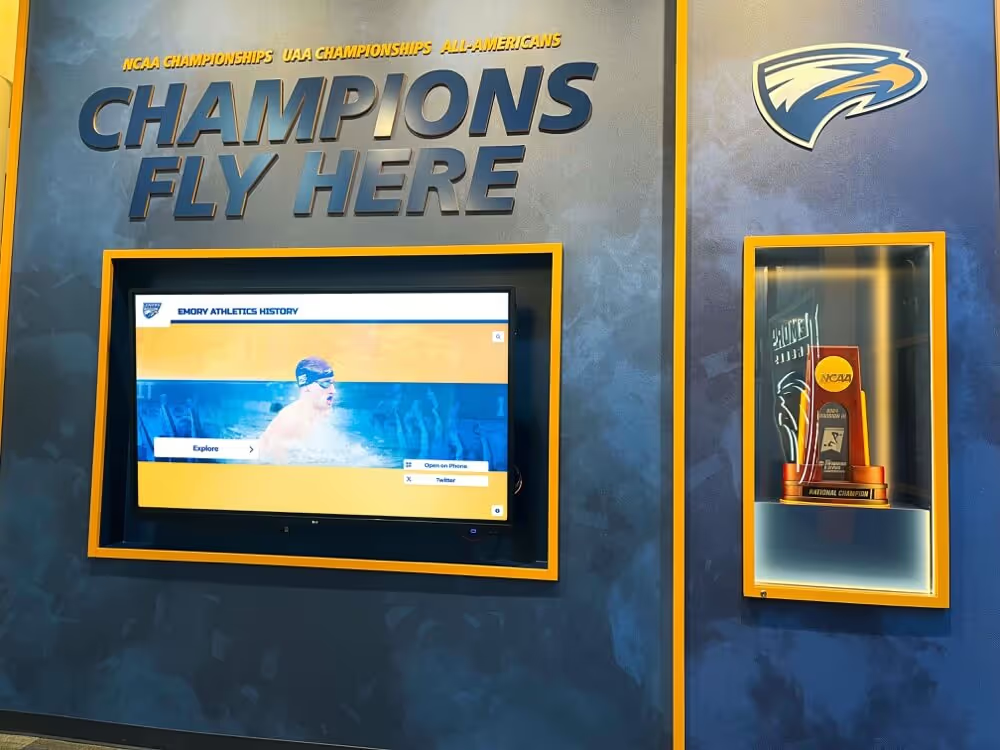
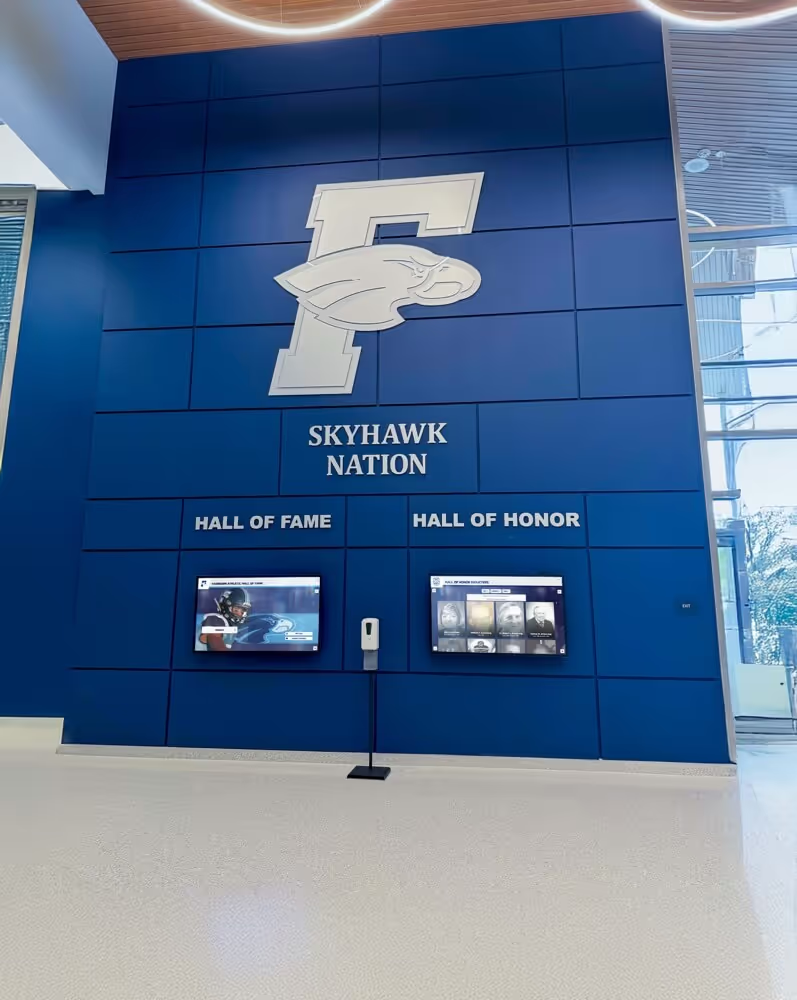
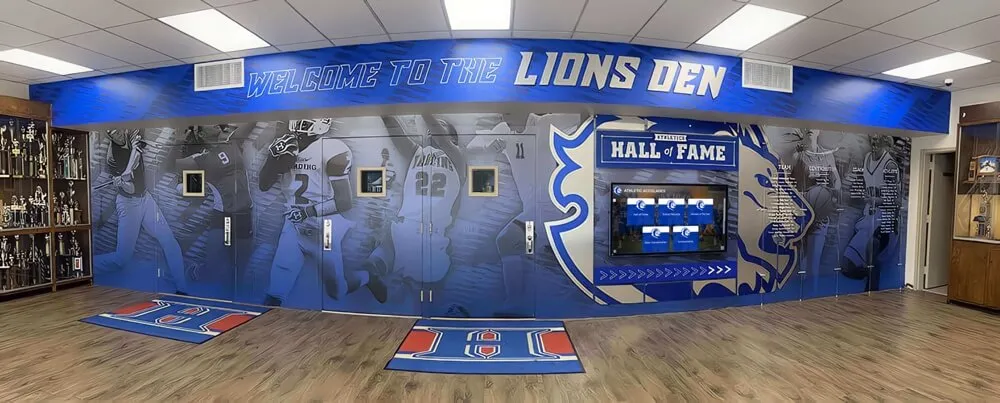
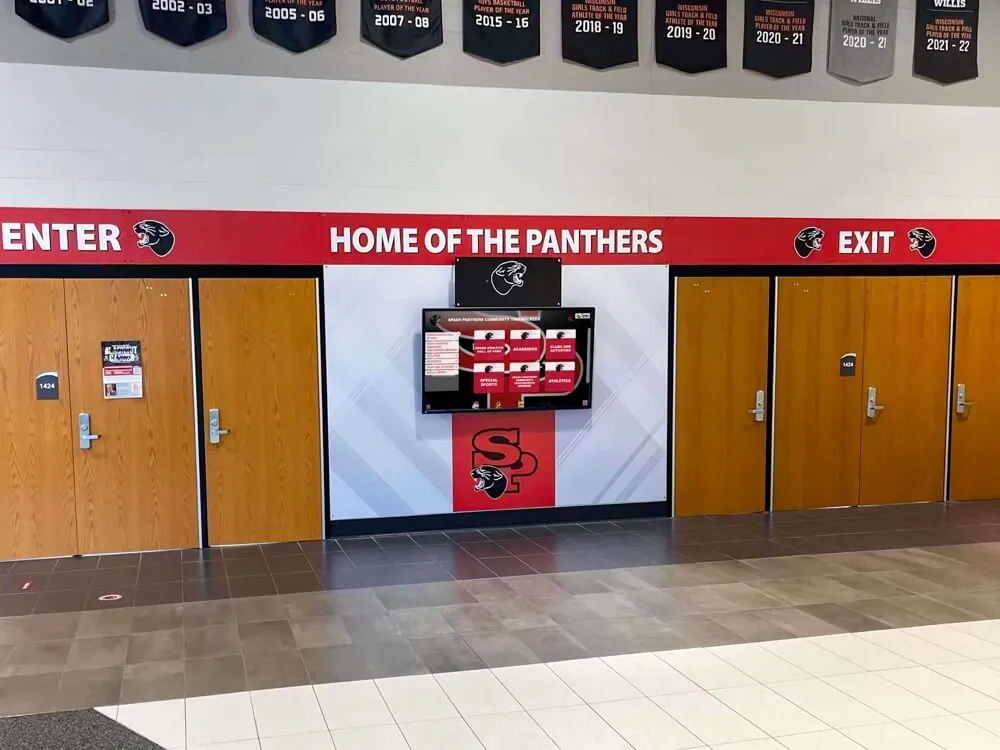
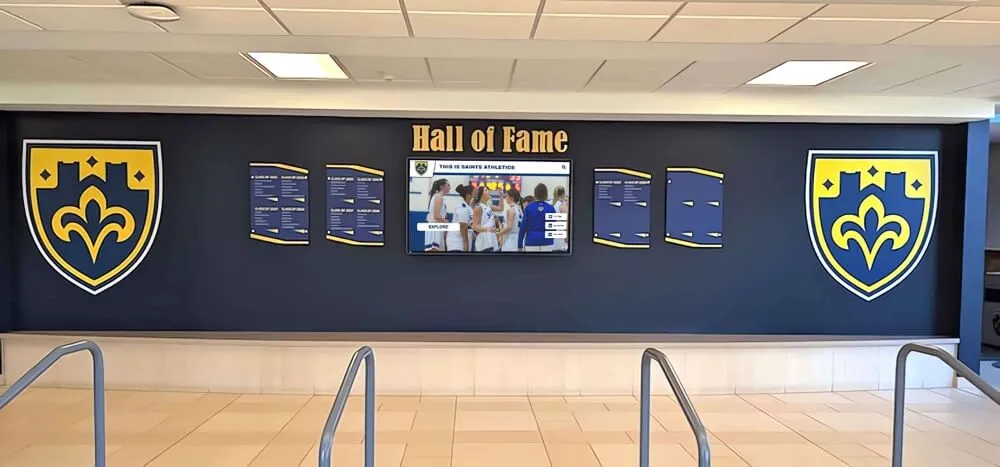
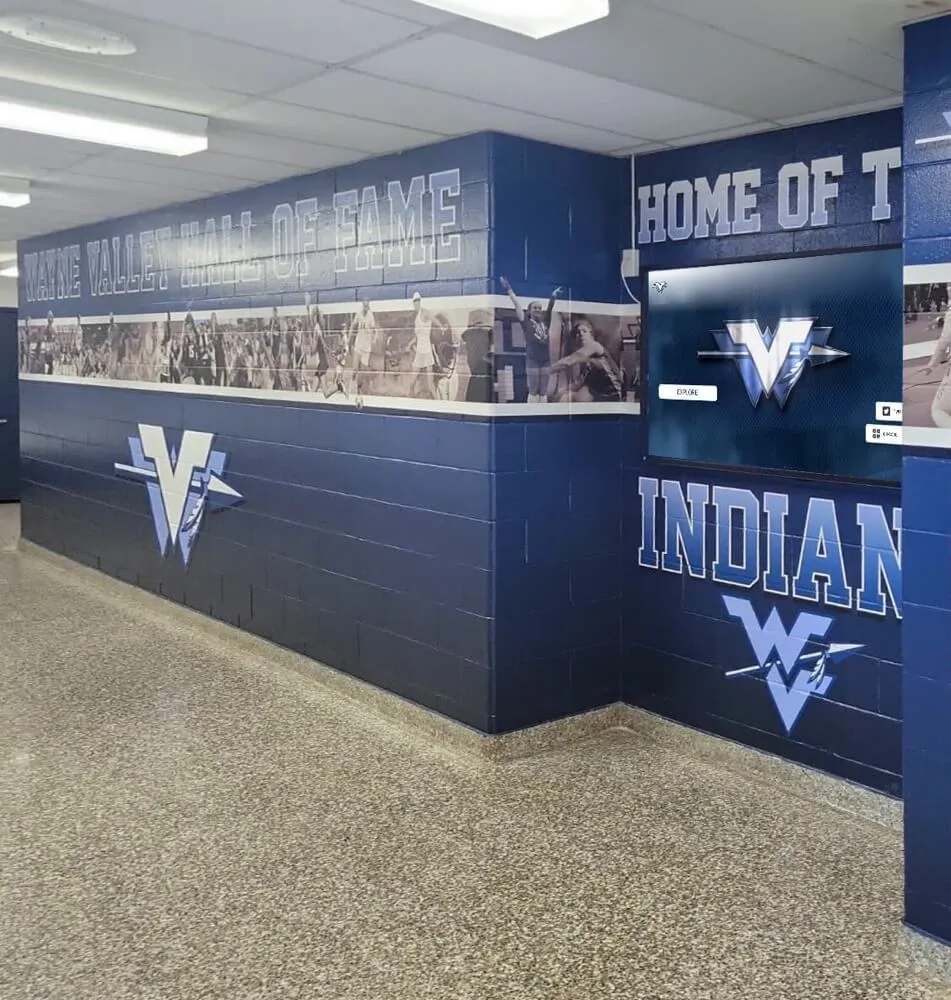
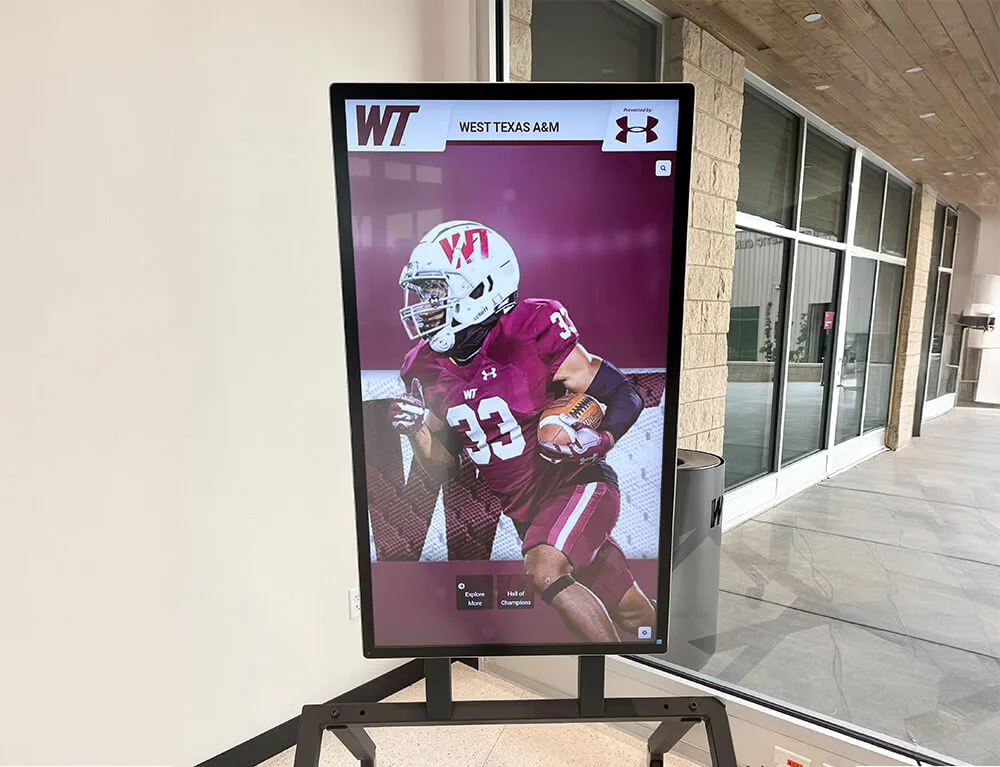
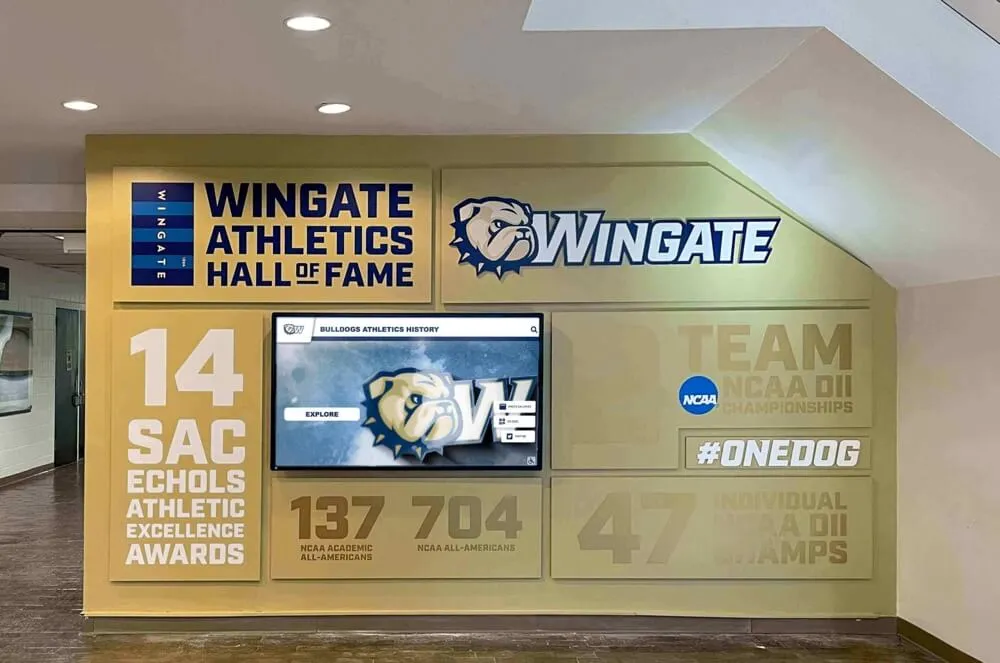
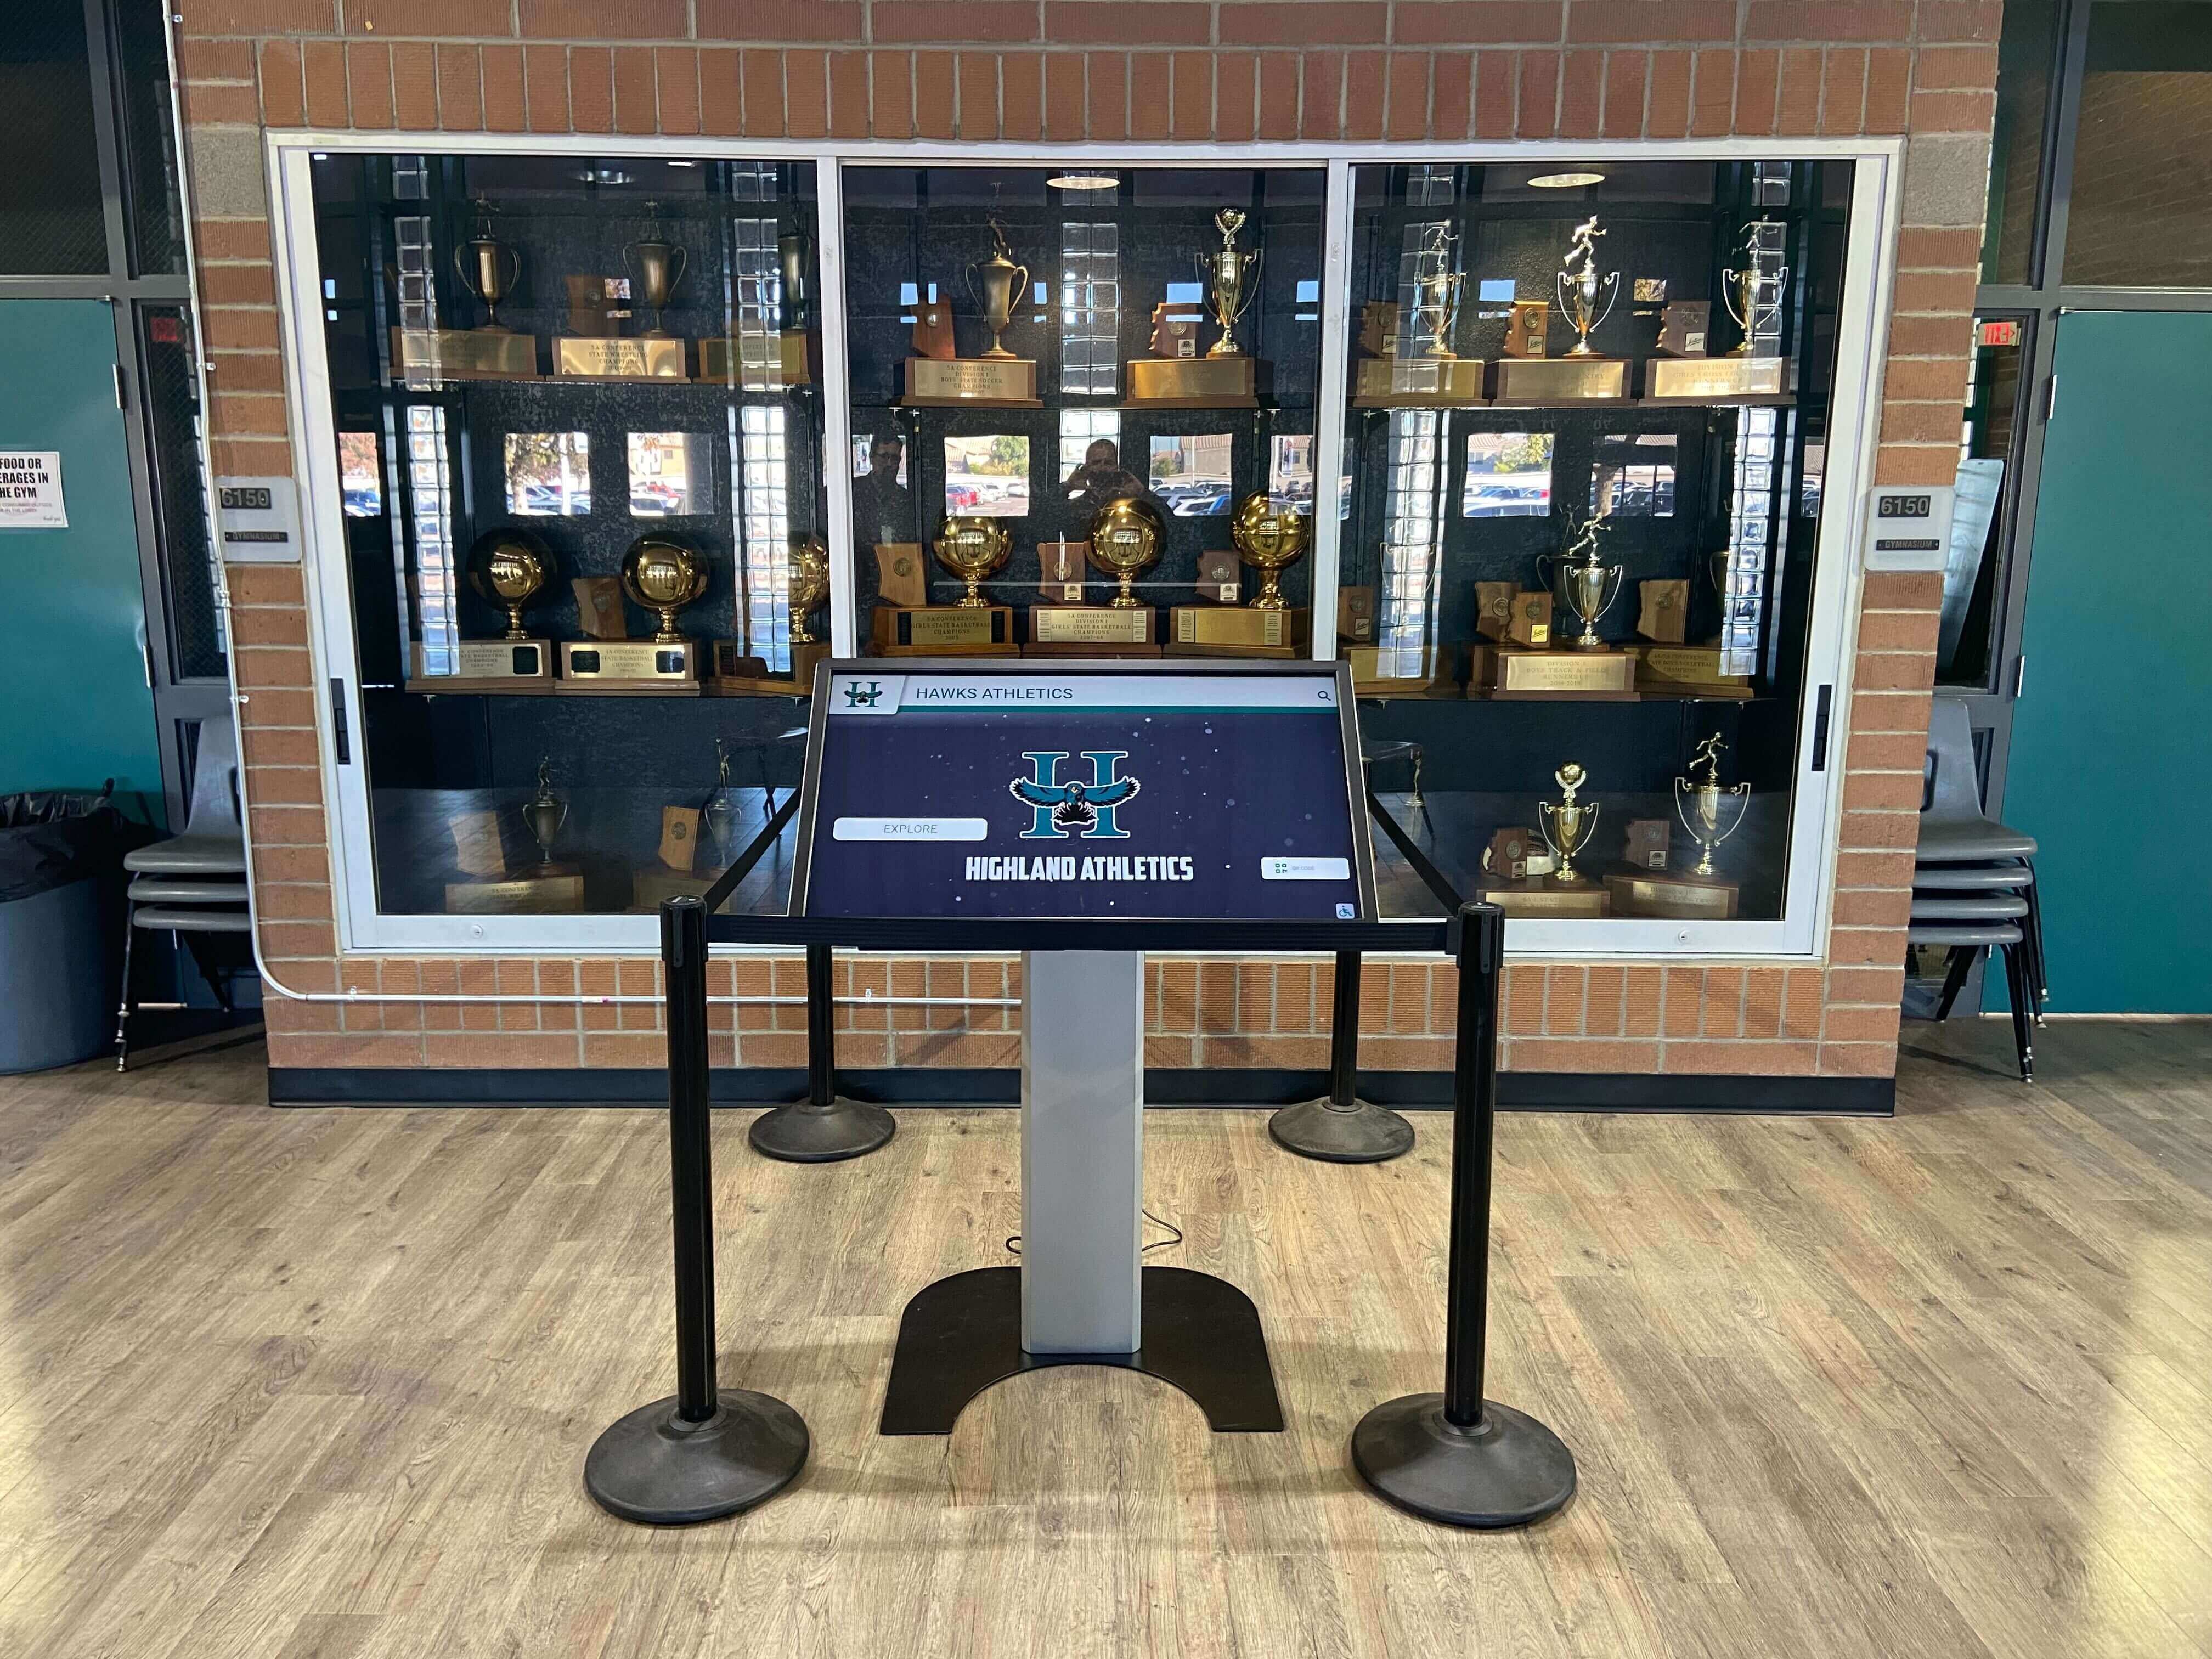
Touchscreen recognition kiosks installed in trophy cases and athletic hallways are among the most-viewed screens in a school building—pixel defects in high-visibility positions warrant prompt documentation and service review.
What Dead, Stuck, and Hot Pixels Are
Before running an inspection, every team member needs a shared vocabulary for what they are looking for. The three defect types behave differently under different test conditions, so distinguishing them matters for both documentation and warranty claims.
Dead pixel: A sub-pixel transistor has failed in the off position. The pixel receives no signal and displays permanently black regardless of the content shown. Dead pixels are invisible on an all-black test screen and most visible on white, red, green, or blue solid-color backgrounds.
Stuck pixel: A sub-pixel transistor is locked in the on position at full or partial charge. The pixel displays a constant color—typically red, green, blue, or white—regardless of the content shown. Stuck pixels are most visible on a solid black background and may be difficult to see on white or similarly colored content.
Hot pixel: A variant of a stuck pixel that appears as a bright white dot. All three sub-pixels (red, green, blue) are stuck on simultaneously, producing a white point visible against almost any background.
Pixel cluster: Two or more defective pixels within a defined area. Most manufacturer warranty policies treat clusters differently from isolated defects because clusters create a larger visible disruption. The typical cluster definition used in display industry standards is two or more defective pixels within a 5 × 5 pixel square, though your specific panel’s documentation may use a different measurement.
| Defect Type | Transistor State | Most Visible On | Test Screen Color |
|---|---|---|---|
| Dead pixel | Off (stuck dark) | Light or color backgrounds | White, red, green, blue |
| Stuck pixel | On (stuck color) | Dark backgrounds | Black |
| Hot pixel | All sub-pixels on | Any background | Black (most visible) |
| Cluster | Multiple adjacent defects | Depends on defect types | All test colors |
Section 1: Preparation Checklist
Thorough preparation makes the inspection faster and the documentation usable for warranty or service conversations.
1.1 Gather Inspection Materials
- Locate your display’s manufacturer documentation and find the dead-pixel policy section. Note the policy’s defect count thresholds and zone definitions before you begin. Zone-based policies typically distinguish between the center of the screen (most stringent) and the outer border area (more permissive).
- Download or prepare solid-color full-screen test images. You need at minimum: pure black (RGB 0, 0, 0), pure white (RGB 255, 255, 255), pure red (RGB 255, 0, 0), pure green (RGB 0, 255, 0), pure blue (RGB 0, 0, 255), and a medium gray (RGB 128, 128, 128). Many display calibration tools and operating systems include a built-in color test mode.
- Prepare a pixel defect log. A simple spreadsheet with columns for defect number, defect type, approximate screen location (use a clock-position or grid-quadrant system), visibility rating, and date observed is sufficient. Having this template ready before the inspection prevents gaps in documentation.
- Identify who has authority to initiate a service request. Know before you start whether your findings will go to an internal IT ticket, a vendor service line, or a warranty claim, so documentation is formatted appropriately.
1.2 Schedule the Inspection at the Right Time
- Run the inspection after the display has been operating for at least one hour. Pixel defects can be less visible on a cold panel that has not yet reached operating temperature. A panel that has been running normally for an hour gives a representative picture of what visitors see throughout the school day.
- Avoid inspecting during high-ambient-light periods. Bright sunlight streaming through lobby windows or gymnasium skylights can wash out subtle defects. Schedule inspections for overcast days, early morning before sunrise, or late afternoon when direct sunlight is not on the screen.
- Confirm the display is running at its normal daytime brightness setting. Do not inspect at reduced overnight brightness or maximum test brightness. The defects documented should reflect what the panel looks like during normal school-day operation.
- Clear scheduled content or screen savers for the inspection duration. Contact your content management system administrator or use a facility-mode option if your recognition platform includes one. The inspection requires displaying solid-color test screens, not rotating athletic content.
Section 2: Environmental Setup Checklist
The inspection environment affects what you can and cannot see. These steps ensure consistent conditions across every inspection cycle.
2.1 Lighting and Viewing Position
- Dim overhead lights directly above the display if possible. Reflection from fluorescent fixtures on the screen surface can hide defects in the upper portion of the panel. Reducing overhead brightness for five minutes during inspection does not require turning off corridor lighting.
- Stand directly in front of the display at a distance of 0.5 to 1 meter. Dead pixels are most visible at a closer distance than typical visitor viewing distance. Inspecting from across the room may miss early-stage defects.
- Also view the screen from a 30-degree angle to each side. IPS panel defects, particularly early-stage image retention that can accompany stuck pixels, sometimes appear only at off-axis viewing angles. A brief side-angle check adds less than two minutes to the inspection and can surface issues that straight-on inspection misses.
- Allow your eyes to adjust for fifteen seconds on each test screen before recording findings. The human visual system adapts quickly; waiting a moment before scanning the full panel reduces the chance of missing a faint defect.
Section 3: Inspection Steps by Test Screen
Work through each test screen in the order listed. Complete one screen before moving to the next, and log any findings before advancing.
Step 1: All-Black Screen
Display a solid black image at full screen.
- Scan the entire panel systematically. Move your gaze from top-left to bottom-right in horizontal strips rather than randomly. Systematic scanning catches defects at screen edges that random scanning misses.
- Look for any point of color. Any colored dot—red, green, blue, white, or any intermediate color—on a black background is a stuck or hot pixel. Faint colored points count.
- Mark the position of each defect using your location system before moving to the next test screen.
Step 2: All-White Screen
Display a solid white image at full screen.
- Scan the panel using the same systematic pattern. Any black or dark point on a white background is a dead pixel.
- Note any localized dimming or gray patches. A zone of reduced brightness on a white screen may indicate a backlight issue rather than a pixel defect, but document it regardless as it warrants separate investigation.
- Revisit positions flagged in Step 1. A defect visible on black may change appearance on white; the white screen result confirms defect type.
Step 3: Red, Green, and Blue Screens
Display each solid primary-color screen in sequence.
- On the red screen, look for blue, green, or black points. A sub-pixel stuck in the off position will appear as a dark point on a color background because one of the three sub-channels is not contributing to the expected output.
- On the green screen, look for magenta or red-purple points. This pattern indicates a green sub-pixel failure within an otherwise partially functional pixel.
- On the blue screen, look for yellow or cyan points. Yellow on blue indicates a blue sub-pixel failure.
- Do not skip primary color screens even if no defects appeared on black or white. Sub-pixel defects that are invisible on full-black or full-white screens can become clearly visible when only one color channel is active.
Step 4: Gray Screen
Display a medium gray (approximately 50% luminance) at full screen.
- Look for any localized bright or dark spots. Gray is particularly useful for revealing partial stuck pixels that appear at an intermediate brightness level and are masked by both full-black and full-white test screens.
- Note any non-uniformity in the gray field. Large areas of uneven gray brightness—sometimes called clouding or mura—indicate backlight or diffuser issues rather than pixel-level defects. Document these separately.
Section 4: Classification and Location Mapping
After completing all test screens, classify each defect found and record its location precisely enough that someone else can find it without further guidance.
4.1 Classification Checklist
- Classify each defect by type using the definitions in the table above (dead, stuck, hot, or cluster). Note the color of the defect as seen on each test screen to support the classification.
- Count isolated defects and cluster defects separately. Most manufacturer warranty policies apply different thresholds to isolated versus clustered defects.
- Identify the screen zone for each defect. Many display manufacturers divide the screen into a central zone and a border zone for warranty purposes. The central zone—typically the inner 80% of the screen area by each dimension—carries stricter defect limits. The border region is usually a defined millimeter band at each edge. Your documentation should specify whether each defect falls in the center zone or the border zone.
4.2 Location Mapping Method
Use a consistent coordinate system so your log is interpretable by service technicians who were not present during the inspection.
- Divide the screen into a 4 × 4 grid of sectors. Number sectors 1–4 left to right and A–D top to bottom, giving sixteen sectors (A1, A2, A3, A4, B1, B2, and so on). Record the sector for each defect.
- Note the position within the sector using clock positions. “B2, center” or “C3, upper-left corner” is sufficient precision for service documentation without requiring pixel-level coordinates.
- Photograph each defect on the test screen where it is most visible. A smartphone photograph of the display showing the defect on the appropriate test background provides documentation that can accompany a warranty claim or service ticket.
| Sector Position | Description | Warranty Zone (Typical) |
|---|---|---|
| A1, A4, D1, D4 | Screen corners | Border zone |
| A2, A3, D2, D3 | Top and bottom edge center | Border zone |
| B1, C1, B4, C4 | Left and right edge center | Border zone |
| B2, B3, C2, C3 | Inner four sectors (central panel) | Center zone — stricter limits |
Section 5: Service Decision Checklist
After classification and mapping, compare your findings against the manufacturer’s policy and your program’s own standards to make a documented service decision.
5.1 Warranty Threshold Comparison
- Count total defects in the center zone. Compare against the manufacturer’s maximum allowed count for that zone. If your count exceeds the stated threshold, the panel qualifies for a warranty claim. If it does not, document the count and schedule a follow-up inspection.
- Count total defects in the border zone. Apply the same comparison against the border zone threshold, which is typically higher (more permissive) than the center zone threshold.
- Count pixel clusters separately and compare against the cluster threshold, which is typically one or zero clusters in the center zone.
- Assess whether any defect falls in a high-visibility recognition content area. A single dead pixel in the upper corner of the screen border may be within warranty tolerance but still be visible enough to warrant service if it sits precisely in the area where inductee photographs most often display. Recognition display standards should be evaluated on visitor experience, not only on manufacturer tolerance sheets.
Schools that run active recognition programs—including those coordinating with interactive digital class composite displays across multiple display surfaces—often set a more stringent internal visibility standard than the manufacturer’s minimum policy, particularly for primary lobby kiosks.
5.2 Operational Continuity Assessment
- Determine whether the defect visibly degrades the recognition experience for current content. Load a representative athlete profile or hall-of-fame display and assess whether the defect is noticeable at normal viewing distance. A defect invisible at typical visitor distance during normal content is lower priority than one that visibly interrupts a portrait.
- Check whether high-traffic events are scheduled within the next 30 days. Hall-of-fame induction nights, graduation recognition ceremonies, athletic award nights, and season-end banquets all create windows where display quality is under heightened scrutiny. A defect that is acceptable for day-to-day operation may warrant urgent service before a scheduled event.
- Assess the trend from previous inspection records. A defect that has appeared since the last inspection indicates the panel is actively degrading. A defect present and unchanged across three consecutive inspections suggests a stable panel that may not require urgent service.
5.3 Service Request Documentation
- Compile the defect log, zone map, test screen photographs, and manufacturer policy thresholds into a single service request package before contacting the vendor.
- Include the display’s installation date, model number, and serial number in the service request. Panel replacement decisions often require confirming warranty status, and missing unit identification information delays service.
- Specify the requested resolution: warranty panel replacement, out-of-warranty panel replacement at quoted cost, or a service visit to confirm findings on-site. A specific request is processed faster than a general “the screen has issues” ticket.
Section 6: Inspection Schedule
| Inspection Frequency | Trigger | Who Runs It |
|---|---|---|
| Start of each semester | Calendar — August and January | Facilities coordinator or IT designee |
| Before any high-traffic event | Any event with 100+ expected attendees | Athletic director or recognition coordinator |
| After any impact event | Reported collision, door impact, or moving injury near display | Facilities staff, same day |
| After unexpected shutdown or reboot | Power outage, firmware update, software crash | IT staff, within 48 hours |
| After warranty replacement | New panel installation | IT or installer, before event use |
For schools planning high-visibility programming throughout the academic year—including spirit week activities that bring heavy lobby foot traffic and increased attention to recognition spaces—running a dedicated inspection seven days before the event gives enough lead time to initiate service if a defect is found.

Recognition displays are touched repeatedly during events and tours—periodic dead-pixel inspections catch defects before they become visible during high-attendance occasions.
Q&A: Dead-Pixel Inspection for School Recognition Displays
How many dead pixels are too many? There is no universal answer—it depends on your manufacturer’s policy and your program’s visibility standards. Most commercial display manufacturers publish an ISO 13406-2 or newer standard classification that specifies acceptable defect counts by panel class. Class II panels, which are typical for commercial recognition kiosks, generally permit a small number of isolated defects but zero or one cluster in the center zone. Request the specific policy document for your panel model rather than relying on general estimates.
Can dead pixels be fixed without replacing the panel? Dead pixels with failed transistors cannot be repaired by software or user action. Stuck pixels sometimes respond to pixel-cycling software tools that rapidly alternate colors to unstick a transistor, but this is not guaranteed and results vary by panel manufacturer and defect cause. If a stuck pixel resolves on its own after a software refresh, document that result in your log and monitor the position in future inspections.
Do dead pixels get worse over time? A dead pixel caused by a failed transistor at manufacture typically remains stable—the defect does not spread. However, physical stress from repeated touch interactions, thermal cycling, or a panel impact can convert marginal sub-pixels into additional defects over time. This is one reason why post-impact inspections are listed as a trigger in the schedule table above.
Should I run the inspection with the touchscreen glass on or off? Always inspect with the glass on. Removing protective glass or outer panels is not necessary for a dead-pixel inspection and risks introducing dust, fingerprints, or damage that creates new problems. The test screens are visible through the normal touchscreen surface.
What if our display platform cannot display solid-color test screens? Most CMS platforms have a way to display a single solid color. Options include: displaying a solid-color image uploaded to the content library, using the display’s built-in OSD test pattern if one is available, connecting a laptop via HDMI and displaying a color from a browser or image viewer, or contacting your platform support team for a service-mode screen option. If none of these options are available, contact your vendor before the inspection to arrange access.
How does our recognition platform’s software affect pixel defect risk? Content layout and scheduling affect the risk of future pixel damage more than current defects. Recognition platforms that rotate content continuously—cycling athlete profiles, record boards, and video highlights rather than displaying a static attract screen—distribute pixel load across the full panel and reduce the conditions that accelerate stuck-pixel development. Archives and recognition programs that maintain active, rotating content through platforms designed for digital donor walls and recognition archives generally see lower rates of static-content-related pixel stress.
Does the inspection process differ for larger or smaller panels? The steps are the same regardless of panel size, but larger panels require more systematic scanning time. A 55-inch panel has roughly twice the surface area of a 43-inch panel. Budget additional time for the test-screen scanning steps, and consider using a lint-free cloth to temporarily mark the screen boundary quadrants with corner tape so your scanning stays organized across a larger surface.
When is a defect serious enough to pull the display out of service immediately? Three scenarios justify taking a display offline before completing the full service process: the defect is expanding or changing within a single session (suggesting active hardware failure), the display is producing visible artifacts across multiple zones that affect multiple inductee profiles simultaneously, or the panel has any physical cracking or discoloration suggesting an impact injury that may affect structural integrity. For any of these conditions, suspend display operation and contact your vendor’s emergency service line.
Connecting Inspection Results to Your Recognition Program
A dead-pixel inspection record is not just a maintenance document—it is part of the evidence base that supports capital replacement planning, warranty negotiations, and budget requests to administrators or booster organizations. Recognition program coordinators who maintain organized inspection logs across multiple display cycles can present service history objectively when requesting equipment refresh funding.
Schools that coordinate recognition across multiple surfaces—lobby kiosks, hallway honor walls, printed recognition materials alongside digital displays, and graduation recognition signage—benefit from applying the same systematic documentation approach to every medium. Consistent quality standards across the full recognition program reinforce the institutional care that athletic and alumni recognition is meant to express.

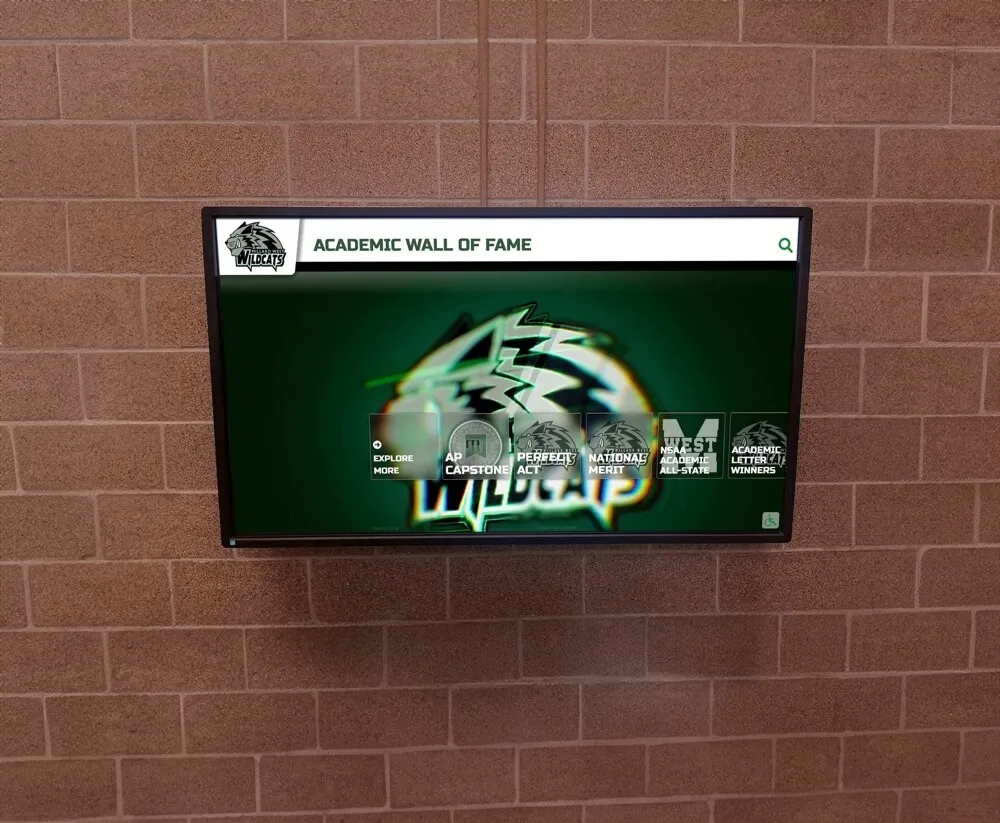
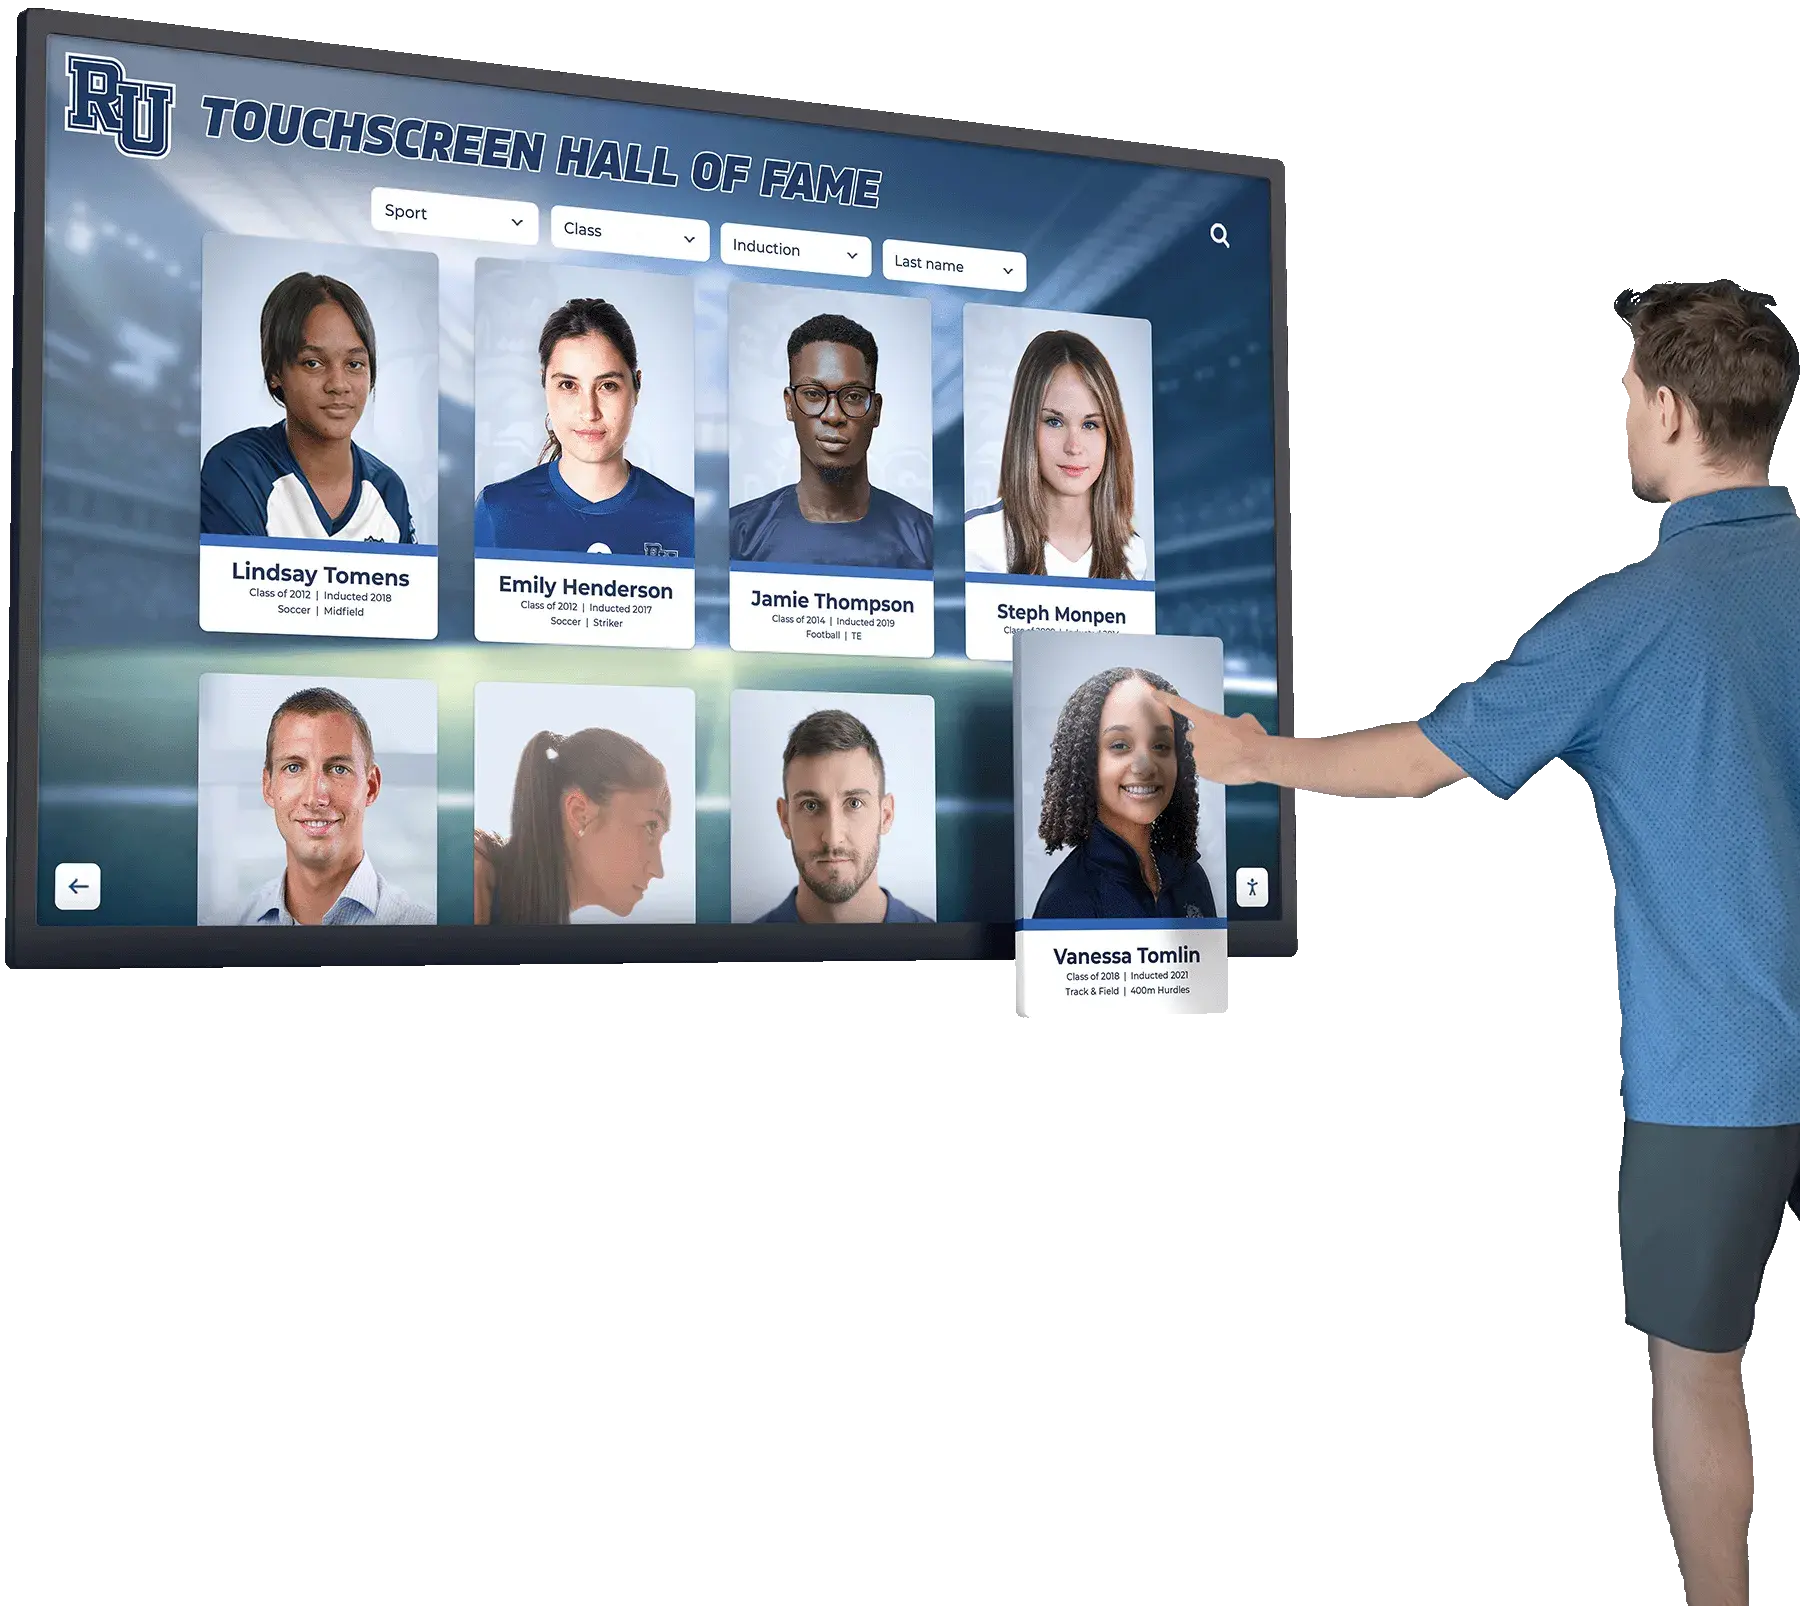
A well-maintained recognition display presents inductee portraits without visible defects—systematic inspection records give facilities teams the documentation needed to act quickly when panel quality degrades.
Pixel defects discovered early and documented thoroughly are far easier to resolve under warranty than defects discovered weeks later without a paper trail. Running this checklist at the start of each semester takes less time than a single service call coordination, and the log it produces is the single most useful document you can provide to a service technician or warranty administrator.
See How Rocket Alumni Solutions Supports Long-Term Display Quality
Recognition displays work hardest when the content running on them is managed, rotated, and maintained by a platform built for the purpose. Rocket Alumni Solutions provides web-based recognition software designed for school hall-of-fame kiosks, honor walls, and athletic achievement displays—with remote content management, scheduled publishing, and content rotation features that reduce static pixel stress and keep recognition fresh for every visitor.