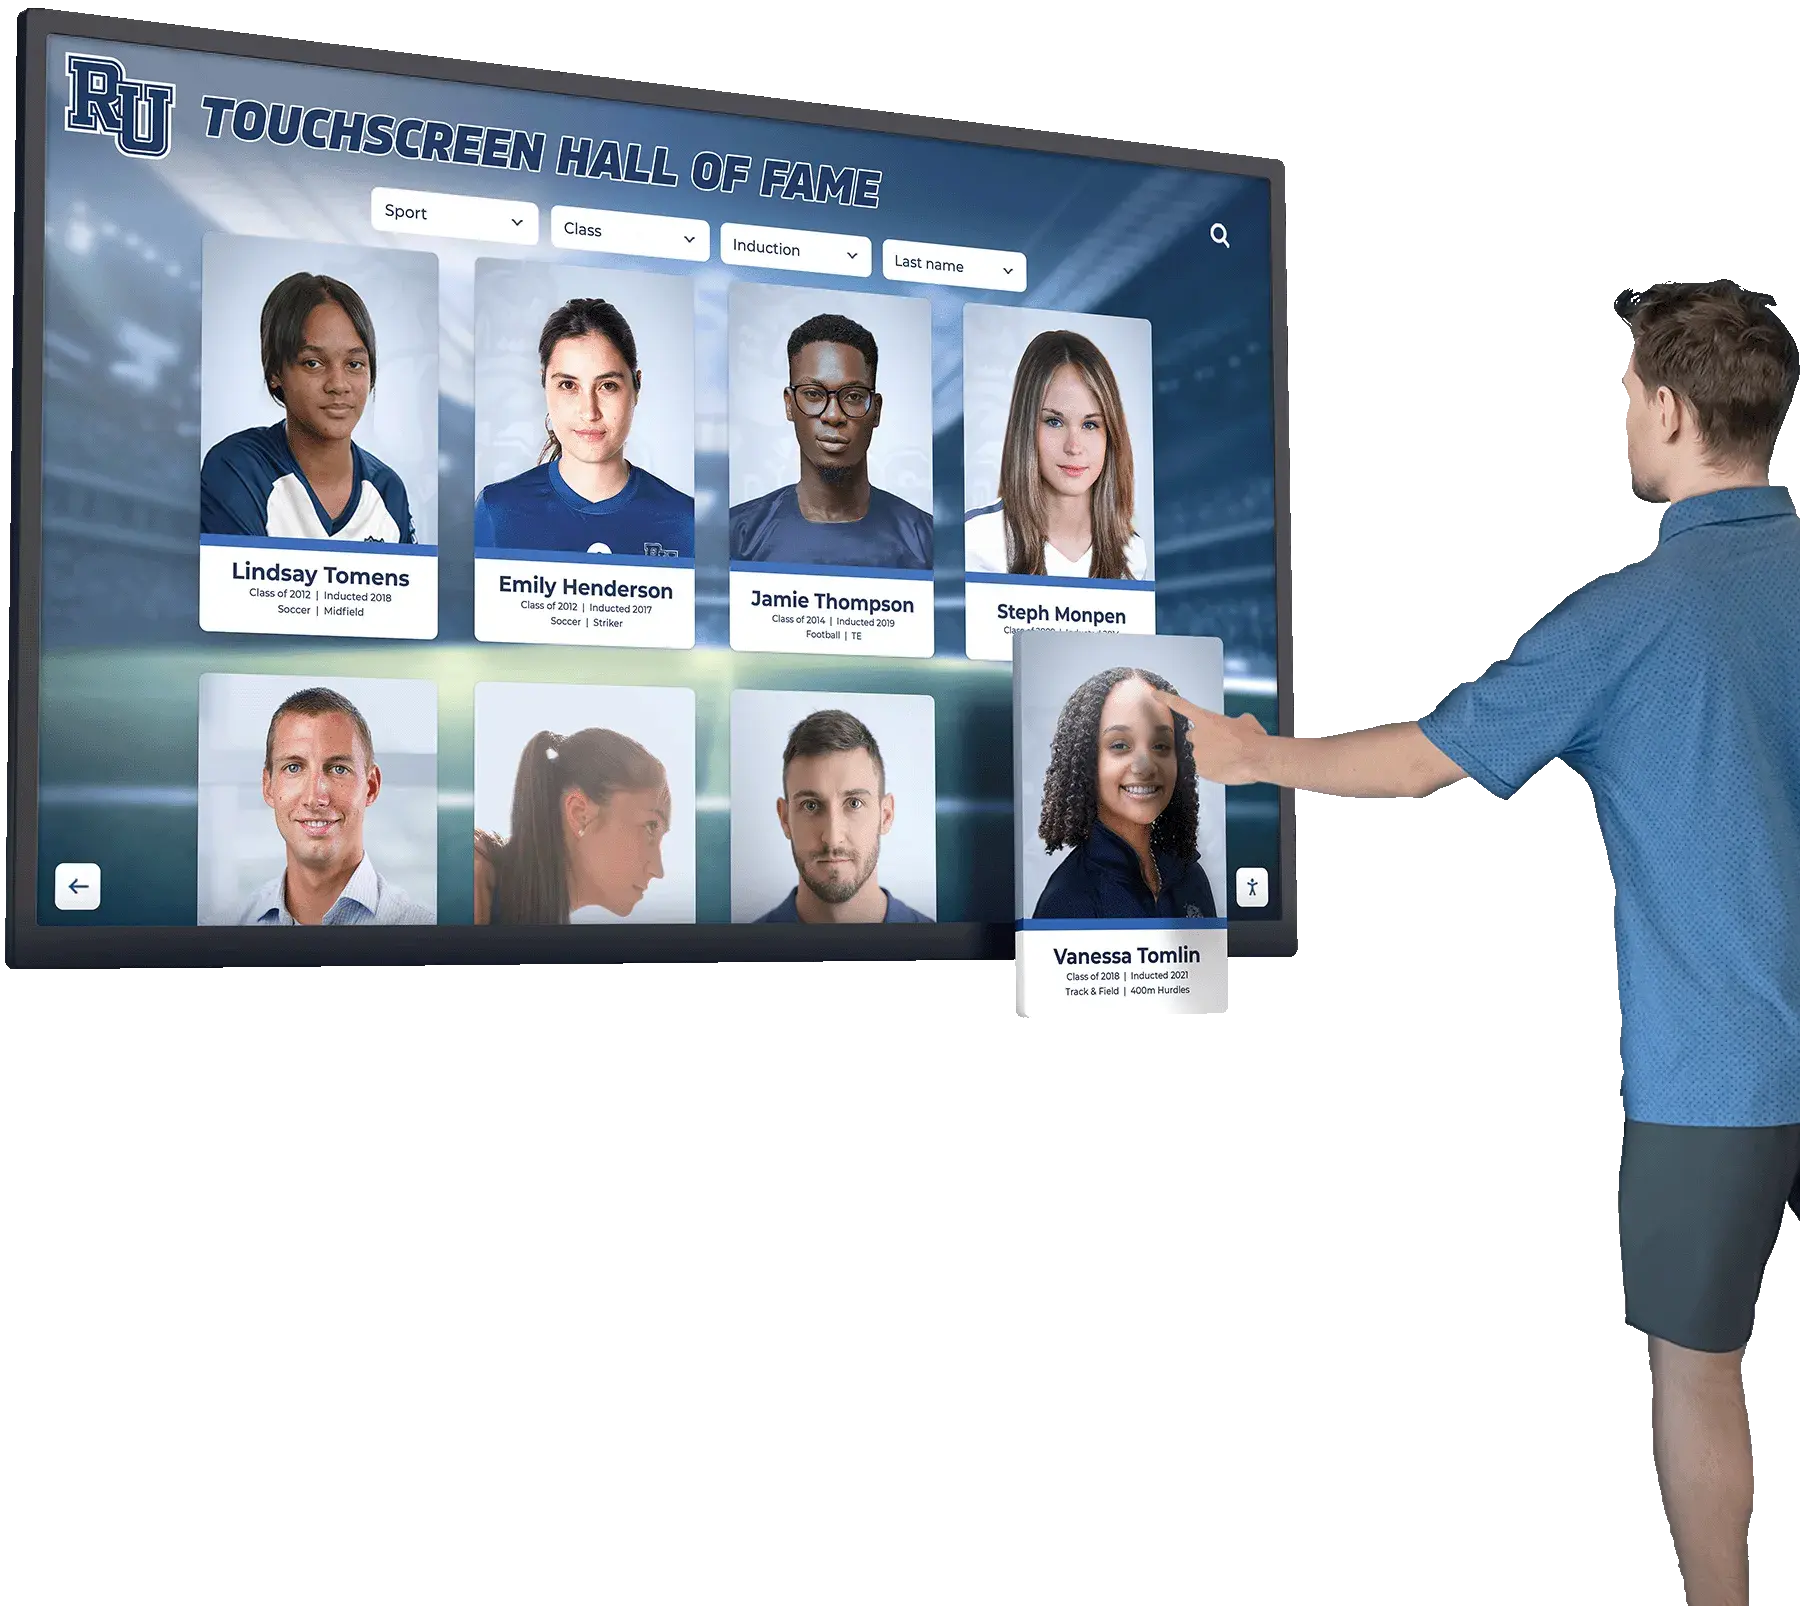
Intent: decide — A recognition display scaler test is the quality gate between your school’s mixed-resolution photo and video archive and the lobby screen that community members judge in ten seconds. School recognition programs accumulate content from multiple eras: team rosters scanned from 1990s print programs at 640×480, championship photos from a digital camera at 2048×1536, recent action shots at 4K, and short tribute videos captured on smartphones at varying aspect ratios. When that content reaches a display without scaler validation, the result is blur, unexpected cropping, letterboxing, or portrait photos stretched to fill a landscape frame. Run this test before the dedication ceremony, not after someone’s parent points out that the state-champion photo looks distorted.
School administrators, athletic directors, and AV coordinators rarely think of a display’s internal scaler until something looks wrong. The scaler is the hardware and software component that accepts a video signal or media file at its source resolution and maps it to the display panel’s native resolution. Every recognition display has one. Its behavior under mixed-resolution input determines whether a 4×6 portrait scan fits naturally into a 16:9 display slot or gets stretched into an unrecognizable oval. This guide walks through exactly how to expose and resolve scaler behavior before a recognition program goes live.
School recognition content comes from decades of history, and that history was not captured in a uniform resolution or aspect ratio. A recognition display scaler test takes less than an hour and catches every visual inconsistency before community members, alumni, and prospective families encounter it on the lobby wall.

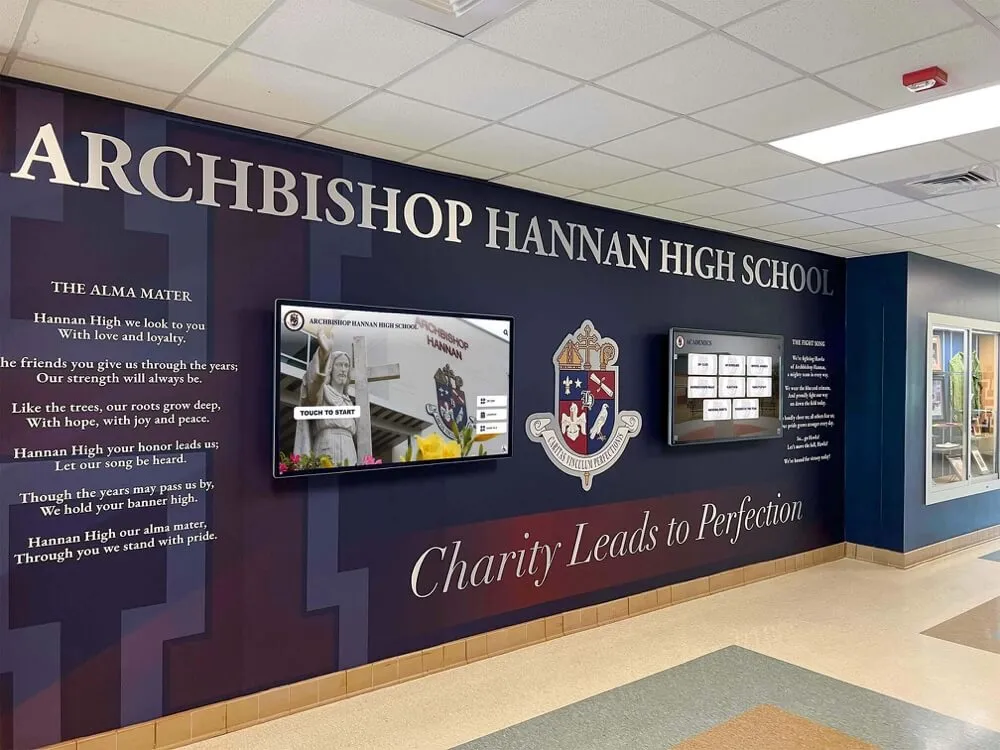
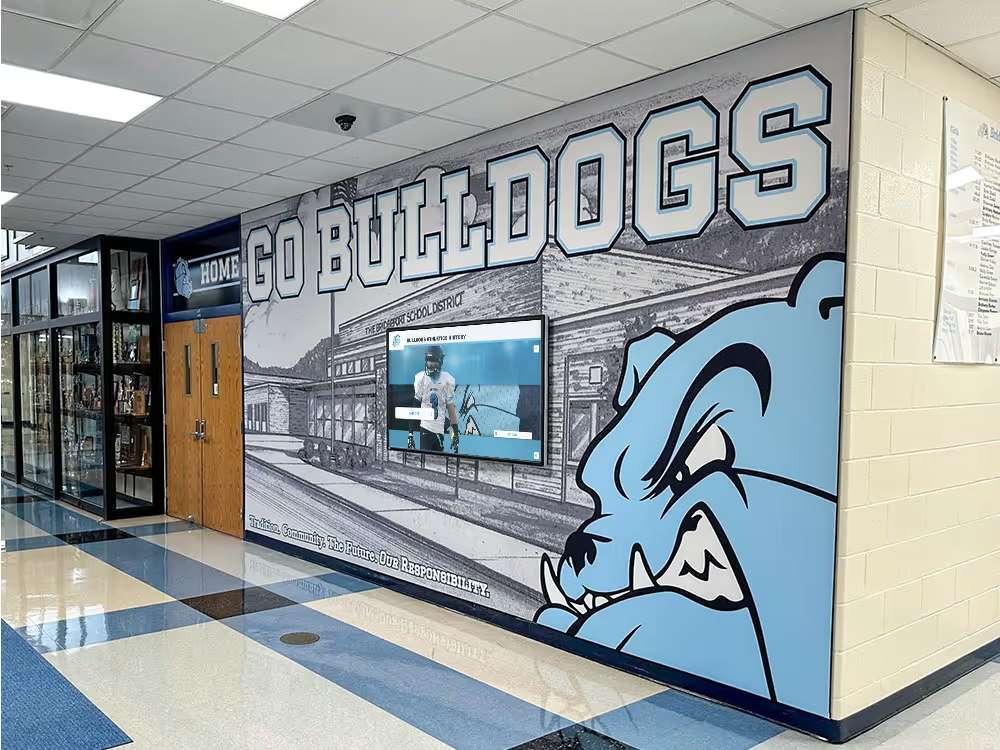
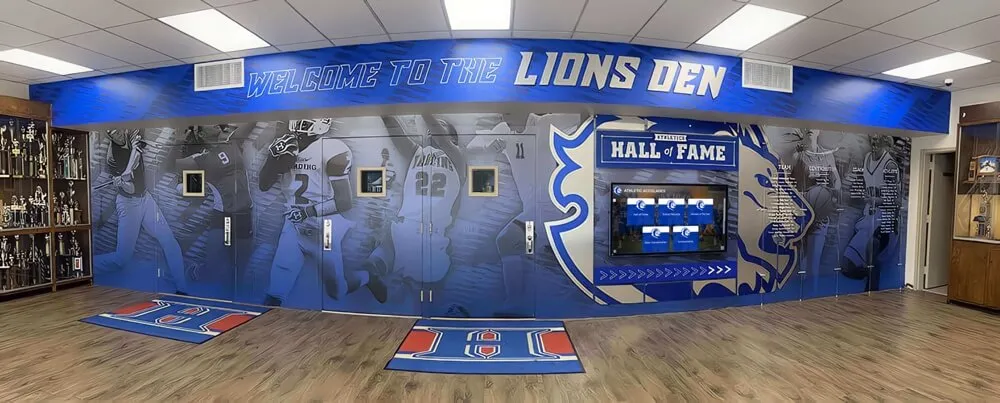
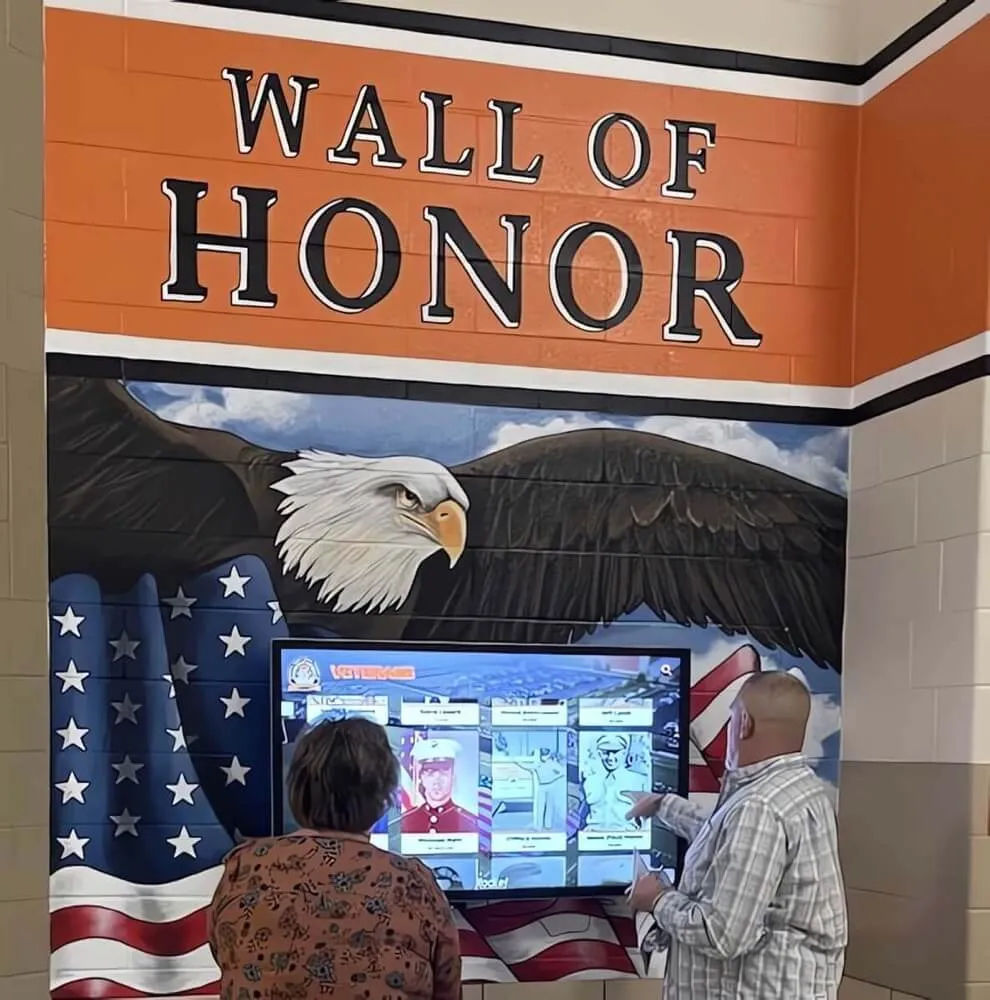
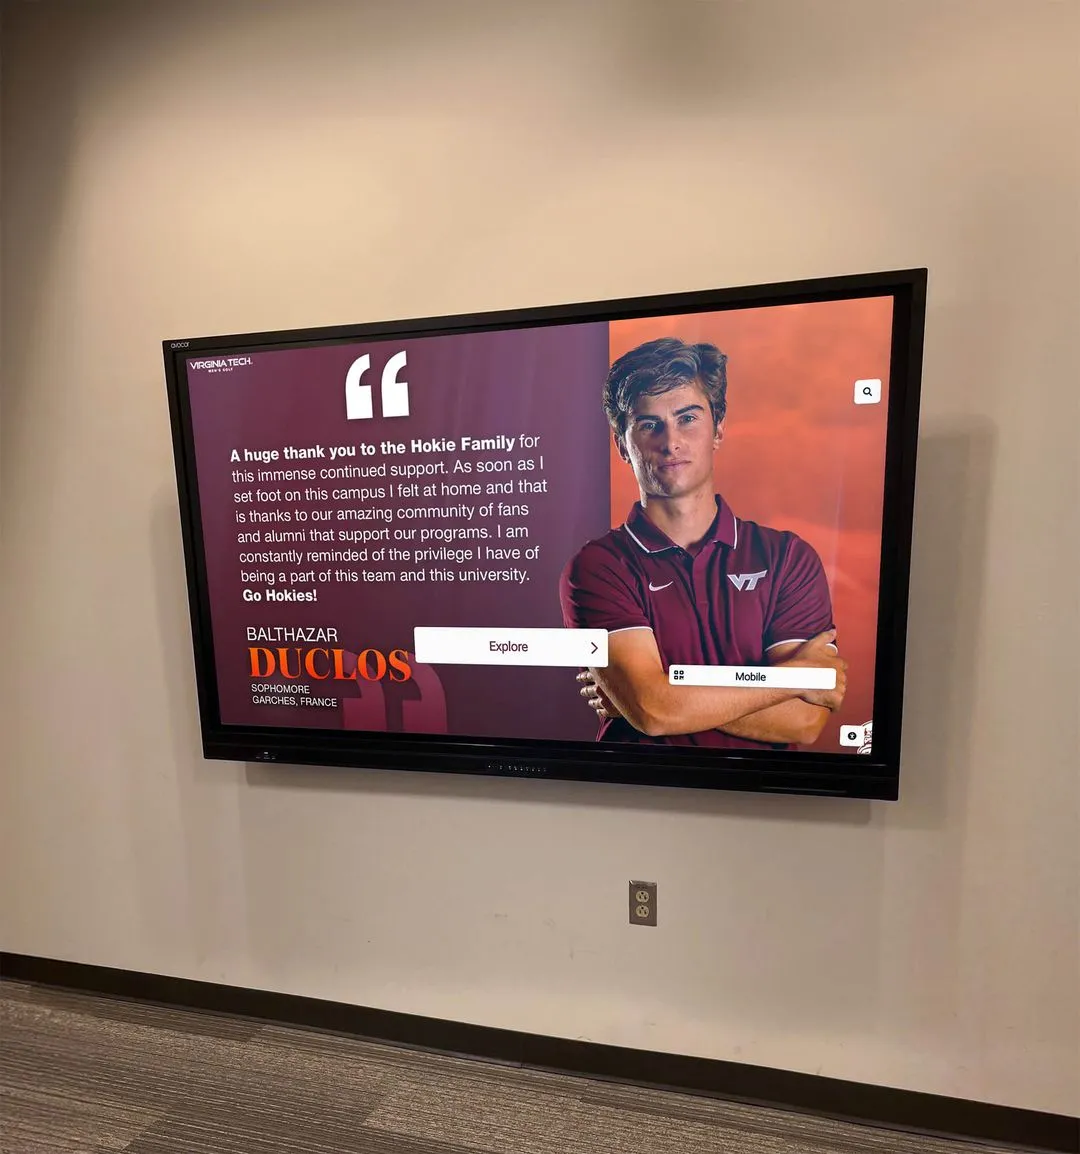
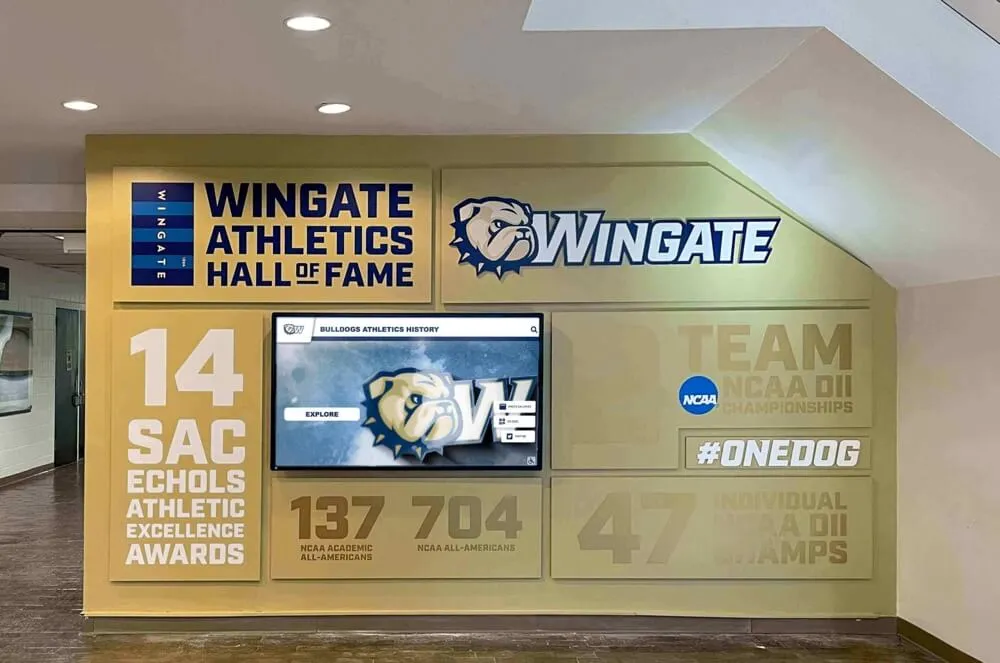
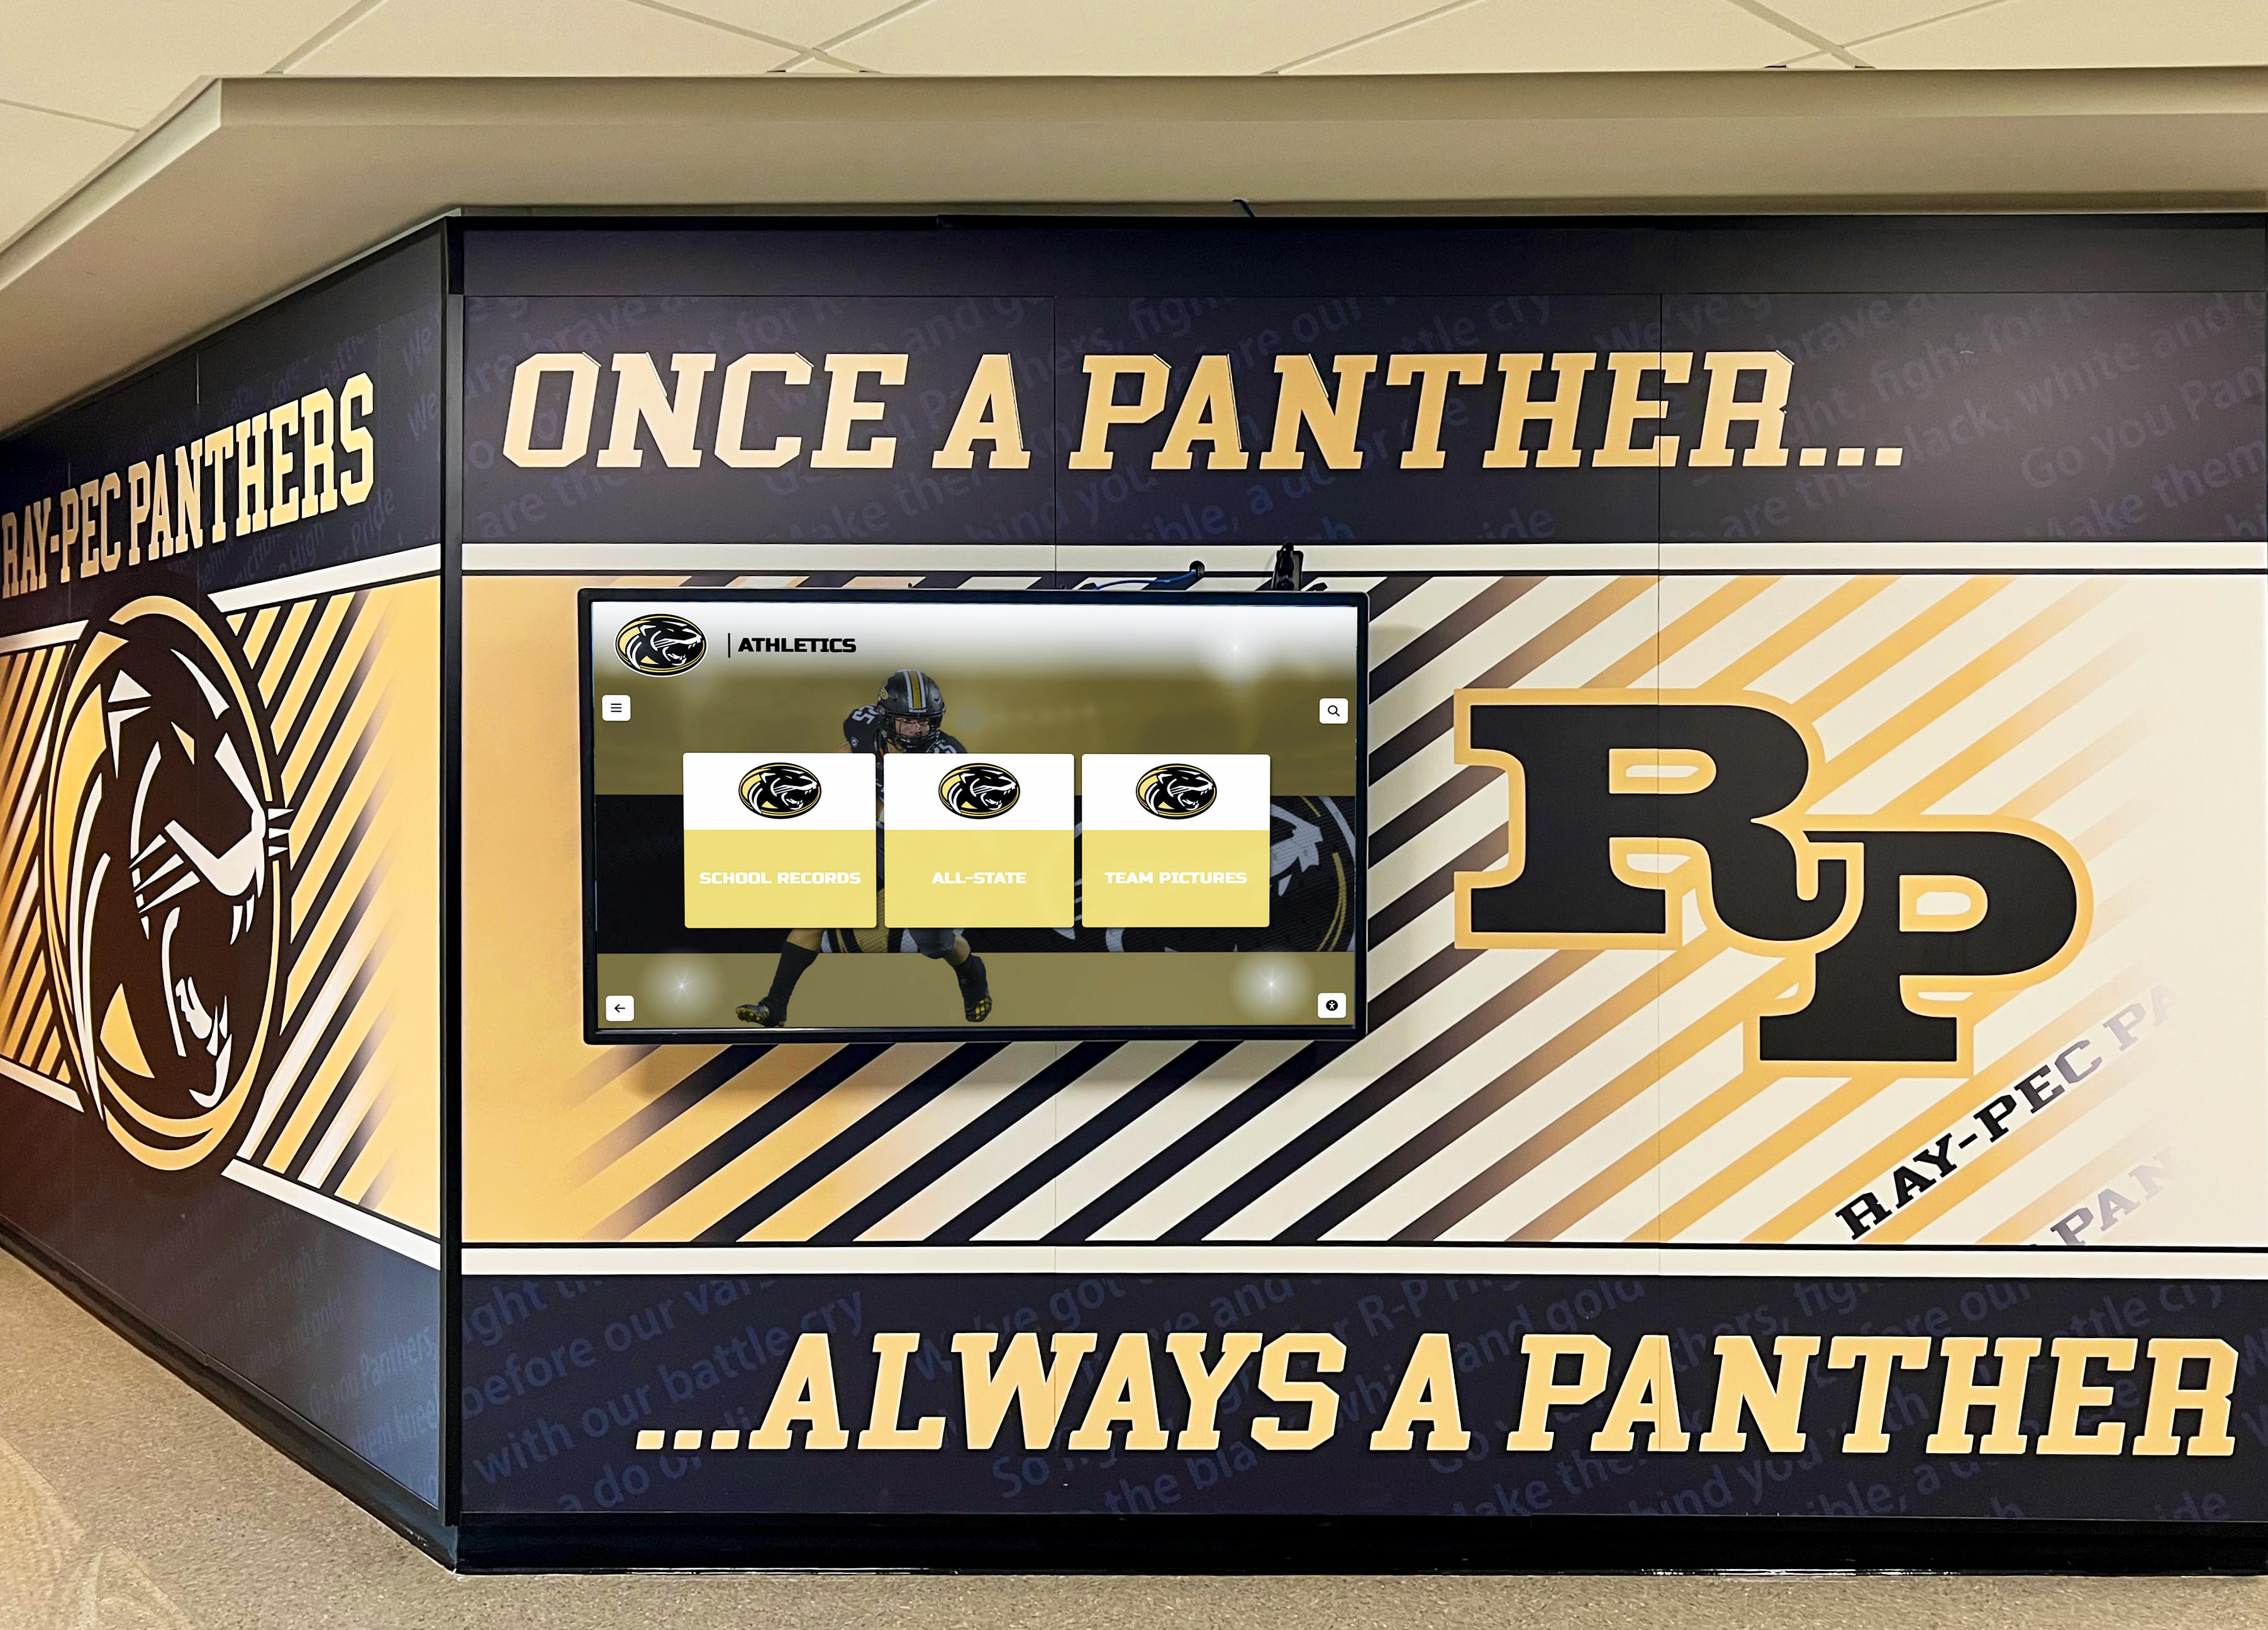
Lobby and hallway recognition displays receive content from multiple sources and eras — the scaler test confirms every resolution and aspect ratio renders cleanly before the display goes live
What a Display Scaler Does and Why Mixed-Resolution Content Challenges It
Every flat-panel display has a native resolution — the fixed grid of pixels that make up its screen. A 1080p display has 1,920 × 1,080 pixels. A 4K display has 3,840 × 2,160. When incoming content does not exactly match that native resolution, the display’s scaler must convert it. That conversion involves two distinct operations:
Resolution scaling: Increasing or decreasing the number of pixels to fit the panel. Scaling up (upscaling) requires the scaler to synthesize pixels that did not exist in the source. Scaling down (downscaling) requires it to discard or combine pixels. Both operations introduce some quality loss; the question is whether that loss is acceptable for recognition content.
Aspect ratio handling: Determining what to do when the source image’s proportions do not match the display’s proportions. A 4:3 portrait photo does not fill a 16:9 display without either leaving bars on the sides (letterboxing / pillarboxing) or stretching the image to fill the frame (distortion). Recognition displays handle this choice differently depending on their scaler configuration and the media player software driving them.
School recognition archives are unusually likely to contain a wide range of source resolutions because they span long time periods. An athletic hall of fame archive might include:
| Content Type | Typical Source Resolution | Aspect Ratio |
|---|---|---|
| Scanned portrait from 1985 yearbook | 400×500 to 800×1000 px | ~4:5 (portrait) |
| Early digital camera team photo (2002) | 1024×768 px | 4:3 |
| Mid-era action shot from school photographer | 2048×1365 px | 3:2 |
| Modern DSLR inductee portrait | 3000×4000 px | 3:4 (portrait) |
| Smartphone trophy presentation video | 1080×1920 px | 9:16 (vertical) |
| Official broadcast highlight clip | 1920×1080 px | 16:9 |
| 4K ceremony recording | 3840×2160 px | 16:9 |
A recognition platform that displays all of these types on the same lobby screen will expose every edge case of the scaler’s configuration. The recognition display scaler test below methodically works through those cases before launch.
Why Scaler Problems Are Especially Visible on Recognition Content
Generic digital signage — menu boards, wayfinding screens, promotional displays — typically uses content produced for that specific screen at a controlled resolution. Recognition content is different for two reasons.
First, recognition archives are built from historical photographs where re-shooting is impossible. A 1978 state-championship team photo exists in one physical form. Its digital version is what it is. If the display scaler produces unacceptable blur when upscaling a 640-pixel-wide scan to fill a 1080p panel slot, the only remedies are scaler configuration changes, a display layout that sizes the image appropriately rather than filling the frame, or manual image restoration — not a re-shoot.
Second, recognition audiences scrutinize individual faces and names. A lobby screen showing championship rosters, hall of fame inductees, or homecoming court bios carries content that families recognize personally. A blurred or distorted portrait of someone’s parent or grandparent is immediately visible in a way that a blurred background in a menu-board graphic is not. Scaler failure on recognition content is personal, not just aesthetic.
Step-by-Step Recognition Display Scaler Test
Run this test during initial hardware setup, after any media player software update, and any time a new batch of legacy archive content is added to the recognition platform. Each step builds on the previous one — do not skip ahead.
Step 1 — Document the Display’s Native Resolution and Scaler Mode Options
Before testing any content, identify the display’s native resolution from the manufacturer specifications or the display’s on-screen display (OSD) menu. For most commercial recognition displays, native resolution is 1920×1080 (Full HD) or 3840×2160 (4K Ultra HD).
Also locate the scaler mode settings in the display’s OSD or in the media player software. Common mode names include:
- Fit / Contain / Keep Aspect Ratio: Scales the content to its largest possible size that fits within the frame, with bars on sides or top/bottom as needed
- Fill / Stretch / Zoom: Scales the content to fill the entire frame, distorting aspect ratio if necessary
- Crop / Cover: Scales the content so the short dimension fills the frame, cropping the long dimension
- 1:1 / Native: Displays the content at its original pixel size, centered, with bars on all sides if smaller than the panel
Record which modes are available. For recognition content, the correct default is almost always Fit / Contain to prevent distortion of portrait photographs. Document this setting before running any content through the display.
Step 2 — Prepare a Mixed-Resolution Test Image Set
Create a test set that covers the resolution and aspect-ratio range your recognition archive actually contains. Prepare at least one test image in each of the following categories:
- Low-resolution portrait scan (600×800 px, 3:4): Represents scanned yearbook portraits and older inducted-athlete photographs
- Mid-resolution landscape photo (1024×768 px, 4:3): Represents early digital camera team photos and group awards images
- High-resolution landscape photo (3000×2000 px, 3:2): Represents modern action photography from school sporting events
- Modern portrait (tall) (1080×1350 px, 4:5 or 9:16): Represents recent smartphone portrait-mode captures
- Vertical video still (1080×1920 px, 9:16): Represents smartphone video content such as trophy presentation recordings
- Native widescreen (1920×1080 px, 16:9): Represents professionally formatted ceremony videos and broadcast clips
Label each test image with its resolution and aspect ratio as large overlay text so you can identify it instantly on the display without cross-referencing a spreadsheet.
Step 3 — Test Each Image on the Display in Default Scaler Mode
Load all six test images onto the media player and display them in sequence with a ten-second hold time on each. Stand at the primary viewing position — typically 8–15 feet from the display, depending on installation size — and observe each image for the following:
| Quality Issue | What It Looks Like | What Causes It |
|---|---|---|
| Stretch distortion | Faces and circular objects appear oval or squashed | Scaler set to Fill/Stretch mode; aspect ratio not preserved |
| Excessive blur | Text on image is soft; edge detail on faces is lost | Aggressive upscaling algorithm; low-quality scaler hardware |
| Pillarboxing / letterboxing | Black or gray bars on two sides | Correct aspect-ratio preservation of non-native content |
| Content cropping | Heads or names visible in source file are cut off at edges | Scaler set to Crop/Cover mode or overscan enabled |
| Resolution mismatch artifacts | Moiré pattern or aliasing on fine lines | Downscaling without anti-aliasing; JPEG compression compounding |
| Vertical video stretched to landscape | Severely stretched portrait video filling widescreen frame | Scaler not detecting video orientation; no rotation handling |
Record which images produce which issues. Use a simple grid: image type across the top, issue types down the side. Fill in each cell with Pass, Marginal, or Fail.
Step 4 — Adjust Scaler Mode and Retest Problem Cases
For each Fail result from Step 3, adjust the relevant scaler setting and retest. The most common adjustments and their effects on recognition content:
Switching from Fill to Fit: Eliminates stretch distortion on portrait photographs. Introduces pillarboxing on 4:3 and 9:16 content displayed on a 16:9 screen. For recognition programs, this trade-off almost always favors Fit — a bar on the side of an undistorted portrait is preferable to an oval-faced inductee portrait.
Adjusting upscale algorithm quality: Higher-quality algorithms (bilinear, bicubic, Lanczos) produce softer, more natural-looking upscales than nearest-neighbor algorithms. Some media players allow algorithm selection in advanced video settings. Lanczos generally produces the best results for photographic content. Nearest-neighbor produces sharp pixels but looks digitally coarse on photographic images — acceptable for pixel art, wrong for recognition portraits.
Disabling overscan: Some display models and media players apply overscan that clips the edges of the source content by a small percentage (typically 2–5%). Overscan was designed for broadcast television to hide encoding artifacts at frame edges. It has no value for recognition content and will crop athlete names or photo edges in ways that appear careless. Disable it in the display OSD under Picture Size, Screen Fit, or similar.
Handling vertical video: Smartphone video captured in portrait orientation (9:16) requires explicit handling. Without a rotation or aspect-ratio override, a 9:16 video on a 16:9 display either appears as a narrow vertical strip (Fit mode) or severely stretched (Fill mode). For lobby recognition displays, the recommended approach is to transcode all vertical video to a letterboxed widescreen format with a neutral background before adding it to the content library. This is a content preparation step, not a scaler setting — the scaler cannot correct a video that was ingested without transcoding.
Step 5 — Test Real Archive Content Alongside Professionally Formatted Content
After adjusting scaler settings with the test image set, load ten to twenty actual archive images from the recognition content library — a realistic sample that includes the oldest and newest content, different sports seasons, and any known “difficult” photos. Display them alongside current professionally formatted content to verify that both categories look acceptable on the final scaler settings.
This side-by-side comparison is the definitive test because it shows the contrast that visitors actually experience. A low-resolution 1985 team photo following a crisp 4K portrait from last season is the real-world sequence that the scaler must handle gracefully. If the transition between quality levels is jarring — if the old content looks unacceptably degraded relative to the new — the recognition program needs one of three adjustments before launch:
- Apply basic image restoration (upscaling and sharpening using image editing software) to the lowest-quality archive items before ingesting them into the recognition platform
- Use the content management system’s layout options to display older content in smaller tiles where lower resolution is less visible
- Add a brief visual framing — a caption noting the decade — that contextualizes historical photographs as archival rather than deficient
The third approach is often the most practical and honest: framing old content as historical artifact rather than hiding it or overprocessing it.
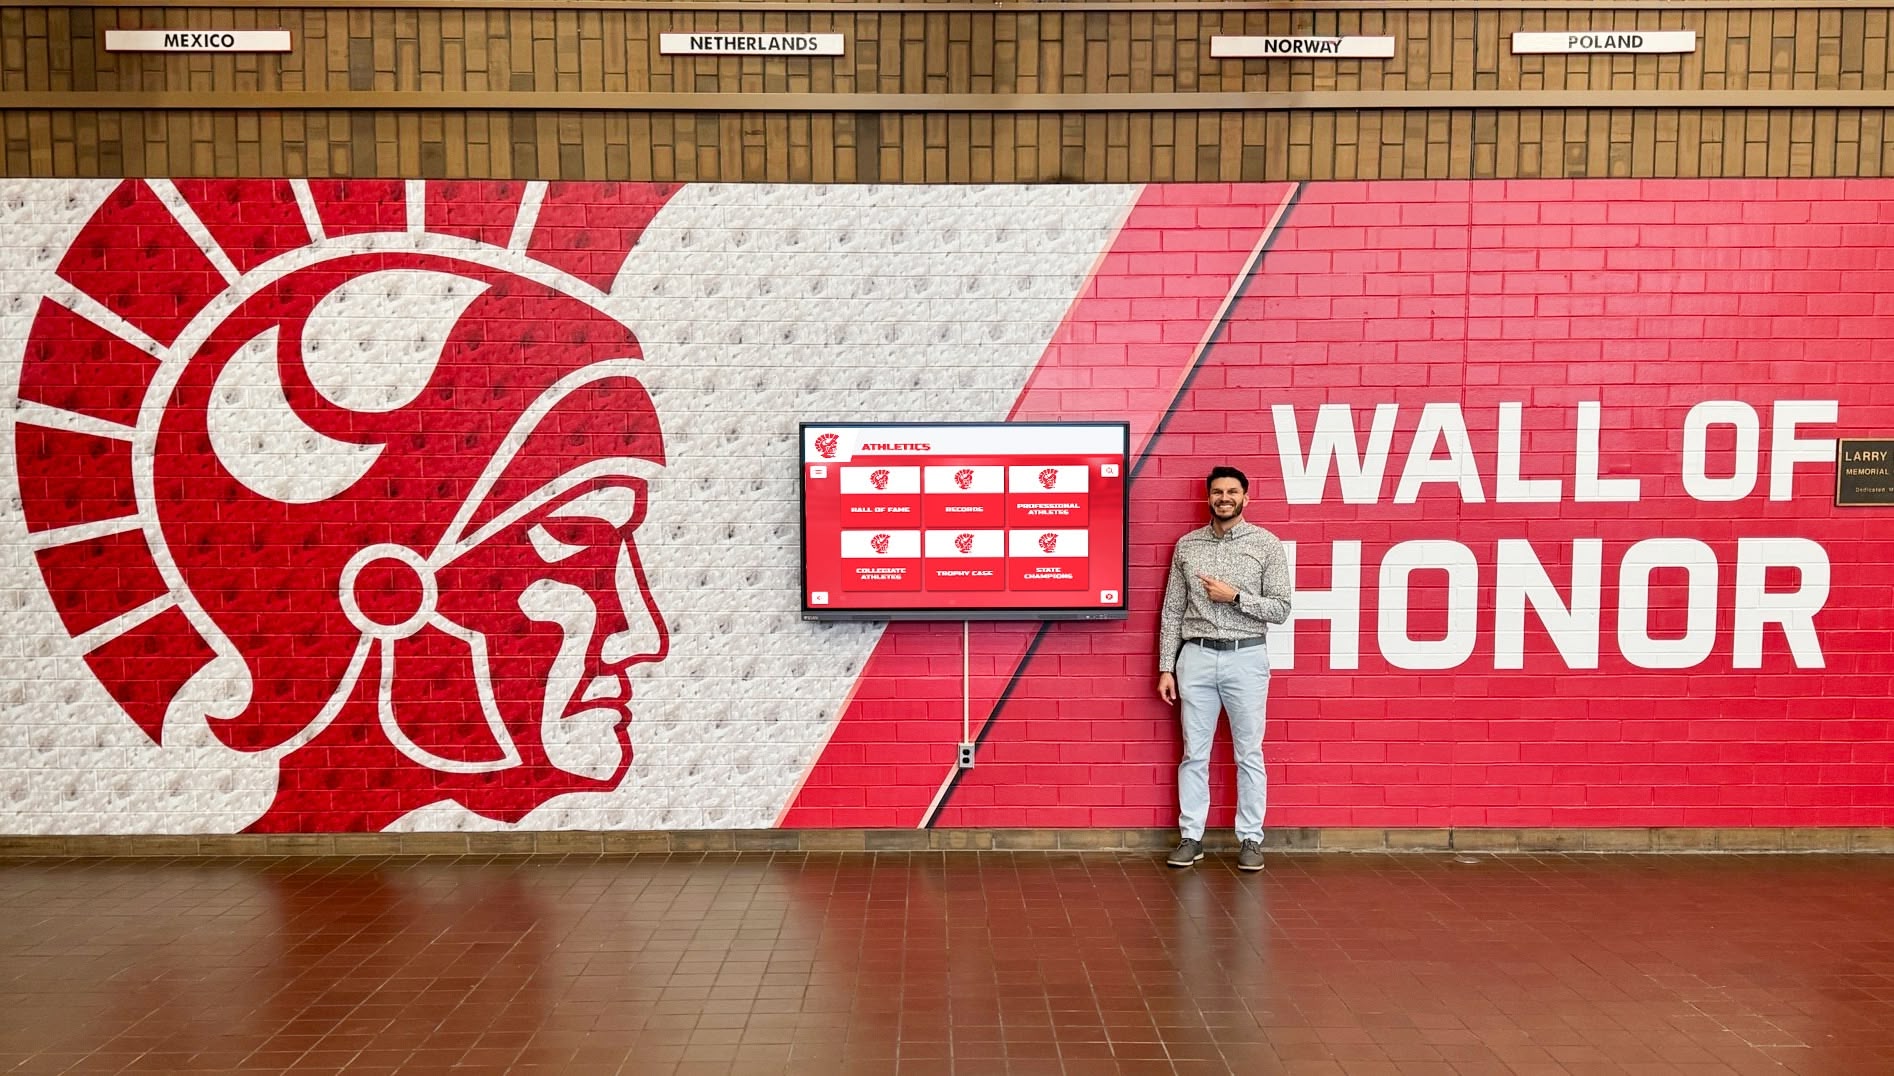
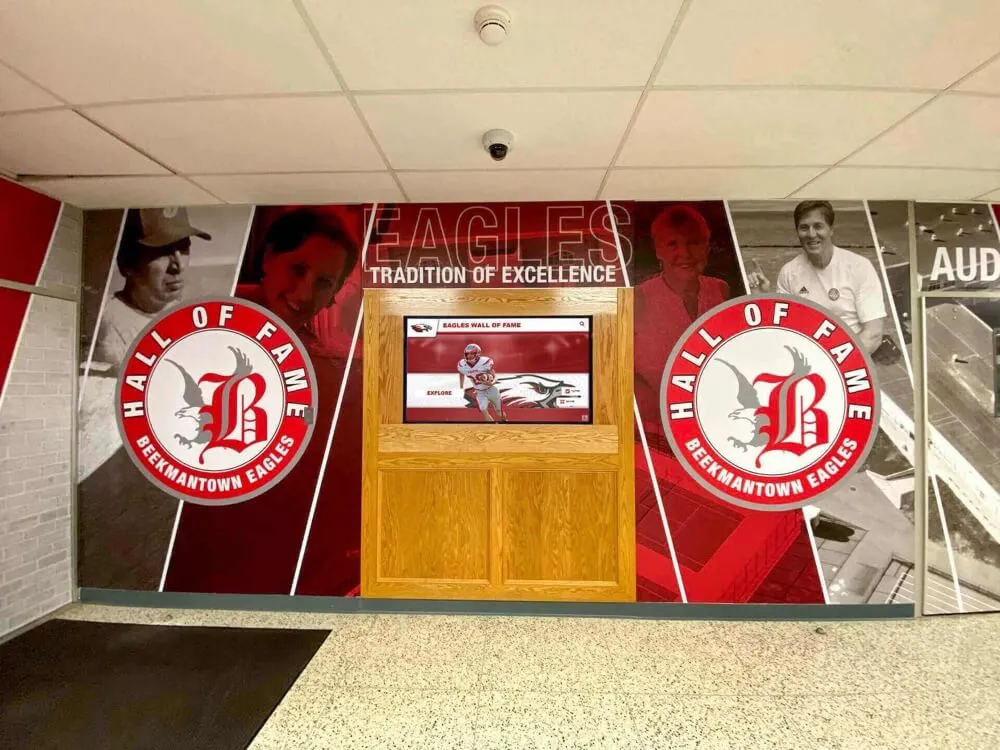
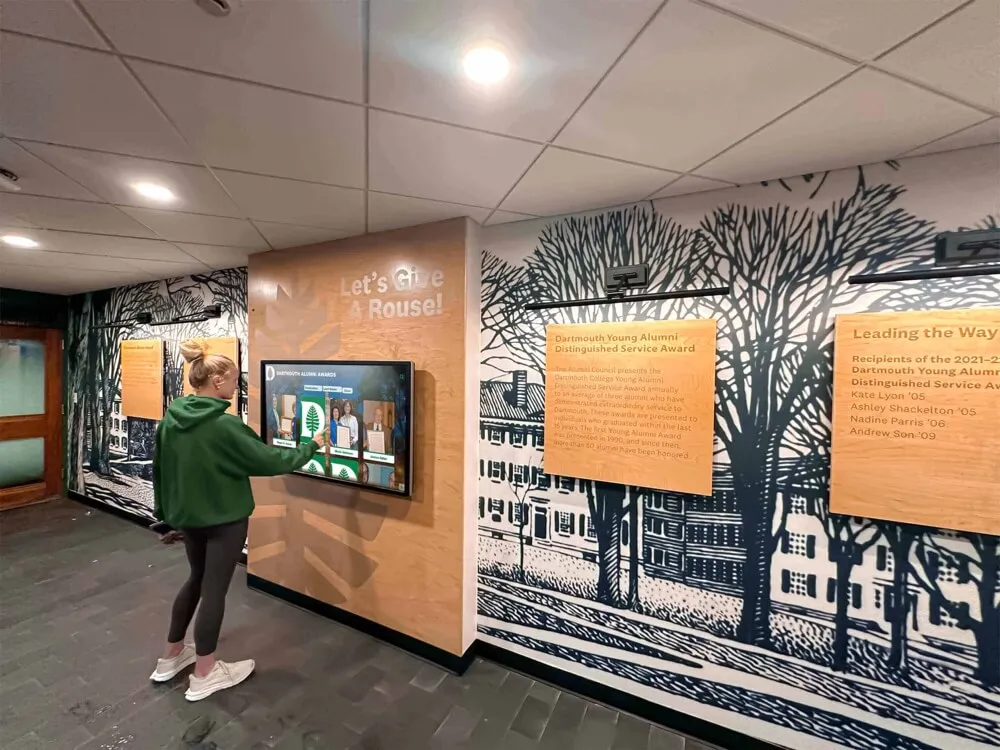
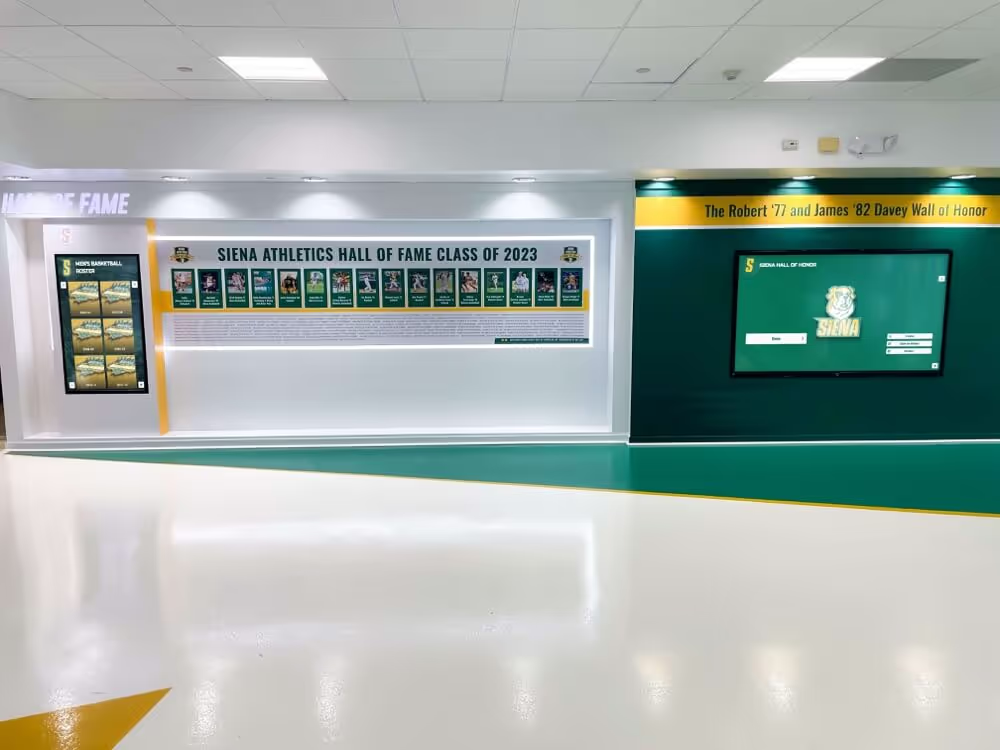
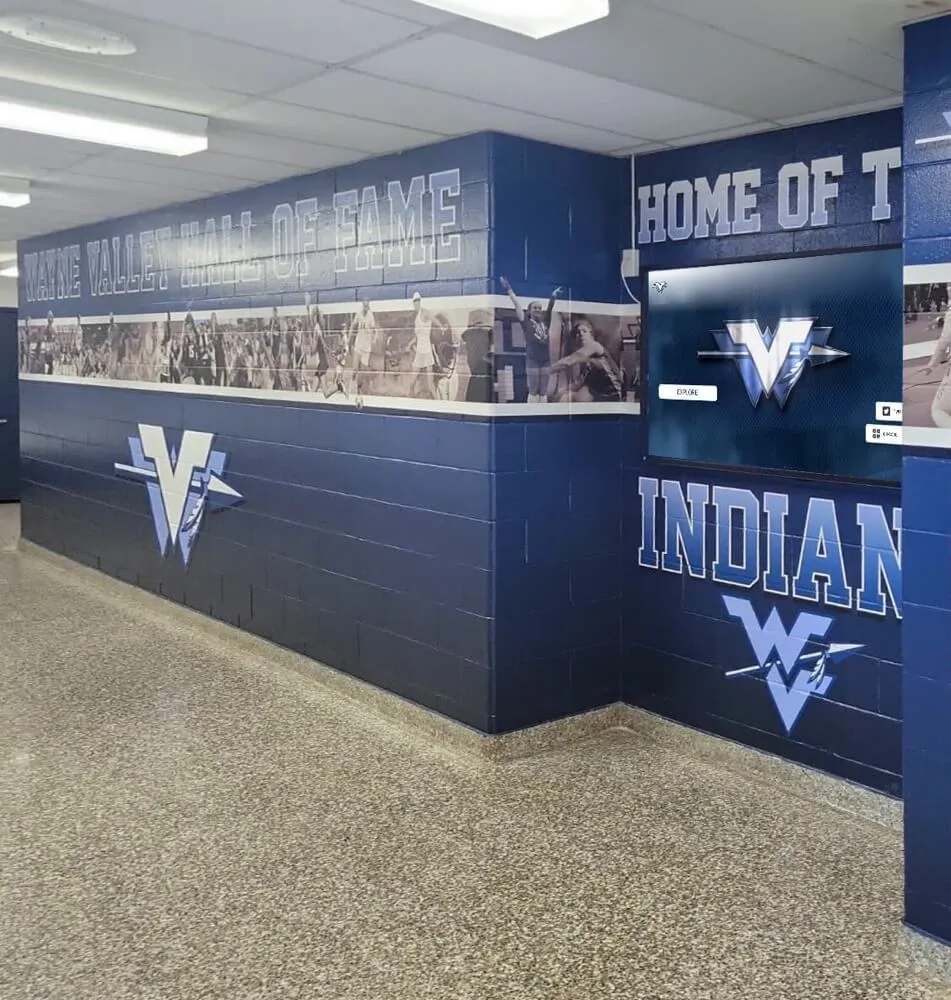
Recognition displays in school hallways must handle a wide range of content resolutions gracefully — the scaler test confirms that historical archive images and current content both render acceptably at the same settings
Step 6 — Test Video Content Separately
Video content in recognition programs creates scaler challenges beyond still images. Run at least one test pass with the following video types if your recognition program uses them:
Award ceremony highlight clips: Typically 1080p or 4K at 16:9. These should display without scaling artifacts if the display is set to native or Fit mode for 16:9 content.
Oral history recordings of coaches or alumni: Often recorded at consumer camera resolutions (720p or 1080p) with inconsistent framing. Check for black bars introduced by automatic scaler mode switching between video resolution and display native resolution.
Converted film or VHS footage: Older video digitized from film or tape often carries 4:3 or even narrower aspect ratios with soft edges and high grain. Confirm the scaler mode does not try to fill a widescreen frame with this content — the results are visually unacceptable for material that carries historical significance.
Video resolution consistency test: If the recognition platform switches between video clips of different resolutions without a loading screen, confirm that the scaler transitions cleanly between clips. Some display-player combinations produce a visible resolution-switch flash when changing between a 720p clip and a 1080p clip. This is noticeable and distracting during an automated content loop in a school lobby.
Step 7 — Document the Final Scaler Configuration
After testing and adjustments are complete, record the following for every display in your recognition installation:
- Display make, model, and native resolution
- Scaler mode setting (Fit / Contain, with aspect ratio preserved)
- Overscan status (disabled)
- Upscale algorithm (if configurable)
- Media player software version and any video output settings relevant to scaling
- List of content types confirmed to display acceptably
- List of content types requiring preparation before ingest (e.g., vertical video transcoding)
- Date of test and tester name
Keep this documentation with the display’s installation record. When the content library grows or when new hardware is installed, this baseline makes retesting faster and more systematic.
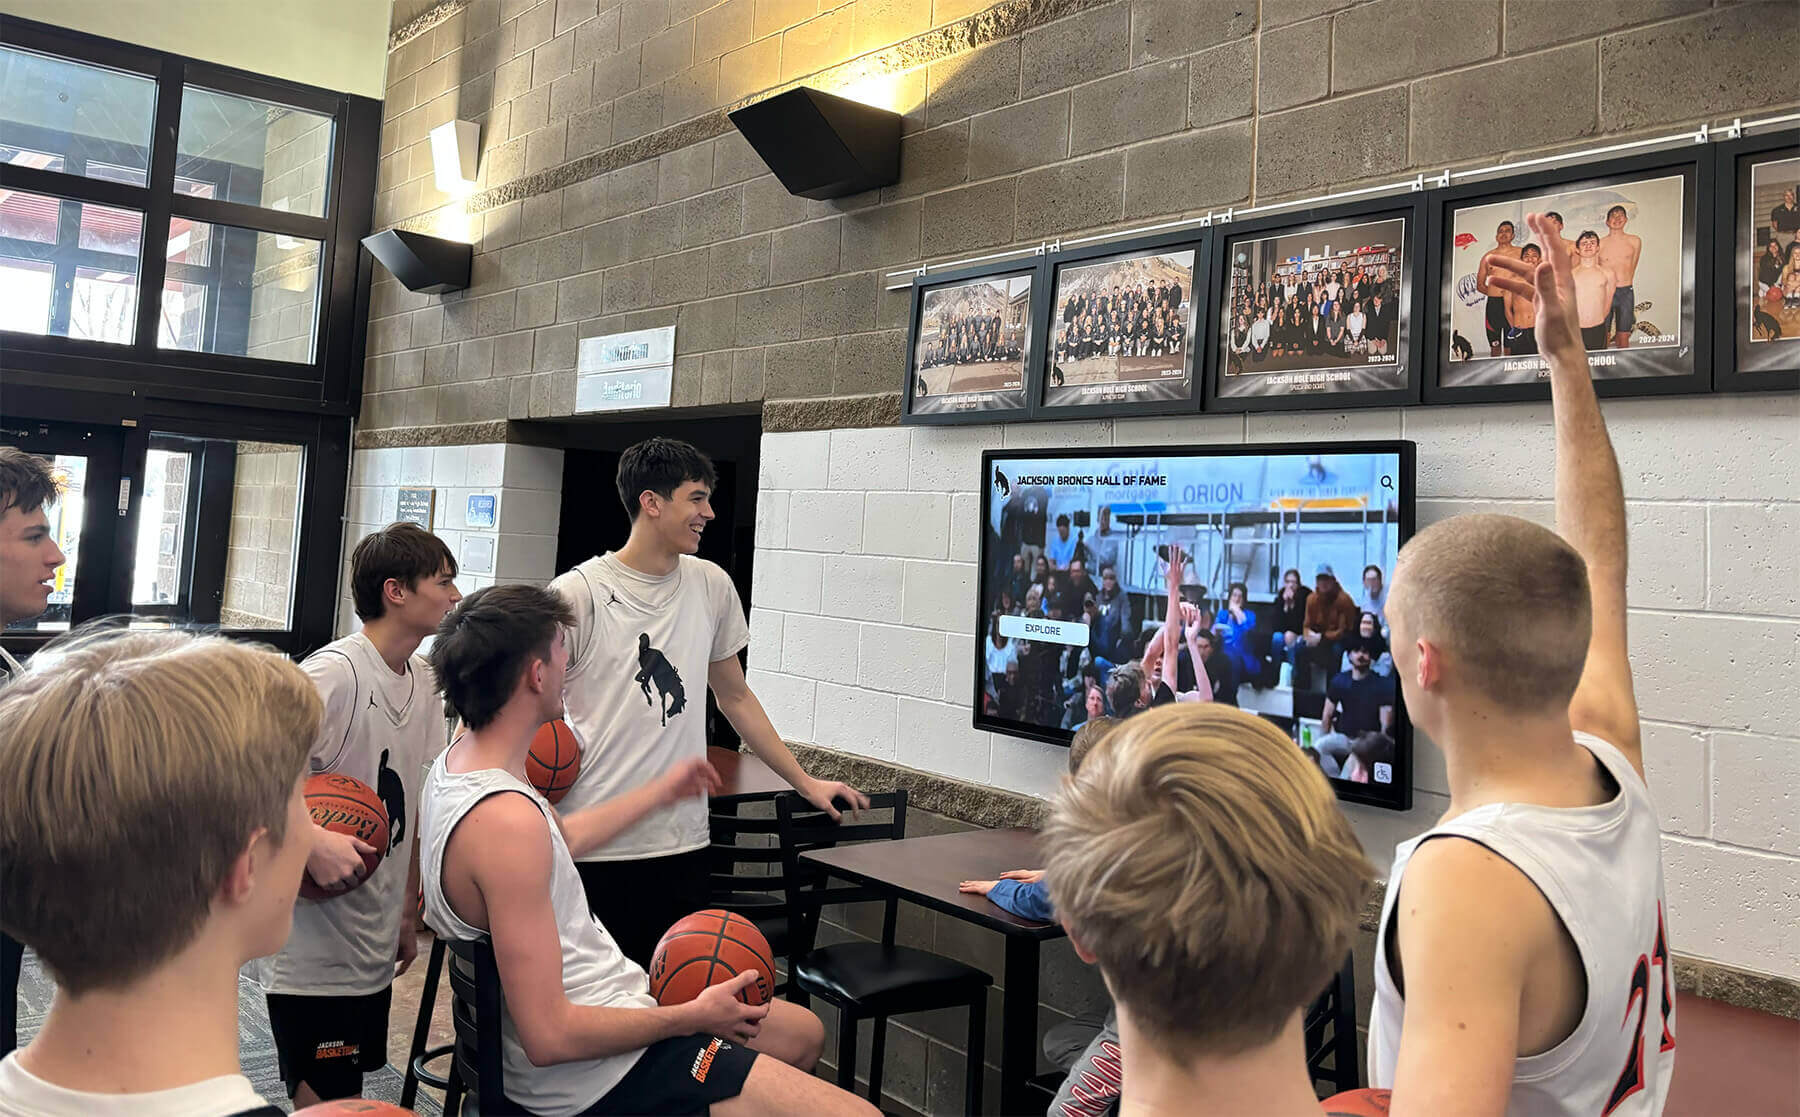
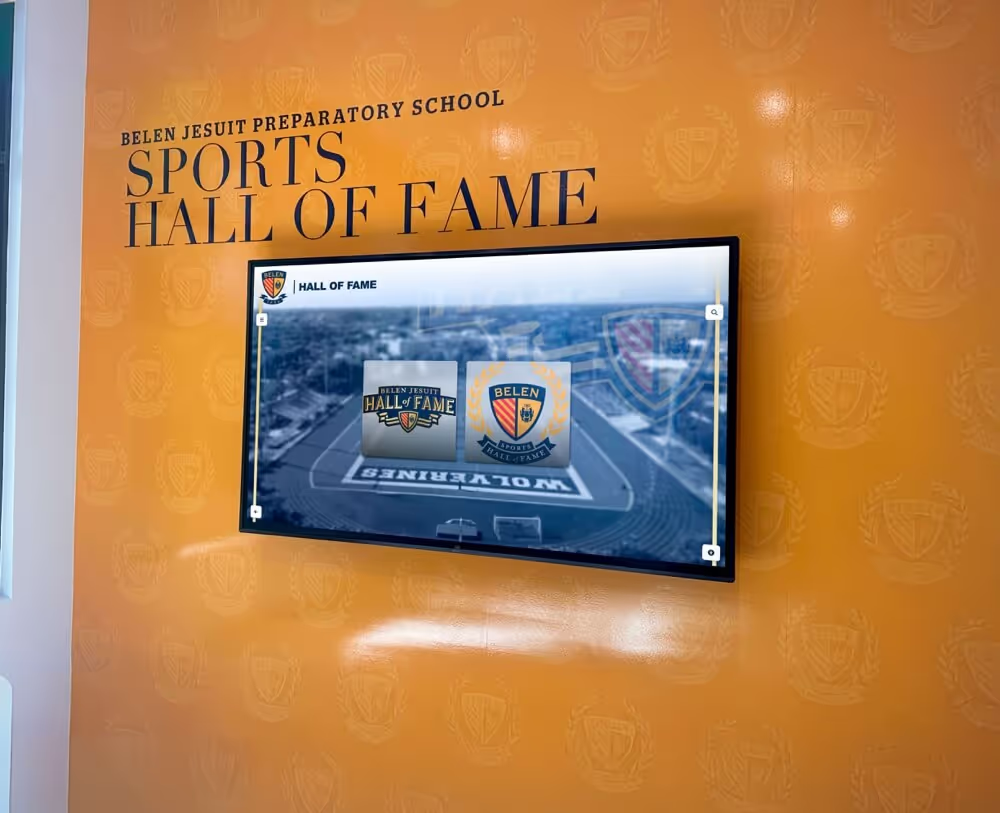
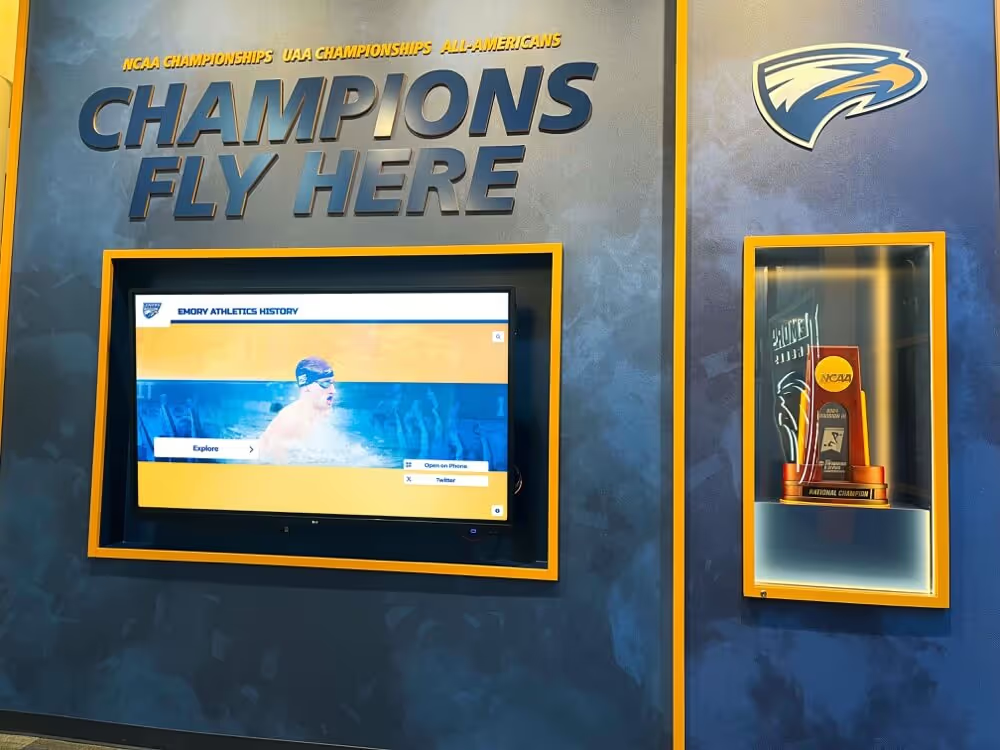
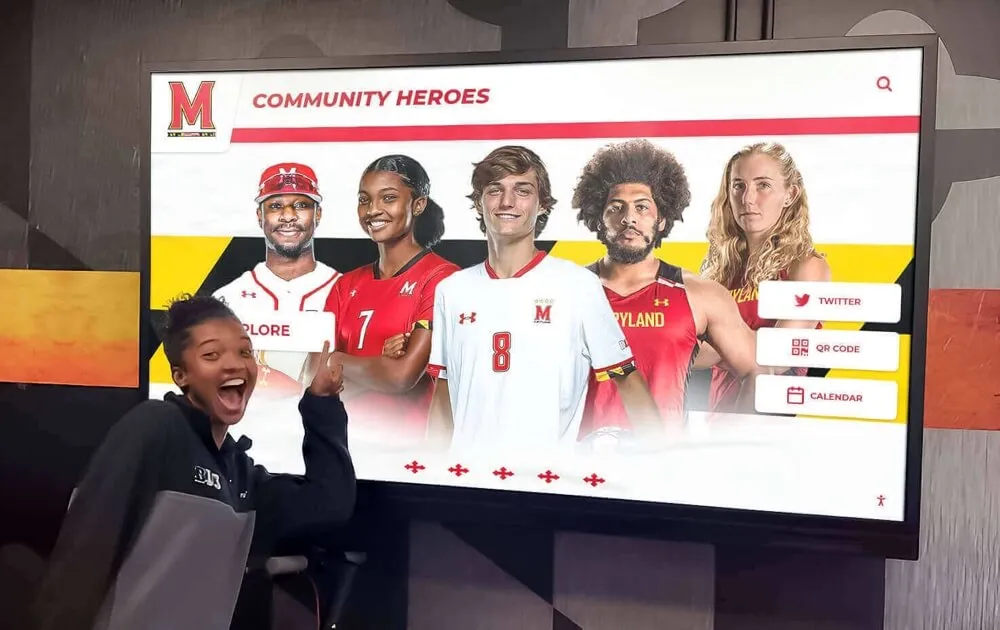
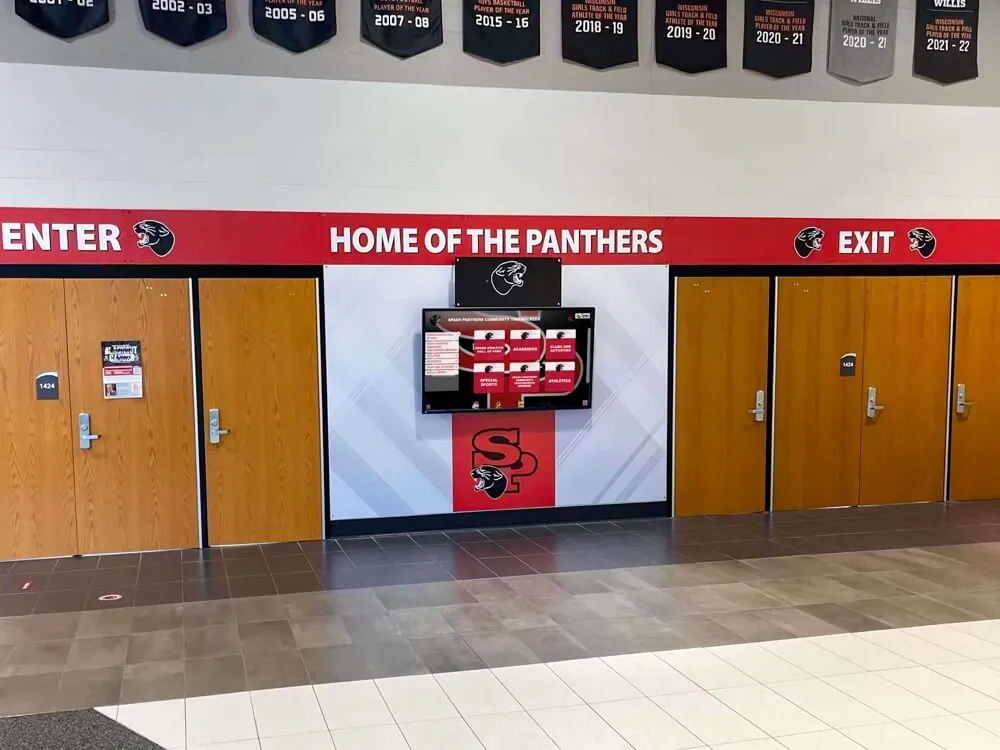
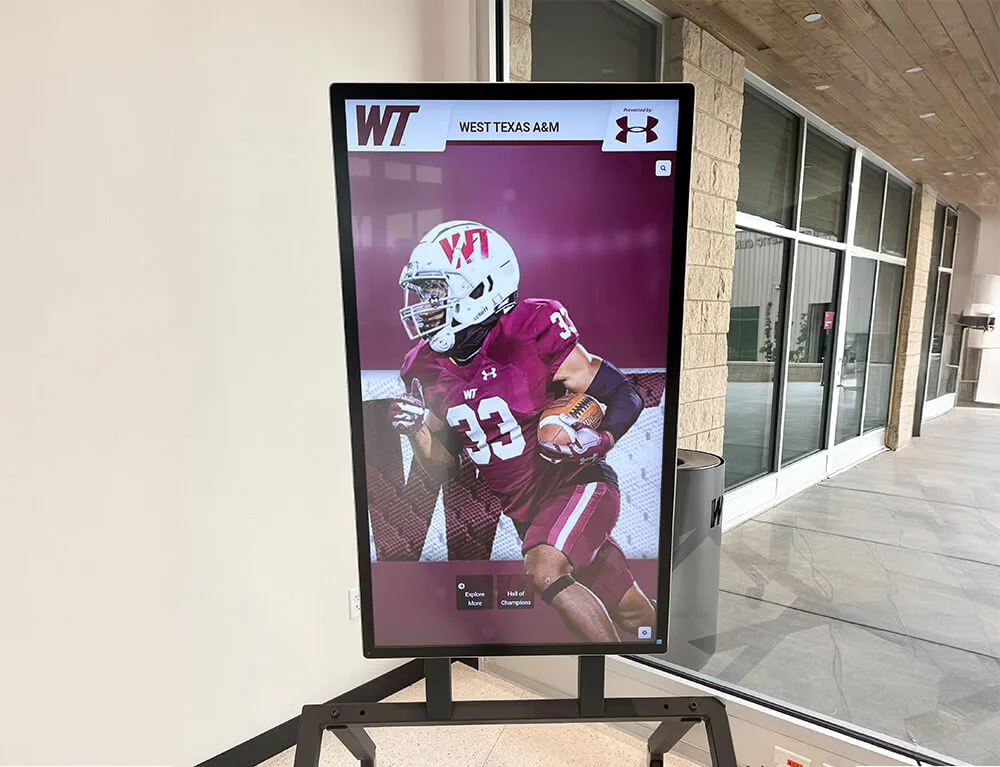
Lobby displays showing both current video content and historical archive photos require scaler settings that handle both gracefully — the test checklist confirms the setting works across the full content range
Recognition Display Scaler Test Checklist
Use this checklist during installation testing. Mark each item Pass, Marginal, or Fail before signing off on the display.
| Test Item | Pass / Marginal / Fail | Notes |
|---|---|---|
| Native display resolution documented | ||
| Scaler mode set to Fit / Contain (aspect ratio preserved) | ||
| Overscan disabled | ||
| Low-res portrait scan (600×800) renders without distortion | ||
| 4:3 team photo renders without stretch | ||
| 3:2 action shot renders without visible blur at viewing distance | ||
| Modern tall portrait (4:5) renders without squash | ||
| 9:16 vertical video transcoded to widescreen before ingest | ||
| Native 16:9 video plays without format flash | ||
| Historical content transitions to current content without jarring quality jump | ||
| Video clips at different resolutions switch without flash | ||
| Final scaler settings documented in display installation record |
All twelve items should reach Pass before the display goes live. Marginal results on content quality items (blur, transition) should be resolved through content preparation — image upscaling or video transcoding — before launch.
Connecting Scaler Quality to Recognition Program Effectiveness
A recognition display’s scaler configuration is invisible when it works correctly. Visitors walk past a lobby screen, see a sharp inductee portrait, read a name and a sport, and feel the warmth of a well-kept institutional memory. They do not think about pixel ratios. When the scaler is misconfigured, the distorted or blurred image is what they remember — and what they photograph and share.
Recognition programs built on decades of archive photographs — the wrestling hall of fame, the basketball senior night gallery, the multi-decade athletics record board — are especially exposed to scaler inconsistency because they cannot control the resolution of their source material. The test process in this guide addresses that directly: it finds the edge cases in your specific content library before launch, not after.
Programs that maintain high visual standards for recognition content also tend to invest in the surrounding infrastructure: WCAG text spacing and accessibility for touchscreen interfaces, display brightness schedules for different times of day, and systematic testing of individual display components. Each of these creates a baseline that IT and AV staff can return to after software updates or hardware changes.
For programs building recognition across multiple award types — from employee of the month displays to academic achievers and club champions — consistency across content types is especially important. A scaler configured for athletic portraits at one aspect ratio may render academic award headshots differently if those images come from a different source format or photography session.
Athletic programs honoring coaches alongside athletes — from wrestling complete-record touchscreen guides to chess club tournament winners — typically accumulate the widest range of source image formats over time, since club sports and individual award photos are captured under less controlled conditions than varsity athletics. Scaler testing that specifically includes club-sport archive images catches format edge cases that testing only athletic photography misses.
When building recognition displays that celebrate academic competition alongside athletic achievement — chess championship displays, honor roll archives, debate and forensics records — it is worth verifying that team and club photos from those programs render as cleanly as the athletics content that typically receives more production attention.
Award programs with formal approval processes and multi-year archives, such as those following an athletic award exception approval workflow, often accumulate supporting photographs and documentation from across multiple school years and multiple administrators. That kind of longitudinal collection is precisely the mixed-resolution scenario this scaler test is built to address.
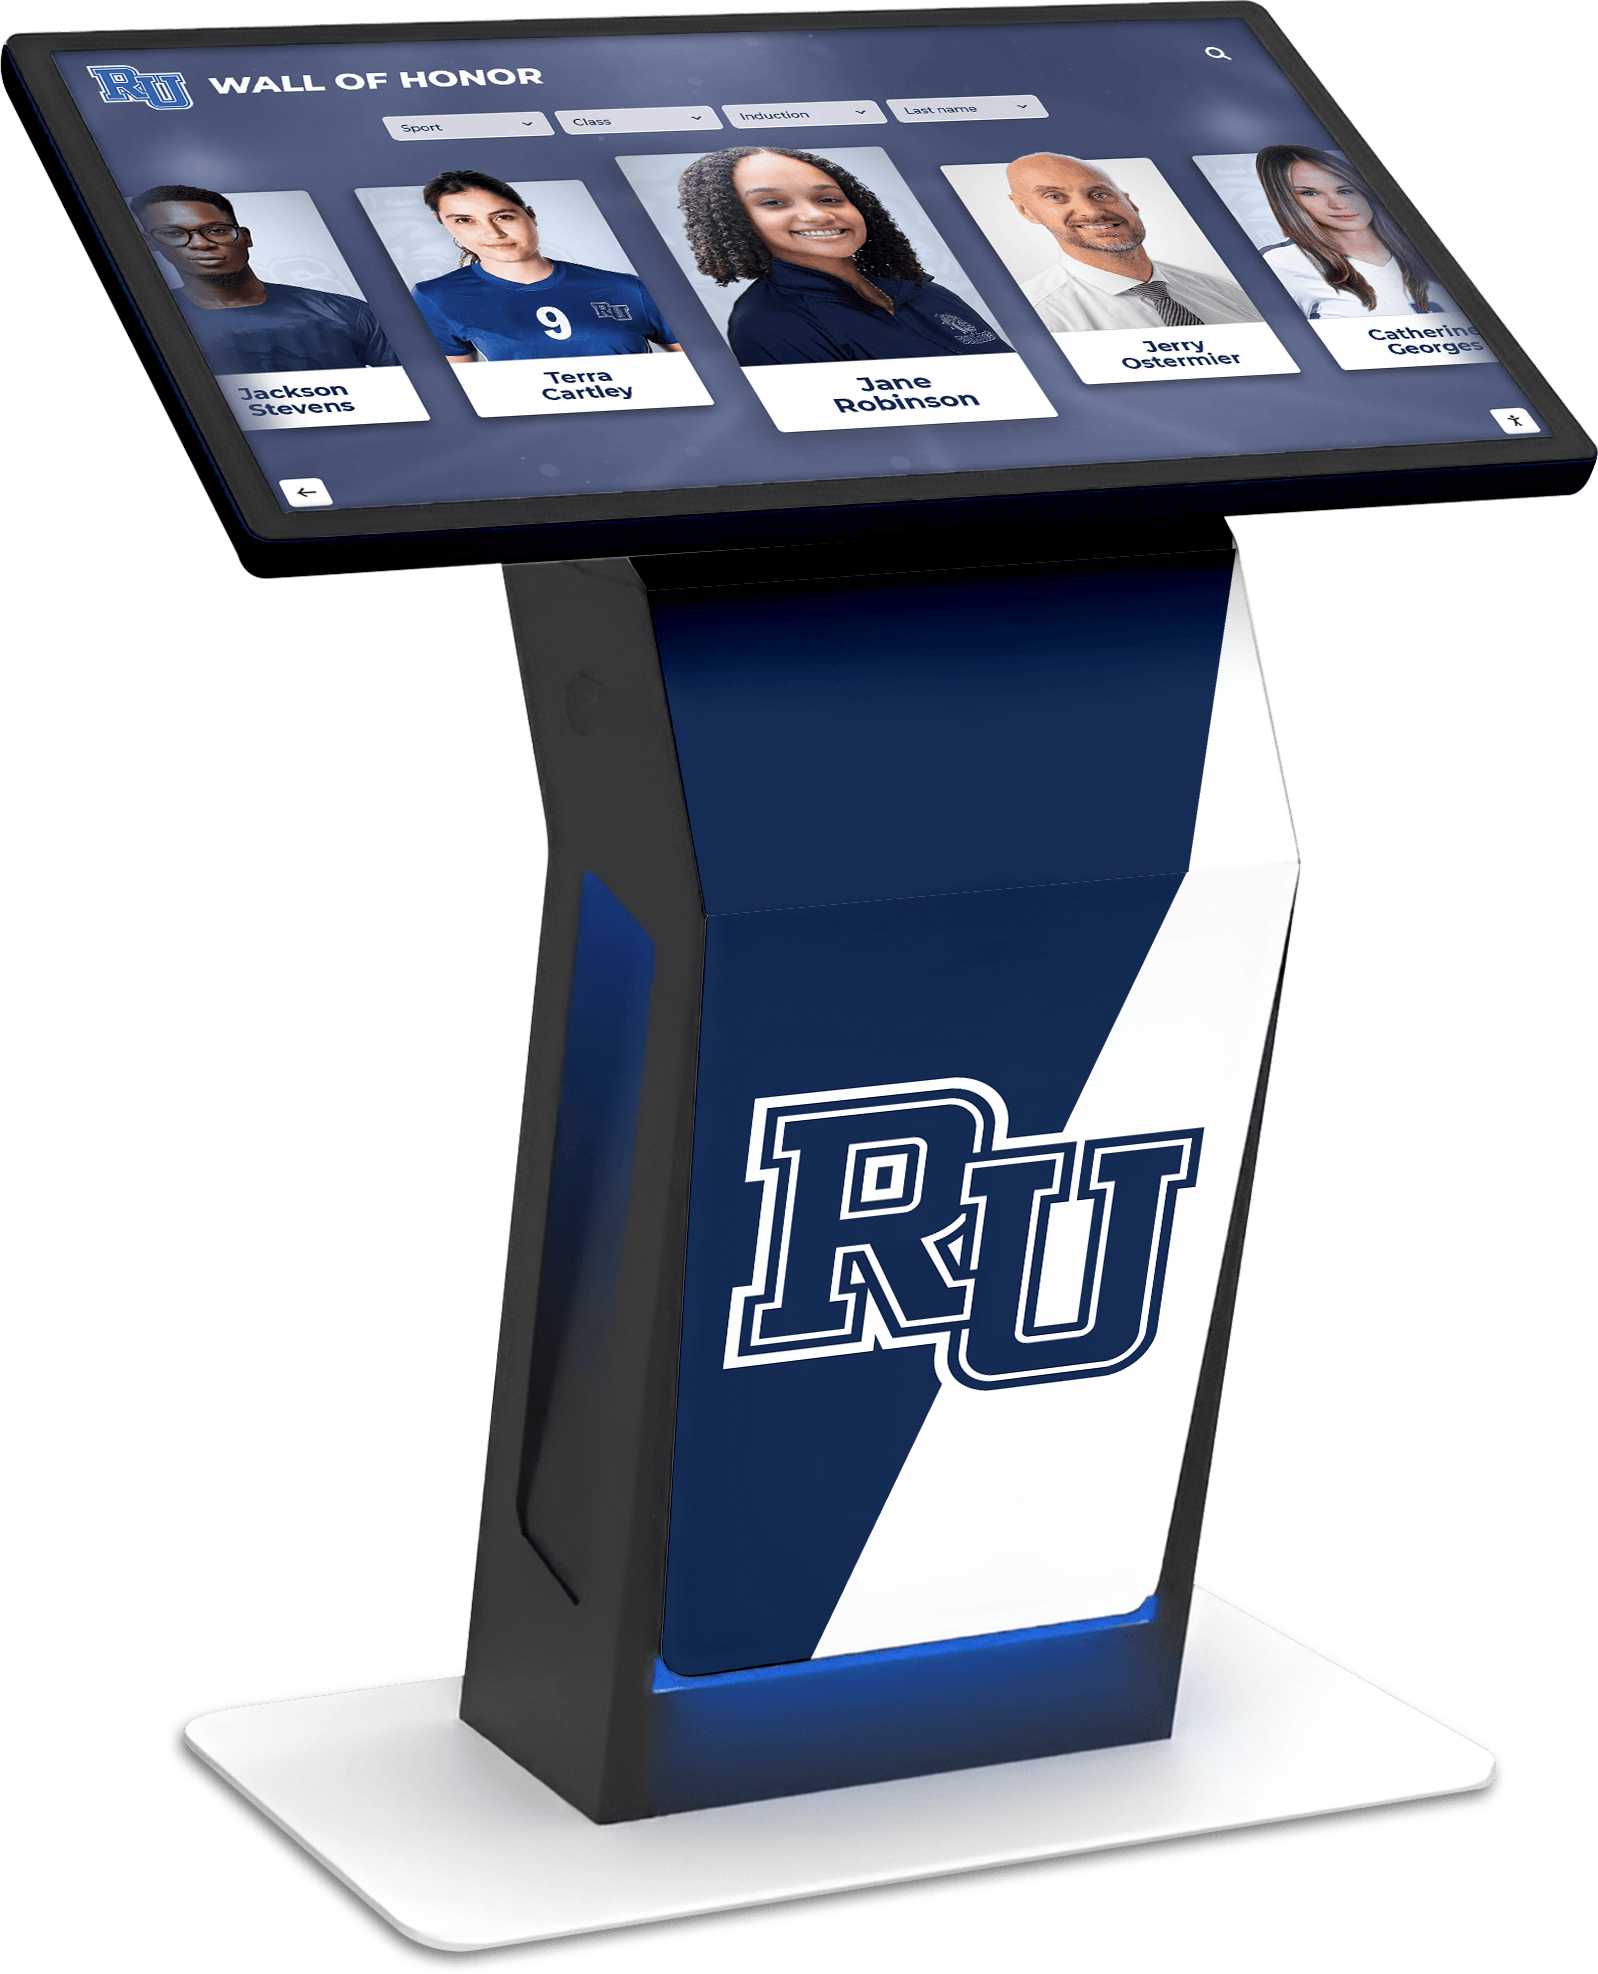
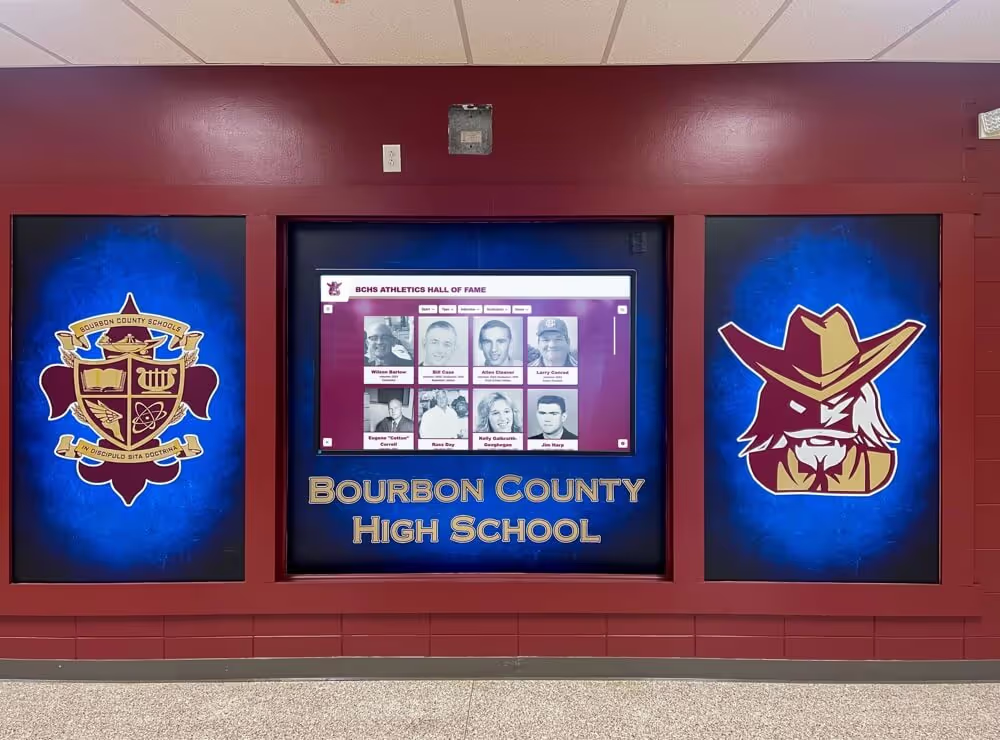
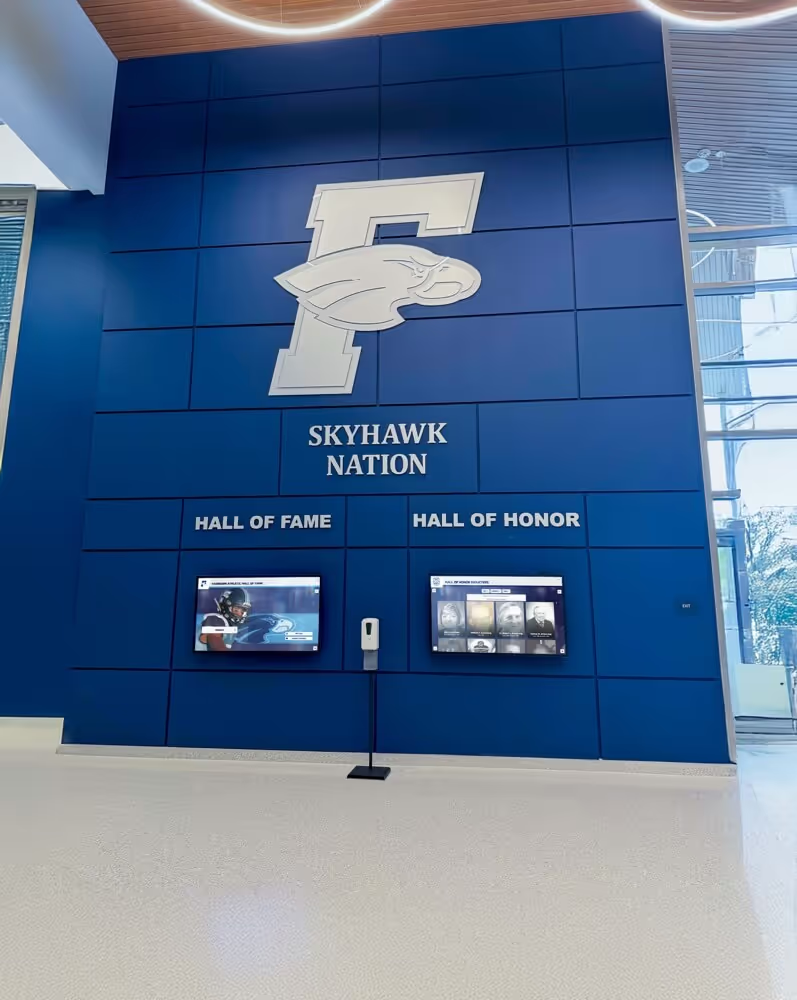
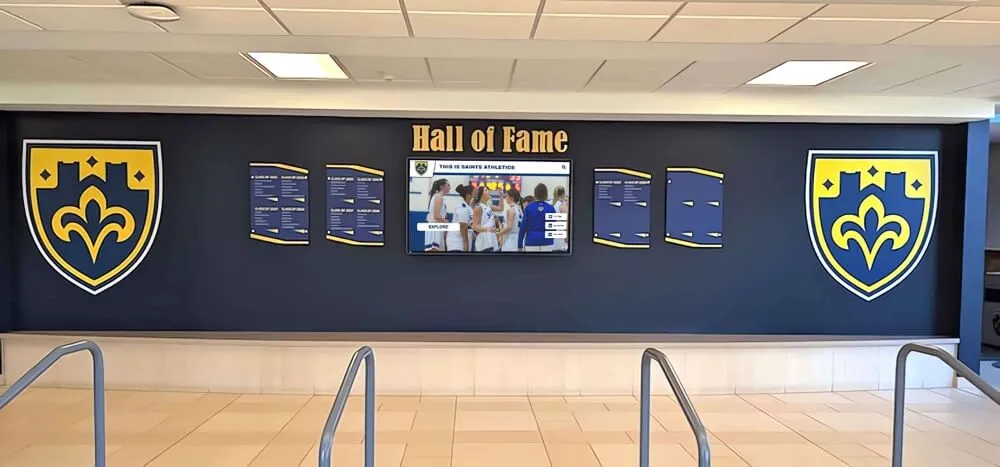
Interactive recognition kiosks serving content from multi-decade archives depend on correct scaler configuration to display historical and current content consistently across all visitor interactions
Frequently Asked Questions
Q: Does the recognition display scaler test need to be repeated after a software update?
Yes. Media player firmware updates and content platform updates can change video output settings, scaling algorithms, or aspect-ratio handling without warning. After any software update to the display, media player, or recognition platform, repeat Steps 3 and 5 of this checklist: display the test image set and a sample of real archive content. It takes under fifteen minutes and confirms that the update did not change scaler behavior in a way that affects visual quality.
Q: Our recognition display shows portrait photos correctly, but video clips look stretched. Why do those differ?
Still image and video content often travel through different signal paths in a media player system. Still images are typically handled by the operating system’s image viewer or the recognition platform’s image renderer, while video is decoded by a dedicated video playback component with its own aspect-ratio settings. Each path may have independent scaler configuration. Check the video player’s aspect ratio settings separately from the display’s OSD settings — they are commonly both set to Fill/Stretch by default, while still images are handled in Fit mode.
Q: We have a 4K display but most of our content is 1080p. Is the upscaling a problem?
For 1080p content on a 4K display, upscaling is unavoidable. Commercial 4K displays designed for signage use typically include hardware scalers capable of good-quality 1080p-to-4K upscaling that is acceptable for recognition content at normal viewing distances. The concern is content that is already low-resolution — scanned portraits at 600×800 pixels, for example — being upscaled twice: first to 1080p by the media player and then to 4K by the display. Each scaling step introduces softness. For very low-resolution archive content, use the layout options in the recognition platform to display those images in smaller tiles rather than full-screen, where the upscaling loss is less visible.
Q: What should we do with vertical smartphone video in our recognition archive?
Vertical video (9:16) should be transcoded to a widescreen format before being added to the recognition content library. The standard approach is to place the vertical video in the center of a 16:9 frame with a blurred or solid-color background filling the sides. Most video editing applications and online converters support this automatically. Some recognition platforms also handle this transcoding as part of their ingest workflow — check with your platform provider before manually processing every file.
Q: The scaler test showed acceptable quality, but content still looks inconsistent when visitors use the touchscreen to browse inductees. What else should we check?
Touchscreen browsing of inductee profiles often uses a different rendering path than the display’s passive content loop. The web-based interface used for interactive browsing may apply its own image resizing through CSS or HTML rendering, separate from the display scaler. Check the recognition platform’s web interface on a desktop browser at the display’s native resolution to confirm that inductee portrait thumbnails and full-size views both render acceptably. The WCAG text spacing audit checklist also covers display-layer rendering issues that can affect touchscreen interface quality alongside scaler issues.
Q: How do we handle mixed resolution across multiple displays in a multi-screen installation?
Each display should be tested independently because scaler hardware and firmware vary even within the same product family. Run the full checklist on each display. Document any differences in scaler mode settings or quality results between units. If one display produces clearly inferior results on the same content, compare model numbers and firmware versions — sometimes multiple production runs of the same display model include different scaler hardware. Uniform content quality across a multi-screen installation requires uniform scaler performance, which requires per-unit testing.
Quick Reference: Recognition Display Scaler Test Settings
| Setting | Recommended Value for Recognition Content | Why |
|---|---|---|
| Scaler / aspect ratio mode | Fit / Contain / Keep Aspect Ratio | Preserves proportions; prevents portrait distortion |
| Overscan | Off / Disabled | Prevents content and name cropping at frame edges |
| Upscale algorithm | Bilinear, Bicubic, or Lanczos | Produces smooth photographic upscaling |
| Color range | Full (0–255) | Maintains shadow and highlight detail in portrait photography |
| Vertical video handling | Transcode to widescreen before ingest | Prevents vertical content from filling landscape frame |
| Video output resolution | Match display native (1080p or 4K) | Eliminates unnecessary signal-layer scaling in the chain |
When a lobby recognition display shows every inductee portrait sharply and without distortion — whether the photo is from a 1979 championship or last month’s banquet — the display does its job: it surfaces the school’s history with the clarity that history deserves. A recognition display scaler test is the thirty-minute investment that makes that happen on day one and keeps it reliable as the archive grows.
If you are evaluating or expanding your school’s recognition display program, see how Rocket Alumni Solutions delivers web-based recognition displays built to handle mixed-resolution content libraries from multi-decade school archives.